How Many Signal Bars Does a Cellular Trail Camera Need to Send Photos?
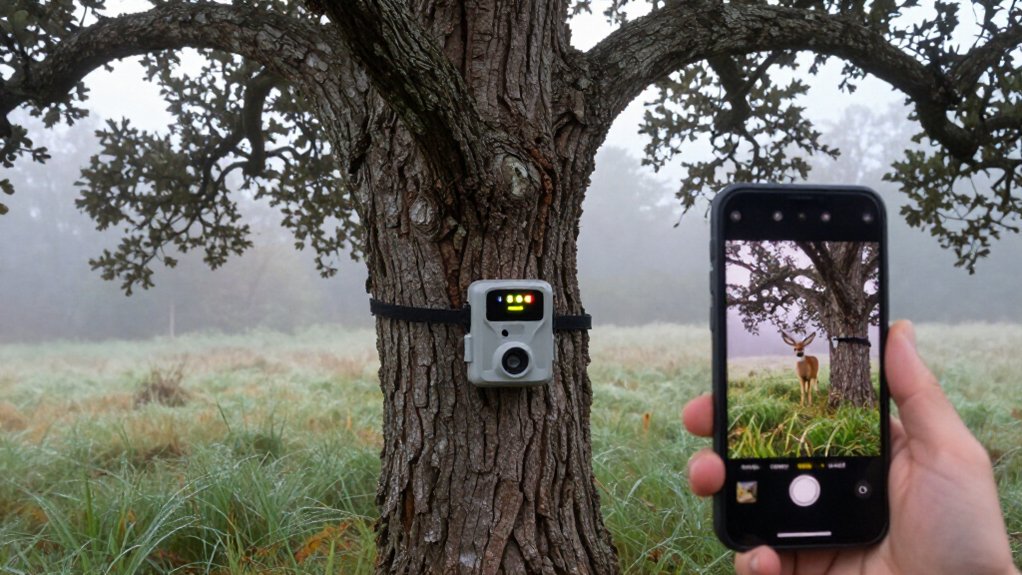
Your cellular trail camera can send photos with one stable signal bar, but bars measure received power, not reliable data service.
Test several motion-triggered uploads at the exact mounting height, allowing one to three minutes each.
Metal barns, terrain, weak batteries in cold weather, incompatible LTE bands, APN errors, outages, or plan limits can stop delivery even with three bars.
Don’t mount it until test photos arrive consistently; the checks below show what to verify.
One Bar Can Be Enough
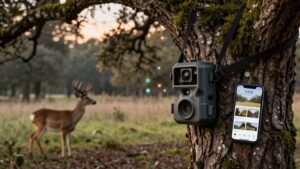
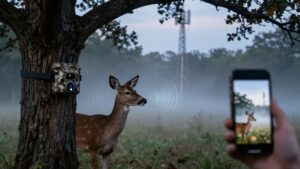
One bar can be enough for a cellular trail camera to send photos if it maintains a stable connection to a compatible network. You should verify performance at the exact mounting location, because terrain and vegetation can affect whether the camera completes a transmission. Install the camera, trigger several test images, and confirm that image reaches the app or portal.
Allow one to three minutes per upload; slower delivery can occur under weaker conditions. If results are inconsistent, raise the camera or move it away from trees, buildings, metal surfaces, and obstructions. Retest after every adjustment so you can identify the position. When a transmission doesn’t complete, many models can retain the image on the SD card, provided local recording is enabled and supported.
Bars Indicate RSRP, Not Reliability
Signal bars usually summarize received signal power, often LTE Reference Signal Received Power (RSRP), not the reliability of the camera’s data connection. A bar reading doesn’t measure interference, congestion, or whether your camera can use the carrier’s available bands.
| What you see | What it means |
|---|---|
| Three bars | Usable received power |
| Failed tests | Unstable data service |
Two cameras with identical bars can perform differently because antennas, carrier provisioning, and supported bands differ. Don’t rely on your phone’s display: it may use another carrier, band, antenna, or network settings. Instead, check the camera’s indicator after final mounting, then send several test photos. Successful repeated transmissions—not the bar count alone—show whether the location supports dependable operation under ordinary field conditions before you depend on it remotely each day.
Motion-Triggered Upload Delays
A motion-triggered cellular camera may capture an image almost immediately, yet delivery to your app or email depends on completing a separate network upload. Upload time reflects the data connection, not signal bars alone. A photo commonly takes one to three minutes, while weak signal, high-resolution settings, low battery, or extreme cold can extend that interval.
The camera must detect motion, capture and store the file, connect, and transmit it; repeated triggers can consequently queue images. Immediate-upload mode can reduce how many photos you capture and send, whereas scheduled uploads limit repeated connection attempts. Test several triggered photos at your final mounting location. If delivery remains slow, reposition the camera or add a compatible external antenna. Then recheck timing in normal field conditions.
LTE Band Compatibility Differences
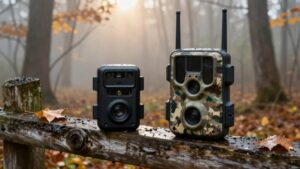
Your camera must support the LTE bands your chosen carrier uses at your exact property, because a SIM card can’t overcome an incompatible modem. Regional band assignments and coverage vary, so your phone’s signal doesn’t confirm that the camera will connect reliably. Compare the camera’s listed bands and carrier options with local carrier network data before you buy.
Carrier Band Support
Carrier band support determines whether a cellular trail camera can connect at all, even when you install a compatible SIM. A SIM authorizes service; it doesn’t add missing radio hardware.
Before buying, compare the camera’s listed LTE bands with your chosen carrier’s published network specifications and coverage for the exact property address. Carriers operate on different bands, so a camera and your phone can perform differently at the same stand.
Treat signal bars as a rough measurement, not proof of compatibility. After confirming bands, activate the camera and test it at its intended mounting position. If coverage is weak, choose a multi-carrier or carrier-selectable model; it lets you try another supported network without replacing the camera when one network performs poorly on your property.
Regional LTE Band Variations
LTE band compatibility changes by country and carrier, so a trail camera built for one market may fail to register on a network elsewhere.
Before buying, compare the regional model’s supported LTE bands with the specific carrier’s bands at your camera site. A compatible SIM can’t overcome a mismatch, and strong signal bars won’t create a usable radio link. Carriers within one country may deploy different bands locally, so check local coverage rather than national claims. Confirm specifications before deployment; bars measure only the network your camera can already access at deployment.
| Location check | What you verify | Result |
|---|---|---|
| Country/region | LTE band list | Correct market model |
| Carrier/site | Active local bands | Network registration |
| Bars shown | Band match first | Reliable photo transmission in the field |
Camera Modem Band Limits
A camera’s modem can use only the LTE bands built into it, so it may fail to register even when a phone shows strong service at the same site. Before you buy or mount a camera, compare its LTE band list with the bands your carrier uses at that location. Coverage maps and phone tests suggest availability, but they don’t prove the camera can access the network.
A SIM card doesn’t solve a radio mismatch: the modem, carrier requirements, account plan, and local LTE deployment must align. More signal bars won’t overcome an unsupported band. Multi-carrier or carrier-selectable cameras give you choices, yet each model still has fixed band limits. Verify compatibility by model and region, then test activation before relying on the camera for photo delivery.
Cold-Weather Battery Voltage
Cold temperatures lower battery voltage, so your camera may lack the power needed to maintain a cellular connection and transmit photos. You’ll generally get better cold-weather performance from lithium batteries, but you should confirm compatibility with your camera. Monitor battery health and test the camera at its actual outdoor temperature, not just indoors.
Voltage Drops In Cold
Low temperatures reduce available battery voltage, which can leave a cellular trail camera able to capture images but unable to reliably send them. Transmission places a much heavier, short-duration load on the power system than image capture. As voltage sags, the modem may fail to connect, drop a session, or abandon an upload, even though the camera appears operational.
If cold-weather uploads become inconsistent, inspect battery condition and confirm that your power source meets the camera’s specified voltage, capacity, and connector requirements. A compatible external battery or solar setup can reduce strain, but verify cable compatibility and installation details first. Then test photo delivery at the mounting location during cold conditions. This separates voltage-related failures from weak signal problems, since both can interrupt uploads.
Lithium Batteries Perform Better
Lithium batteries generally hold their voltage more effectively than alkaline cells in freezing conditions, giving a cellular trail camera a better chance of completing power-intensive network connections and photo uploads. Because cold raises internal resistance, alkaline voltage can sag during the current peaks required when your camera registers on the network, negotiates a connection, and transmits an image. That sag may interrupt uploads even when signal strength is adequate.
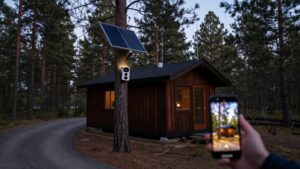
Lithium cells help preserve the operating margin needed for those bursts, so you can separate power limits from coverage problems more reliably. Use the battery chemistry and size specified by the manufacturer. For remote deployments, an external battery or compatible solar panel can extend service intervals, provided voltage, connector, cable, and power limits match camera.
Monitor Battery Health
Monitor battery health during actual cold conditions, because a battery that appears adequately charged in mild weather can lose voltage and available power when temperatures fall. Cellular photo transmission draws substantial power, so low cold-weather voltage can prevent uploads even when signal bars are sufficient. Check your camera’s battery indicator and status reports while temperatures are low; don’t rely solely on readings taken indoors or in warmer periods.
Install fresh, quality batteries or use a compatible external power source after verifying the camera’s specified voltage and power requirements. If photo delivery becomes intermittent in cold weather, reduce transmission frequency to lower peak demand. Inspect the SD card to confirm local captures. Saved captures show activity detection continued, but power was insufficient for cellular uploads.
Testing Uploads Near Metal Barns
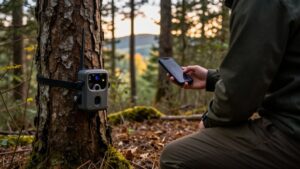
Because metal siding can attenuate cellular signals, test the trail camera at its intended mounting height and location beside the barn before final installation. Check the camera’s signal indicator, then compare several nearby positions; moving it a few feet can improve reception. At each position, trigger several test photos and verify that every image reaches the app or portal.
Don’t treat signal bars as proof of delivery. Allow one to three minutes per transmission, and repeat the trials at different times to assess consistency. If uploads are slow, incomplete, or unreliable, install a compatible external antenna. Place the antenna higher and farther from the metal surface, following manufacturer guidance for cable connections and weatherproofing. Then repeat the same photo-upload tests before committing to the mount.
Carrier Outages Halt Photo Delivery
Even a well-tested camera can stop delivering photos during a carrier outage, despite showing usable signal bars. Signal bars indicate radio reception, not that your carrier’s data network can authenticate and route uploads. Before moving the camera, check the carrier’s outage status and verify the camera connection.
| What you observe | What you should do |
|---|---|
| Bars remain visible | Check carrier outage alerts. |
| Photos don’t arrive | Confirm SD-card recording. |
| Service returns | Expect 1–3 minutes per upload. |
During the interruption, your camera can continue capturing images to a compatible SD card, but it can’t transmit them. Once service resumes, queued delivery can lag as each image reconnects and uploads. Review stored photos after reconnection to confirm you didn’t miss captures or lose evidence of wildlife activity entirely.
Ignoring Data Plan Limits
Strong signal bars don’t confirm that your cellular plan can still transmit photos. Bars measure radio reception, not your remaining photo or data allowance. A camera can show excellent service yet fail to deliver images after it reaches its monthly limit.
- Check your account’s remaining data or photo quota and its renewal date; don’t rely on the camera’s signal display.
- Estimate usage from image resolution, file size, and trigger frequency. Reduce resolution or transmission volume when usage approaches the cap.
- Confirm your SIM and plan support the camera’s carrier and operating region.
When allowance is exhausted, many models continue recording captures to the SD card, depending on their settings. Cellular delivery resumes only after available plan data returns or you purchase additional plan data later.
Verify APN Before Mounting
Before mounting the camera, verify that its SIM and plan match the supported carrier, cellular bands, and operating region, then use the APN values supplied by the manufacturer or carrier. Signal bars only indicate radio reception; they don’t prove the camera can establish a data session or upload images. Consult the setup guide or carrier documentation, and enter the APN exactly as listed, including capitalization, username, password, and authentication type when required.
Save the configuration, trigger test photos, and confirm successful delivery from the intended mounting location. If uploads fail despite usable bars, inspect the APN for typing errors and verify SIM-plan compatibility again. Also confirm the account is active and the camera reports a data connection. Don’t install the unit until uploads work.
Conclusion
You don’t need full signal bars to run a cellular trail camera; one stable bar can transmit photos if the camera supports the local LTE band and uses the correct APN. Test real uploads at the mounting site, especially near metal structures, and expect motion-triggered delays. Monitor battery voltage during cold weather, confirm your data plan remains active, and recognize that carrier outages can stop delivery even when the camera still shows usable signal strength.