How to Test Cell Signal for a Trail Camera Before You Hang It
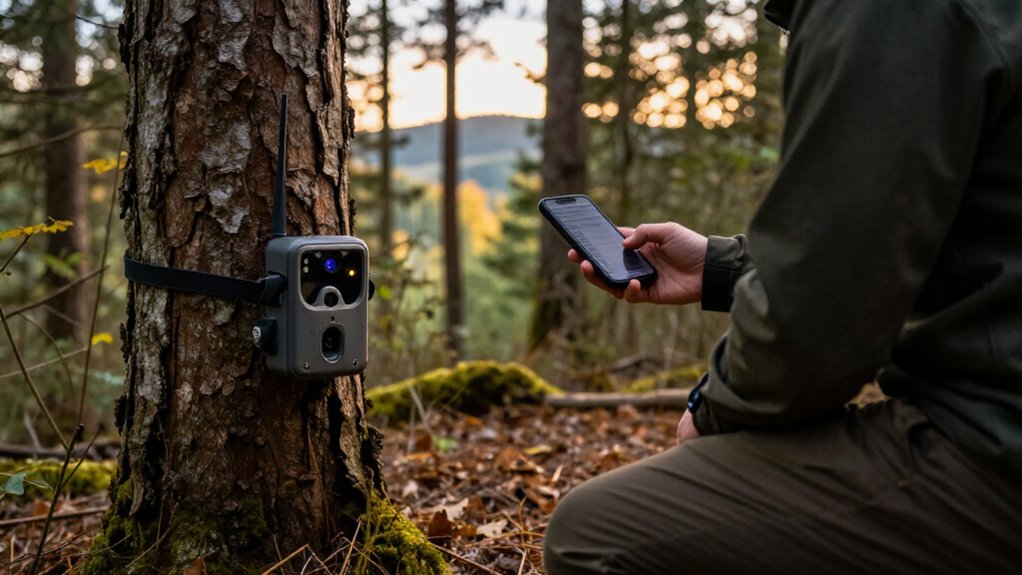
At the exact mounting spot, install a carrier-matched SIM, fresh batteries, and an SD card, then check the camera’s RSSI or signal bars. Aim the antenna upright and clear of brush, metal, and limbs. Send test photos over 10 minutes, logging arrival times and errors.
If uploads lag or fail, raise or move the camera a few yards and retest. Confirm delivery after mounting; next, coverage maps and weatherproofing checks help secure your setup.
10-Minute One-Bar Signal Test
At the exact height and location where you’ll mount the trail camera, check the camera’s own signal indicator or app, then send a test photo and verify that it reaches the app. Your phone’s one bar doesn’t establish camera performance because it may use a different carrier or band. For 10 minutes, log each upload: arrival, delivery time, and app errors. If a photo fails or lags, move the camera a few yards or raise it above brush.
Retest after every adjustment, holding its orientation constant, and compare results under the same conditions. Don’t trust one successful image; seek repeatable delivery. Document the strongest position. If uploads still fail after 10 minutes, select a better-signal location or use SD-card recording instead of cellular service.
Verify Carrier Coverage Maps
Before you deploy the camera, check the exact property location on the official coverage map for the carrier its SIM uses. Nearby service may use another network, so don’t treat it as proof. First, verify that your camera supports that carrier and its bands. Then use the map to narrow your plan:
- Zoom to the property, not the nearest town.
- Compare each supported carrier if your camera can switch networks.
- Favor mapped LTE or 5G coverage over fringe areas.
- Note ridges, draws, timber, and distance from towers.
- Schedule a test at intended height and mounting point.
Coverage maps predict availability; they don’t guarantee photo uploads. Trees, terrain, antenna orientation, and position can change results. Confirm performance in field at that exact location before permanent camera installation.
Step 1: Insert Carrier-Matched SIM
Once the coverage map identifies the best carrier at the property, install the SIM supplied with your camera or one the manufacturer explicitly lists as compatible. Match the SIM’s carrier to service at the exact mounting area; your phone may use another network and show misleadingly stronger signal. Before testing, confirm the SIM, camera, and service plan support the same region and cellular bands.
If your model offers carrier switching, verify that this SIM and plan authorize it; don’t assume the camera can roam onto every available network. Seat the SIM according to the camera’s instructions, then test at the intended mounting spot.
Trigger a test photo and confirm it uploads successfully. A completed transmission verifies the carrier match and usable data path there.
Step 2: Load Batteries and SD Card
Load fresh, manufacturer-recommended batteries and a compatible SD card before you assess cellular performance, since low voltage or unrecognized storage can mimic a signal problem. Install new cells with correct polarity and close the battery compartment securely. In cold weather, use lithium batteries; they maintain voltage better than alkaline cells.
Insert the card as the manual specifies, then format it in the camera. Formatting prevents file-system conflicts and prepares the card for reliable capture. Confirm the camera detects its available storage and takes a test image.
Review the image on the camera or card reader to verify it saved correctly. If your model includes internal memory or cloud storage, check how it interacts with the SD card. Verify the camera uses the recording destination.
Step 3: Check RSSI in Camera Menu
At the exact spot where you plan to mount the camera, open its menu and record the RSSI value or signal-bar reading. Don’t judge coverage from the road, a parked vehicle, or a point a few yards away; the camera’s antenna must work at its actual location. Note the reading, then move the camera among each realistic mounting position and height.
Check again after rotating it toward the planned aim, because tree cover, slope, rock, and nearby structures can alter reception. Use RSSI or bars as a screening tool, not a guarantee of dependable cellular service. A camera may display usable signal while still failing to transfer images consistently. Record each result and choose the location with the strongest, most repeatable reading before you permanently secure it.
Step 4: Send a Test Photo
Signal readings narrow the choices, but a successful upload confirms whether the camera can actually communicate from the planned setup. Temporarily place it at the mounting height and location, then trigger a photo. Confirm that the image appears in your camera app or cloud account; bars alone don’t prove transmission.
Send several photos at different times, and check each arrival time and status. A single successful upload can mask marginal service. If an image fails or arrives late, move the camera a short distance or raise it, then repeat the test and compare results. Once uploads are consistently successful, record the final position, RSSI reading, and test outcome. After you permanently install the camera, use those notes to confirm that its performance hasn’t changed.
Step 5: Rotate Antenna Toward Nearest Tower
Aim a directional antenna toward the estimated tower bearing, using a phone tower map or compass as a starting point. Keep the antenna mostly vertical, then raise it above grass and brush. Leave clear space around it; thick limbs and large metal objects can block or distort reception.
Rotate the antenna in small, repeatable increments, such as 10 to 15 degrees. After every adjustment, trigger a test photo and record whether it uploads, how long delivery takes, and whether failures occur. Don’t stop at the closest tower direction. Sweep adjacent bearings and compare several uploads at each position, because the nearest site may not carry your camera’s carrier or supported bands. Select the bearing with the most consistent delivery. Mark its position for mounting.
Step 6: Weatherproof Cable Entry Points
Protect the cable entry before mounting the camera, because even a strong antenna setup can fail if water reaches the housing or connector. Route any external-antenna cable through the camera’s designated cable gland or weatherproof port. Seat the cable fully, then tighten the gland until its seal grips evenly; don’t overtighten, since crushed seals can leak or split. Inspect the gasket for dirt, cracks, or distortion first.
Press port caps over every unused connector and verify they sit flush.
Form a drip loop directly below the entry point. This low loop forces rain to fall from the cable instead of following it into the housing. Once installed, tug the cable lightly to confirm the entry remains secure. Keep exposed cable joints and connectors elevated and shielded from standing water there.
Confirm Photo Arrival in App
Before you permanently mount the trail camera, take a test photo from the intended location and verify that it appears in the app. Open the image and confirm its resolution, timestamp, and camera name match your setup. If it doesn’t arrive, verify the SIM is installed and activated, confirm the data plan is current, check the signal indicator, and retry the upload.
Adjust the camera position or antenna and repeat the test at every likely mounting spot; reception can change over a few feet. After completing setup, send another test photo. That second confirmed arrival shows the camera can transmit reliably from this location, rather than merely displaying signal bars as a connection estimate in the field today under normal conditions.
Diagnose Delayed Photo Uploads
When photos reach the app late, test the camera’s actual data connection at the intended mounting height rather than relying on phone bars or a signal estimate. Send test photos from positions at different times and log arrival time at each position. Weak coverage triggers retries, extends radio-on time, and drains batteries.
| Position | Test result | Adjustment |
|---|---|---|
| Mount height | Delayed | Raise camera |
| Higher opening | Faster | Keep position |
| Vertical antenna | Improved | Secure it |
| External antenna | Compare | Use short cable |
Keep antenna vertical and away from brush, thick limbs, and metal. In marginal coverage, test a compatible external antenna with shortest cable. You can reduce photo size and upload frequency. Don’t mistake more bars for dependable transmission: compare delivery times. An antenna helps only where service exists.
Clear Vegetation After Storms
After storms, inspect the camera’s antenna path for fallen branches, bent grass, and debris that can block or brush against it. Clear grass and brush around the antenna, keeping it upright and above nearby vegetation. Remove thick limbs from its line toward the likely cell tower, and keep large metal objects away from the antenna.
Then retest the camera at its exact mounting height and position. Terrain and plant density can change reception only a few feet away. Check the signal reading, but don’t rely on bars alone. Send a test image and confirm that it uploads promptly. Repeat this procedure after later storms and as seasonal growth closes around the site. If uploads fail, reposition the unit, raise it, and test transmission again before final installation.
Conclusion
Before you mount the camera, run this 10-minute test at the exact tree, height, and direction you’ll use. Confirm coverage, install the correct SIM, then verify batteries, SD card, RSSI, and app delivery. Seal cable entries and watch for upload delays before leaving the site.
After storms, retest signal and trim new vegetation blocking the antenna path. You’ll avoid empty cards, missed images, and unnecessary return trips when conditions change during initial field deployment and monitoring.