Trail Camera Buying Guide for Beginners: Pick the Right First Camera
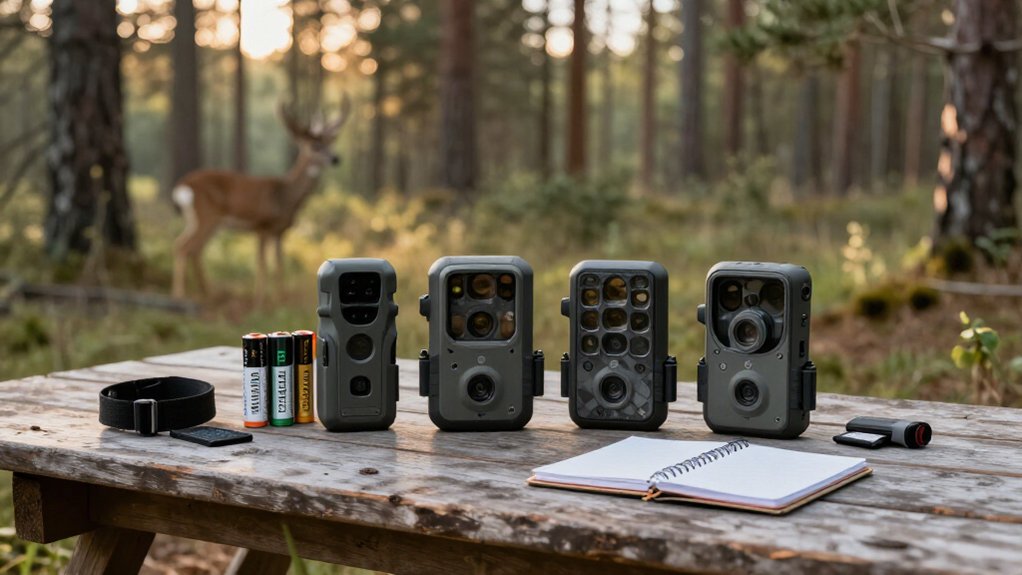
Choose a non-Cellular Trail Camera if you can retrieve an SD card regularly; it avoids monthly data fees and works without reliable coverage.
Match 60 to 80-foot detection and illumination range to your terrain, use 0.5-second-or-faster triggering, and choose no-glow infrared for discreet wildlife monitoring.
Mount it 3 to 4 feet high, preferably facing north. Confirm AA lithium battery support, compatible SD-card capacity, strap fit, and two-year warranty terms.
The details below help you refine each choice with confidence.
Choose Non-Cellular for Simplicity
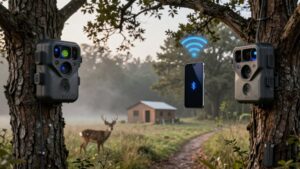
For the simplest setup, choose a non-cellular trail camera that stores photos and videos directly on an SD card. You retrieve the card, view the files in person, and return it to camera. This design eliminates transmission hardware, keeps operation straightforward, and avoids the recurring plan commonly associated with cellular models.
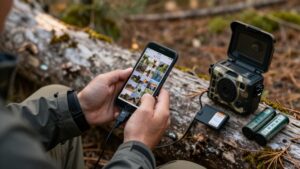
Non-cellular cameras also typically cost less at purchase and remain practical on properties with weak or nonexistent cell coverage. Choose this type when you can visit the camera on a regular schedule and want an economical wildlife-scouting tool. Before deployment, verify the manufacturer’s supported SD-card format and capacity, then use a compatible card. During each visit, collect the images, inspect battery status and lens condition, and confirm the camera is triggering and recording correctly.
Set a Monthly Data Budget
Set a monthly data budget before buying a cellular trail camera, since its total cost includes both the camera and an ongoing service plan. Compare each manufacturer’s plan tiers and identify included photo transmissions, video delivery, and on-demand image requests. Estimate usage from your monitoring schedule: a camera sending frequent wildlife, security, or feeder activity can consume substantially more data than one checked occasionally.
Before enrolling, verify reliable supported-network coverage at the camera site; three or more bars is a sensible minimum. Weak service can prevent uploads while you still pay monthly. Add the plan fee to your annual operating cost, including overage charges. If the recurring expense doesn’t fit, use a non-cellular model and retrieve its SD card manually. This eliminates monthly data charges.
Match Detection Range to Terrain
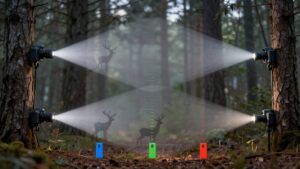
Choose a detection range that fits the camera’s terrain, because its motion sensor typically covers a V-shaped zone extending outward from the lens.
For general wildlife monitoring, 60 to 80 feet gives you a practical baseline. In open fields, select a longer range to monitor distant crossings. On wooded trails, a shorter range reduces triggers from branches and animals beyond your intended framing. Compare the sensor’s stated distance with its nighttime illumination distance; detection without usable illumination wastes captures.
Also check zone width: a broad V covers more ground and increases the odds that an animal travels near frame center.
| Terrain | Setup |
|---|---|
| Open field | Longer range; match illumination |
| Wooded trail | Shorter range; reduce off-path triggers |
| Mixed edge | 60 to 80 feet; check width |
| Wide corridor | Broad zone coverage |
No-Glow Versus White Flash
No-glow cameras use nearly invisible infrared LEDs, giving you discreet black-and-white night images but often less range and more grain. White-flash models use visible light to produce color night photos and illuminate farther, though the flash can startle wildlife. Choose no-glow for concealed trail or feeding-area monitoring, and use white flash where color detail and wider nighttime coverage outweigh disturbance.
How Each Flash Works
At night, flash type determines what your trail camera records and how noticeable it is. No-glow models use black infrared LEDs, which emit light that people and most wildlife barely detect. The camera’s sensor converts reflected infrared illumination into a usable nighttime image without a visible burst. This makes no-glow practical when you need discreet monitoring around feeding sites, trails, or property.
However, infrared illumination often has a shorter effective range, so distant subjects can appear darker or grainier.
White-flash cameras fire visible light, like a conventional camera flash. Their stronger illumination typically reaches farther and reveals more scene detail at longer distances. You’ll trade discretion for that coverage: the flash is obvious and can startle animals. Choose no-glow when concealment matters; choose white flash when maximum illumination matters.
Night Image Color
Night image color depends on the flash system your trail camera uses: no-glow infrared models record black-and-white images, while white-flash models use visible light to capture color after dark. For discreet monitoring, choose no-glow. Its black LEDs do not show visible light, but lower illumination can make images darker or grainier. Range may also be shorter, especially across open ground or in very dark settings. Check unedited nighttime sample photos at your intended distance.
More infrared LEDs can improve illumination and range, but lens performance matters too; don’t judge image quality by megapixel count alone. Choose white flash when you need nighttime color for identifying coat patterns, antler characteristics, or other visual details. Visible white illumination generally reaches farther than infrared, helping cover clearings.
Wildlife Disturbance Levels
When minimizing wildlife disturbance is your priority, choose a no-glow infrared trail camera. Its black LEDs are invisible to you and game animals, so the camera can record nighttime activity without a visible burst of light. That discretion makes no-glow the better option when animals’ natural behavior matters most.
Accept the image trade-off: no-glow cameras produce black-and-white night photos that can look darker, grainier, and shorter-ranged than white-flash results. A white-flash camera delivers color nighttime images and usually lights subjects farther away, but its visible flash can startle wildlife or make the camera noticeable. Compare night-photo samples before buying. Also check infrared LED count: more LEDs increase illumination and flash range. Choose white flash when brighter, color night images outweigh disturbance.
Best Placement Scenarios
Placement should drive your flash choice: mount a no-glow camera on game trails, travel corridors, or near bedding areas where you need to avoid alerting wildlife or passersby. Black LEDs remain invisible, letting you monitor sensitive routes without visible nighttime disturbance. Aim it across a trail to keep subjects inside its shorter range. Expect darker, grainier black-and-white night images.
Choose white flash for open food plots, field edges, or large clearings where you need broader coverage and color identification after dark. Its brighter illumination reaches farther, helping you document animals beyond infrared range. However, position it away from bedding cover and heavily used trails: the visible burst can startle wildlife and draw attention from people. Use stealth in cover; use color in open ground.
Best Camera for Backyard Wildlife
For backyard wildlife, you’ll often get the best value from a weatherproof, non-cellular camera that saves images to an SD card and uses lithium batteries. Choose infrared or no-glow flash for minimally disruptive black-and-white night photos, and select a model with a 0.5-second-or-faster trigger speed. Mount it 3 to 4 feet high, face it north, and aim it at a wildlife trail or water source you can check regularly.
Ideal Backyard Camera Features
A backyard trail camera needs adjustable PIR sensitivity, a trigger speed of 0.5 seconds or faster, and no-glow infrared illumination to reliably capture wildlife without excessive false alerts or visible nighttime flash. Set PIR sensitivity low enough to ignore wind-moved leaves yet high enough for rabbits and birds. A fast trigger reduces empty frames and missed squirrels near feeders. No-glow models keep nighttime monitoring discreet, although their images remain black and white.
Choose a non-cellular camera when you can collect the SD card regularly; it costs less and simplifies setup. Use cellular only when reliable coverage lets you review photos remotely. Mount the unit 3–4 feet high and point it north to limit sun-related triggers. Install lithium batteries for steadier cold-weather operation in winter.
Recommended Flash Types
Flash type determines how your camera records backyard activity after dark. For most yards, infrared is a practical default because it produces black-and-white night images while causing minimal disturbance. Choose no-glow infrared when you need illumination invisible to animals and people. It keeps the camera discreet, but its night frames can look darker or grainier than images from a white-flash model.
Low-glow infrared uses a faint red visible flash. It still records black-and-white images and can suit you if slight visibility isn’t a concern. Select white flash only when color night photos and longer illumination matter more than discretion; its bright light can startle wildlife. Compare night samples, not advertised megapixels; lens quality and infrared illumination determine detail, exposure, and usable range after dark.
Placement For Wildlife Activity
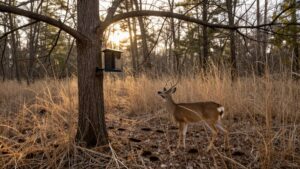
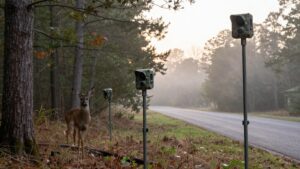
Place your trail camera where wildlife already concentrates: along visible travel paths, near water, or beside established feeding areas. Mount it about 3 to 4 feet above the ground, positioning the lens roughly level with the animals’ expected body height. When possible, aim it north to limit direct sunrise and sunset light, which can cause glare, overexposure, and unnecessary triggers.
Select a shaded location with a clear viewing lane. Remove swaying grass, branches, leaves, and other debris from the detection zone and foreground; these can block subjects or trigger the camera. Check the background too, avoiding bright open sky behind the trail. Test several angles and distances over a few days. Review where animals enter the frame and adjust height, direction, or position until captures improve.
Power And Storage Needs
Reliable power and adequate storage keep a backyard wildlife camera recording when activity peaks. AA batteries are common and easy to replace. Choose lithium batteries when you need longer runtime or expect cold weather, since they perform better in cold conditions. For cameras near power, use a compatible solar panel or external power pack to reduce battery changes.
Follow the manufacturer’s SD-card requirements before buying media. A Class 10 card with up to 32 GB provides a practical starting point for many beginner cameras. Select a card rated at least 80 MB/s to support video capture and quicker transfers.
Then match capacity to your camera’s resolution, clip length, and daily activity. Choose enough capacity so the card won’t fill too quickly between checks.
Check SD Card Compatibility
Before buying an SD card, check your trail camera’s manual or manufacturer specifications for the supported card type and maximum capacity. Card formats vary, so confirm whether your model accepts standard SD, SDHC, or another format before ordering. A Class 10 card up to 32GB is a practical baseline when your camera supports it, providing reliable space for routine photo capture.
If you plan to record video, choose a compatible card rated for transfer speeds of at least 80 MB/s. This helps the camera write video files without bottlenecks or recording errors. Although larger cards hold more images and clips, don’t exceed the manufacturer’s capacity limit. An unsupported high-capacity card may not initialize, may record inconsistently, or may prevent the camera from operating properly.
Compare Two-Year Warranty Coverage
A two-year warranty can add real value, but compare the actual coverage rather than relying on the headline term alone. Check whether the policy covers both parts and labor or limits protection to specified components. Read exclusions carefully: many warranties exclude battery damage, water intrusion, theft, and accidental damage.
Confirm when coverage starts, usually the purchase date, and whether you must register the camera or retain the receipt. Determine whether a qualifying failure results in repair, a replacement, or the manufacturer’s choice. Also compare claim steps and return-shipping terms. You may need to obtain authorization, package the unit securely, and pay shipping one or both ways. A straightforward process and prepaid return label can reduce downtime and your out-of-pocket service cost after a failure.
Avoid Proprietary Battery Formats
Beyond warranty terms, battery format affects how easily you can keep a trail camera running. Before you buy, open the specifications or compartment photos and confirm that the camera accepts standard AA cells. AAs give you broad replacement access and let you carry spares without ordering a brand-specific pack.
- Choose AA-powered models for simple field replacements.
- Use lithium AAs for longer service life.
- Prefer lithium cells in cold conditions; alkalines weaken sooner.
- Avoid packs available only from one manufacturer.
- Check external-pack or solar-panel connector compatibility.
A proprietary pack can restrict your options, cost more, and leave the camera idle if the pack fails or becomes unavailable. If you want supplemental power, verify the exact voltage, plug type, and approved accessories before placing an order.
Verify Mounting Strap Length
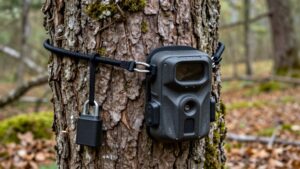
Check the included mounting strap’s usable length against the circumference of the tree where you’ll place the camera. Before buying, read specifications and measure the trunk at intended mounting height. Compare its circumference with the strap’s usable length, allowing enough tail to thread and tighten the buckle.
- Measure trunk circumference with tape, not diameter.
- Check stated usable strap length, not total webbing.
- Leave extra length for buckle overlap and adjustment.
- Tighten strap until camera cannot rotate or sag.
- Confirm compatibility with longer replacement straps or mounts.
A loose strap lets the housing shift from the trail as wind, rain, or animal contact move it. That changes framing and can aim the sensor away from the travel route. Wide, mature trees often exceed basic included straps. Verify this before ordering.
Conclusion
Your first trail camera should fit your property, budget, and maintenance routine. Choose a non-cellular model when you want simple setup, then match detection range and flash type to your exact terrain and subjects. Confirm SD card limits, battery availability, strap length, and two-year warranty terms before buying. For backyard wildlife, prioritize reliable close-range detection over maximum advertised range. You’ll avoid subscription surprises, missed captures, and replacement hassles by checking these specifications before you buy.