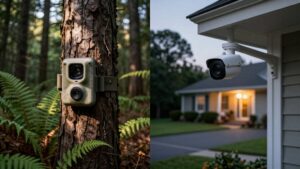
How to Set Up a Trail Camera Over a Deer Feeder Without Constant Triggers
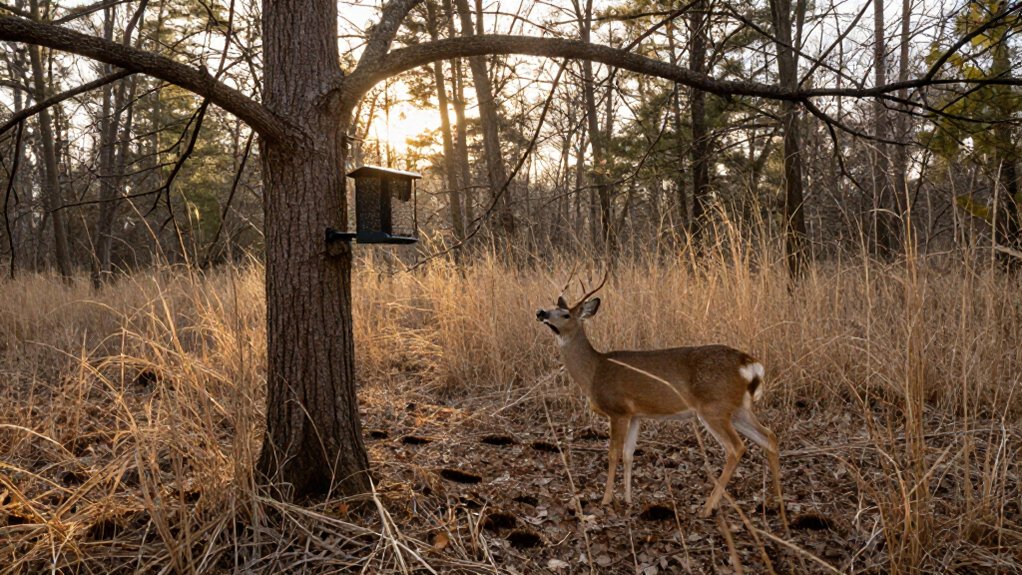
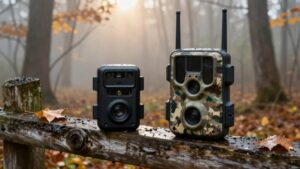
Mount your camera 3–4 feet high, far enough to frame the feeder, full deer, and approach routes; aim north when practical. Start with low PIR sensitivity, single-photo mode, and a one-minute delay, then compare daytime and infrared results.
Clear swaying grass and spiderwebs, format a compatible SD card, install approved lithium AAs, and lock the housing securely. After 24 hours, verify trigger counts and inspect feeder ports. Additional checks improve dependable wildlife observations over time.
Feeder-Range Camera Placement Results
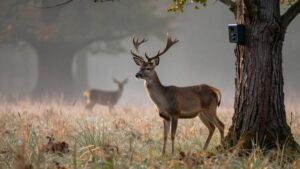
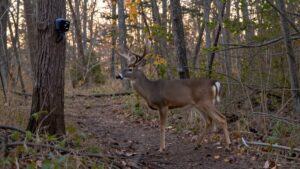
Start with the camera at a moderate distance from the feeder, then evaluate the first several days of images before making adjustments. Aim to keep each deer’s full body, head, and nearby approach routes in frame. This field of view supports more reliable counts and behavioral observations, which can inform responsible feeding-site monitoring.
If deer appear washed out at close range, move the camera farther away; if individuals lack identifiable detail, reduce the distance. A camera stake can place a cellular unit far enough to record surrounding activity, rather than only feeding. Mount it about 3–4 feet high and angle it slightly downward when needed. Check daylight and infrared images because nighttime illumination may overexpose nearby deer. Repeat reviews after changes to verify results.
Pack Lithium AA Batteries
Lithium AA batteries can provide dependable power for compatible trail cameras, particularly during cold weather, but you should confirm the battery type in the manufacturer’s manual before installation. Lithium cells often maintain voltage better in freezing conditions, helping you collect consistent observations while limiting unnecessary maintenance trips.
- Check the battery indicator during each planned visit.
- Carry compatible spare AAs, especially when forecasts predict freezing temperatures.
- Review trigger frequency and capture settings; rapid photo bursts or long videos accelerate power use.
- Pack every used battery out and follow local recycling or hazardous-waste guidance.
This routine supports reliable monitoring of feeder activity without leaving waste on the landscape. By matching power checks to expected demand, you reduce missed records and avoid disturbing deer more than necessary.
Step 1: Clear Swaying Grass Below Camera
Inspect the ground below your trail camera for tall grass or low branches that can sway into the lens or PIR detection zone, because wind-driven vegetation often causes false triggers. Grass can grow or shift after installation, especially near productive feeder sites where disturbance and moisture encourage vegetation. Don’t trim the plants that enter the viewing or detection area, preserving surrounding native cover whenever possible to limit unnecessary habitat disturbance.
Then monitor several days of images and compare trigger frequency before and after maintenance. If empty frames persist, set Smart Zones to exclude the moving section or lower PIR sensitivity for local conditions. Finally, recheck alignment: the camera must still cover the feeder and likely deer approach routes while protecting surrounding habitat from needless disturbance.
Step 2: Format the SD Card
Format the SD card in the trail camera before deployment, following the manufacturer’s instructions, to prepare the card for that model’s file system and recording settings. Formatting erases existing files, so download and securely store any photos or videos you need before proceeding. Use a card the manufacturer lists as compatible, and select enough capacity for anticipated feeder traffic, image resolution, and video use.
Before you leave, verify that the camera recognizes the card and displays a ready-to-record status. This simple check reduces data loss and avoids gaps in observations that can weaken estimates of deer activity, timing, and feeder use. During scheduled maintenance, inspect card status and review recording performance. If you find errors, save retained files, then reformat the card inside the camera.
Step 3: Aim Camera Northward
With the card ready, orient the trail camera northward when site conditions allow, especially in the Northern Hemisphere. This placement reduces direct sunlight on the lens, limiting glare and exposure errors that can obscure identifying details in deer images. It also helps produce more consistent daytime records, supporting reliable observation of feeder use and local wildlife activity.
However, don’t force a north-facing setup if it misses the feeder, travel corridor, or approach route. Deer coverage matters more than compass direction. Avoid aiming directly toward sunrise or sunset, because low-angle light can wash out frames and create shadows. After installation, inspect daytime photos for glare, shadow bands, and poor framing. Reposition the camera slightly until deer remain visible while the lens receives less sun.
Step 4: Set Motion Sensitivity Low
Start with low PIR motion sensitivity when monitoring a deer feeder, because nearby animal movement, shifting temperatures, and small vegetation can produce unnecessary triggers. Low sensitivity helps the sensor prioritize substantial movement within the intended feeding area rather than reacting to minor thermal changes or motion at its margins. If false images persist, inspect the detection zone for wind-blown grass or branches and remove them before altering camera settings.
Then collect images across several days and adjust sensitivity only one level at a time. Test each setting during daylight and after dark, since PIR detection and infrared illumination can perform differently under changing conditions. Match sensitivity to your camera’s distance from the feeder and monitored area; maximum sensitivity isn’t automatically most effective or wildlife-conscious.
Step 5: Review Trigger Delay Daily
Review the trigger-delay setting daily after checking images, because it determines whether the camera documents meaningful changes at the feeder or fills the card with duplicates. Deer often remain at feed sites for several minutes, so begin with a one-minute delay in single-photo mode. This interval can limit repeated images from one visit while preserving useful records of feeder use.
If photos show that new deer arrivals, departures, or shifts in group composition occur between captures, shorten the delay. If the card contains near-identical frames, lengthen it. Adjust only in small increments, then compare the following day’s image sequence with the prior day’s results. Account for visit duration, herd activity, and feeding intensity. A delay that performs well at one feeder may miss important behavior.
Step 6: Lock Housing, Pack Out Tools
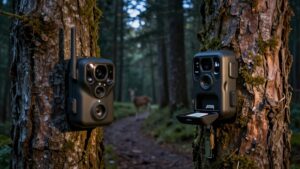
After refining the trigger delay, lock the camera housing to a stable tree or stake with a tight strap so wind, deer contact, or routine feeder activity can’t shift its aim. Stable alignment preserves a consistent sampling area, helping you interpret wildlife use without equipment-induced variation.
Clear branches, grass, and leaves from both the lens and PIR sensor; moving vegetation can create avoidable activations and obscure identification. Bring a screwdriver, spare batteries, mounting straps, and an SD card, allowing you to correct faults during one low-disturbance visit. During maintenance, inspect the housing seal, strap tension, lens, PIR window, battery level, and card condition. Remove all tools, trimmed vegetation, and spoiled feed when you leave. Packing out materials reduces litter, limits wildlife hazards, and keeps the site unobstructed.
Verify 24-Hour Trigger Count
Once the camera has operated for a full 24 hours, check its images or app activity to count triggers and identify their timing. Compare this total with observed feeder visits. Several images from one deer visit usually mean the trigger delay is too short.
When deer feed for several minutes, use single-photo mode and set a one-minute delay to limit duplicates. If counts stay high, inspect the monitored area for moving grass or branches, then adjust PIR sensitivity or Smart Zones. Change only one setting at a time, and measure the next 24-hour count. This controlled comparison shows whether you reduced unnecessary activations without missing new arrivals. It also helps you document camera performance consistently, protecting data quality for responsible wildlife observation and management.
Blank Frames: Remove Spiderwebs
If your 24-hour review shows blank frames or unexplained triggers, inspect the lens and PIR sensor for spiderwebs. Fine strands can sway in light air, creating changing infrared signatures that falsely activate the camera. At each visit, gently remove webs and nearby silk without smearing either optical surface. Also clear moving branches, leaves, and tall grass from the detection zone; this preserves useful wildlife records and reduces needless battery use.
| Check | Action |
|---|---|
| Lens | Remove silk carefully |
| PIR window | Keep surface clear |
After cleaning, examine several new images and compare trigger frequency with the prior review. Reinspect after windy weather, because fresh webs and displaced vegetation can quickly restore false triggers. This maintenance helps you document deer activity accurately while minimizing disturbance and wasted power.
Inspect Feeder Ports for Clogs
Inspect feeder ports during every routine visit, because damp feed, mold, insects, and debris can restrict flow and alter the feeding pattern you’re monitoring. A blocked port can create irregular feeding bouts, which may skew camera records and make deer activity appear lower or more concentrated than it is. During checks of feed levels, the motor, timer, and battery, examine each opening and remove clumped, moldy, or insect-infested material.
Dispose of contaminated feed rather than mixing it back into the hopper, reducing wildlife exposure to spoiled feed. If one port clogs repeatedly, look for moisture entry and correct it by sealing leaks and keeping hopper feed dry. After clearing the obstruction, test the feeder to verify that feed passes freely and dispenses as intended.
Conclusion
You’ll get cleaner deer-feeder data when you place the camera within reliable feeder range, aim it north, and remove moving grass, webs, and other false-trigger sources. Use lithium AA batteries, format a tested SD card, and lock the housing before leaving. Then review the first 24-hour trigger count and adjust placement if blank frames persist. By maintaining clear ports and minimizing unnecessary images, you conserve battery power, storage, and time while improving wildlife observations.