How to View Trail Camera Pictures on Android in the Field
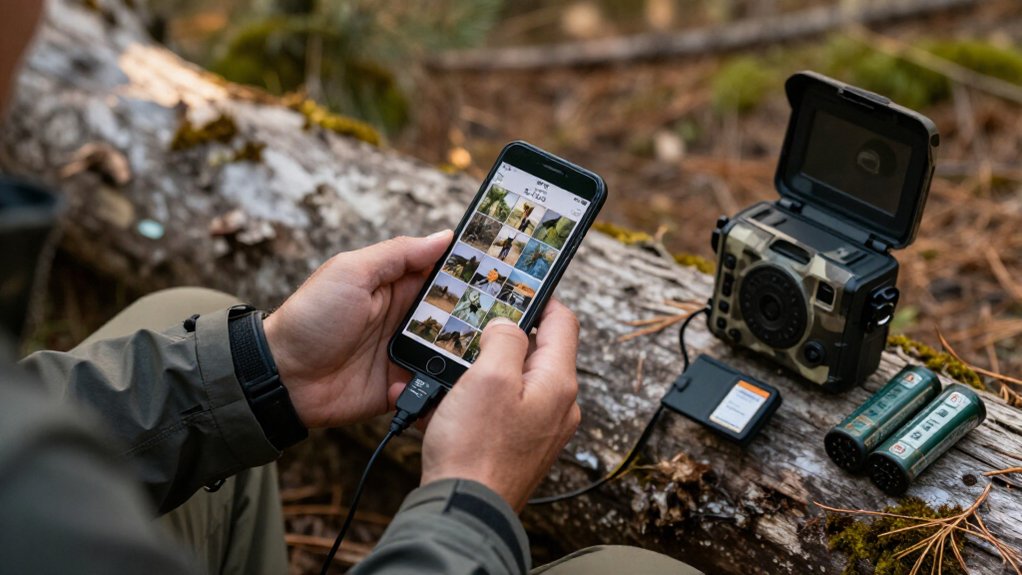
You don’t need cellular service or Wi-Fi: power off the trail camera, remove its SD card by the edges, and insert it into a compatible USB-OTG reader. Connect the reader firmly to your Android phone, then open Files by Google or My Files and browse USB storage, DCIM, or the camera folder.
Confirm several timestamped thumbnails load, sort captures by date, and safely eject before unplugging. The steps below cover compatibility, troubleshooting, and field-safe storage.
View Photos Without Cellular Service
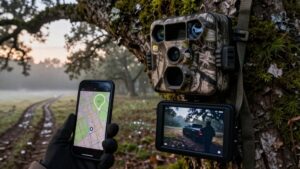
You can view trail camera photos on Android without cellular service by removing the camera’s memory card and connecting it directly to your phone or tablet.
Power off the trail camera, remove its SD or microSD card, and place it in your Android device’s matching card slot or a supported reader. Open Files by Google, your manufacturer’s file manager, or Gallery, then select the removable storage volume. Browse DCIM or the camera’s image folder and open the JPG files locally. You don’t need a SIM signal, Wi-Fi, or mobile data because the images remain on the card.
If Android doesn’t mount the card, try a compatible card reader or inspect photos on the trail camera’s built-in display, if it has one. Card formats vary.
Confirm Android USB-OTG Compatibility
When your Android device lacks a built-in card slot, USB On-The-Go (OTG) support lets it act as a USB host for an SD or microSD card reader. Before heading out, verify OTG in your phone’s specifications or manufacturer support page. A compatible phone can power or communicate with a reader and browse trail-camera files directly.
- Match the reader to your phone’s port: USB-C, micro-USB, or a proven adapter.
- Connect the reader and check Files or your preferred file manager for USB storage.
- If nothing appears, review Android USB settings, then test a reader or adapter known to work with your model.
Some phones limit accessory power, so a compact model-tested reader beats a generic dongle. Confirm compatibility at home; it prevents wasted field time.
Step 1: Remove Camera SD Card
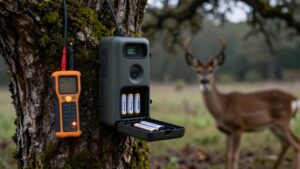
Before moving photos to Android, power off the trail camera to prevent file corruption. Wait until its display and status LEDs go dark, then open the SD-card compartment. Use the card’s release mechanism, usually a light push until it clicks, rather than prying or pulling. If the card resists, check the latch and your camera’s manual; forcing it can damage the slot or card.
Lift the SD card out by its plastic edges. Keep your fingers off the metal contacts, and protect the card from rain, dirt, and pocket debris. A clean, dry case is best while you work. Don’t set it on wet ground or near magnets. Note the card’s orientation before removal, so you can reinstall it after checking images and close the compartment.
Step 2: Connect a USB-C Card Reader
Insert the trail camera’s SD or microSD card into a USB-C card reader that matches its format, then plug the reader firmly into your Android phone’s USB-C port. Use a reader rated for both full-size SD and microSD only when you need both formats; an adapter must seat the microSD card flush. Most current Android phones detect a compatible reader through USB OTG automatically, with no app, cable, or wireless link required.
Keep the phone awake during connection, and remove a thick case if it prevents the plug from fully seating. Wait briefly for Android to mount the card. If it doesn’t register, disconnect it, inspect the card’s contacts, and reconnect. Confirm the reader supports your phone and card capacity. Try another compatible reader.
Step 3: Open Android’s Files App
In Files by Google, check Browse; in My Files, check the main storage screen. Look under Storage devices, USB storage, or the reader’s card label, then tap that entry. A healthy connection usually shows available capacity and folders within a few seconds. If no external device appears, unplug and reconnect it, confirm the card is inserted, and verify your phone supports USB OTG readers.
Step 4: Tap the DCIM Folder
Once the card or camera storage opens, tap DCIM, the standard folder Android cameras and many trail cameras use for media files. Inside, look for image and video files saved by the trail camera. Most units place captures here because Android’s media scanner recognizes the directory reliably.
If DCIM opens but doesn’t show files, open its camera-specific subfolder. Names vary by manufacturer, but often resemble a camera model, DCIM number, or a media directory. Tap a JPG to confirm the connection and preview the image. For clips, tap the video file and let your Android viewer or media app open it. This check helps you verify the card mounted correctly before you leave the field. It also confirms Android can read the camera’s folder.
Step 5: Sort Images by Date
After confirming the files open, sort the trail-camera images by capture date so you can review activity in chronological order. In your Android gallery or file manager, open the sort menu and select Date taken, Date modified, newest first, or oldest first. Choose newest first when you need the latest movement near a feed site, trail, or bedding edge.
Use oldest first to follow a full sequence of visits. If the app doesn’t offer date sorting, inspect each file’s Details panel or read the timestamp embedded in its filename. Compare a few images to verify the camera clock is accurate. A wrong camera date or time can place captures out of sequence and mislead your field assessment. Date sorting also lets you find recent pictures quickly before you leave the location.
Step 6: Eject Card Reader Before Removal
Before unplugging the card reader, safely eject or unmount it from Android’s storage notification or Settings menu. This step tells Android to finish pending writes and release the SD card cleanly. Tap Eject, Unmount, or the USB-storage control, then wait for the confirmation message that says the reader is safe to remove.
Only then disconnect the reader from your phone or tablet.
Skipping this step can interrupt a background file transfer, corrupt a photo or video, or leave the card’s file system needing repair before your trail camera can use it again. If no eject control appears, close your gallery, photo viewer, and file-manager apps first. Then open Settings and choose USB device or SD reader. Eject it, wait for confirmation, and remove it.
Verify Timestamped Thumbnails Load
Open your Android file manager or gallery, navigate to the trail camera’s image folder, and confirm that thumbnails appear with the expected capture date and time. This check verifies Android can read the card’s directory and image metadata after you connect the compatible reader. Scroll through several files, watching for blank previews, duplicate dates, or incorrect times. Tap at least three thumbnails from different points in the sequence.
Each should open as a full-resolution photo when you zoom, not remain a cached preview. Compare the displayed time with the camera’s on-image stamp, if enabled, to spot clock drift. If previews or timestamps don’t show, reseat the card in the reader, reconnect it, and refresh the folder. Then check the trail camera’s date, time, and time-zone settings before deployment.
Reader Not Recognized: Enable OTG
If your phone shows no USB-storage notification or file-manager folder for the reader, confirm that it supports USB OTG (On-The-Go). Open Settings and search “OTG”; some Android brands place it under Additional settings, Connected devices, or USB preferences. Turn it on, attach the reader, then insert the trail-camera card.
| Check | Field cue |
|---|---|
| OTG | Toggle stays enabled |
| Reader | USB icon appears |
| Card | Files folder opens |
| Connector | Plug seats fully |
If nothing appears, disconnect the reader and verify its connector matches your phone’s port: USB-C or Micro-USB. A loose adapter can pass power poorly or fail data detection. Reconnect only after OTG is enabled; Android should then mount the reader and expose its storage in your file manager. If not, it may lack OTG support entirely.
Store SD Card in Case
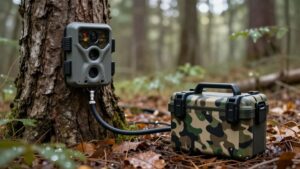
Keep the trail camera’s SD card in a protective case whenever it isn’t in the camera. A rigid, weather-resistant holder prevents the small card from collecting grit, bending, or disappearing in grass while you connect a USB-C reader to your Android phone. Choose slots that grip each card firmly, so it won’t fall out when you open your pack or work from a tailgate.
Label the case with the camera location, card capacity, and deployment date. That identifier lets you match the correct card to the right camera folder when reviewing captures in Files or an Android gallery app. Keep the case in a pocket of your bag, not loose with tools or batteries. Swap cards, close the case, and review captures on Android.
Conclusion
With an OTG-capable Android phone, you can check trail-camera photos anywhere without signal or cloud access. Power down the camera, move the SD card to a USB-C reader, and browse thumbnails in Files. Confirm dates and image loads before you leave the stand. Eject the reader in Android, then protect the card in a case. If nothing appears, enable OTG or test another reader. This workflow keeps your scouting fast, private, and field-ready every time.