How to Store Trail Camera Batteries in the Off Season Without Leaks
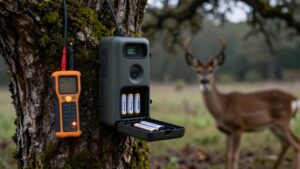
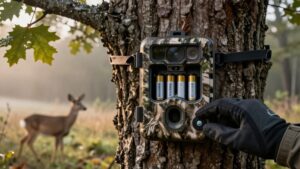
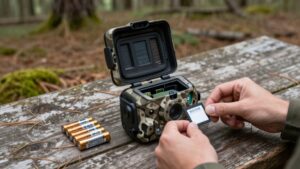
Before storing a trail camera, power it down, remove batteries, and close the empty compartment.
Inspect cells and contacts for moisture, white crust, swelling, or tacky residue; isolate and recycle damaged batteries. Wear nitrile gloves when cleaning contacts with vinegar, then dry them completely.
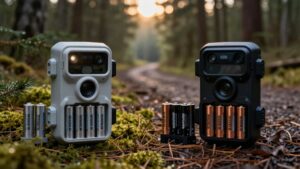
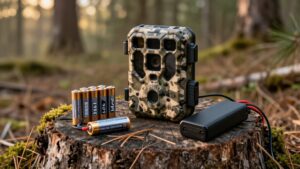
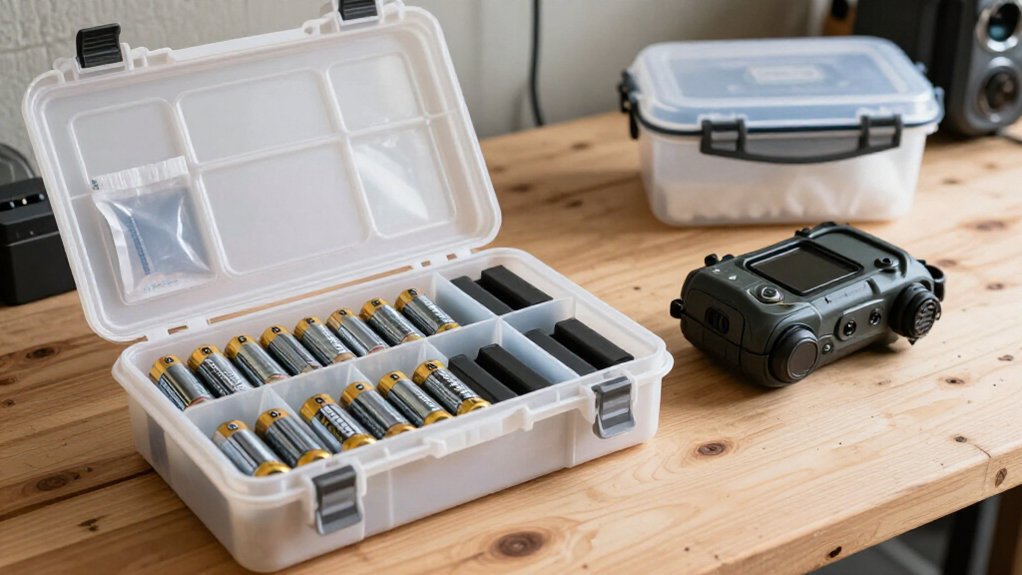
Store only clean, tested cells in labeled plastic cases, separated by age and chemistry. Keep cases cool, dry, and airtight, with silica gel.
Spring checks reveal further issues before next deployment.
Leak Prevention for Seasonal Pulls
When you pull your trail cameras for the off season, remove every battery before storage. Leaking cells can release potassium hydroxide, which corrodes contacts and damages electronics. Inspect each compartment and its terminals immediately after removal. If you find deposits, discard the leaking cell properly; don’t retain it for shelf storage.
Neutralize alkaline residue with vinegar or lemon juice on a swab, then let the compartment air-dry completely. Test remaining batteries and retain only cells that perform well. Place approved batteries in a plastic storage case, keeping them separated to prevent shorts, heating, and leakage. Label each group with its chemistry, size, and date using a Sharpie.
Before putting cameras away, confirm clean, dry contacts and an empty battery compartment. This prevents delayed conductive damage.
Microfiber Cloth and Nitrile Gloves
Wear nitrile gloves before handling removed trail camera batteries, especially if you see moisture, crusting, or other signs of leakage. Electrolyte can irritate skin, while gloves also keep skin oils off terminals. Work on a surface and inspect batteries before storage.
- Use a clean microfiber cloth to wipe moisture and residue from cases.
- At terminals, lift away loose corrosion first, then wipe gently; don’t grind abrasive residue into contacts.
- Let every battery air-dry completely before placing it in a clean plastic storage case.
Keep cleaned batteries separate from any cells that show active leakage or corrosion. Replace gloves or cloths that become contaminated, and don’t reuse a cloth on terminals after wiping residue. This process limits contamination and prevents lingering liquid from worsening damage.
Label Batteries by Removal Date
Text each clean battery group by removal date and type, using a Sharpie on the outside of its small plastic storage case. This creates a traceable rotation system and keeps different chemistries separated. After inspection, place only clean cells in organized compartments; isolate any cell showing corrosion rather than adding it to a stored group. Record the date in a consistent format, such as YYYY-MM-DD, so older batteries are obvious at a glance.
| Label element | Preventive purpose |
|---|---|
| Removal date | Identifies cells to test first |
| Battery type | Prevents mixed-chemistry storage |
| Case location | Maintains compartment control |
Before next season, test the oldest dated group first. Labels track age without opening cases, reduce unnecessary handling, and identify cells with greater failure or leak risk during seasonal rotation.
Remove Cells Before Camera Storage
Remove every battery cell before you store your trail camera, since even inactive cells can leak corrosive material and damage internal contacts. Inspect the empty compartment and terminals for white buildup or residue, then clean and air-dry them completely if needed. Store the camera fully empty, and keep only clean, dry batteries in a labeled plastic case.
Prevent Corrosive Battery Leaks
Before putting your trail camera away for the season, take every battery out of its compartment; cells left installed are the leading cause of corrosive leaks that can ruin terminals and internal electronics. Open the door and inspect each bay, especially positive and negative terminals, for potassium hydroxide residue. If you find a leak, wear latex gloves and safety glasses, remove affected cells, and keep them apart from good batteries. Dispose of leaking cells properly.
Clean corrosion with a cotton swab moistened with vinegar or lemon juice, then air-dry the compartment completely. Don’t reinstall batteries. Store dry, undamaged cells separately in labeled plastic cases; use a Sharpie to note their type and date. Individual slots prevent battery-to-metal contact and lower the chance of leakage.
Protect Internal Camera Contacts
Even when your trail camera is switched off, take out every battery before off-season storage to protect its internal contacts from leakage damage. Before closing the compartment, inspect each battery-connection point under good light. White or green residue signals electrolyte exposure and can corrode springs, terminals, and nearby electronics. Wear latex gloves and safety glasses before touching suspect residue; leaked electrolyte can irritate skin and eyes.
If corrosion is present, dampen a cotton swab with vinegar or lemon juice and wipe only the affected contact surfaces. Don’t flood the compartment or scrape contacts aggressively. Let the area air-dry completely before closing the camera.
Keep the removed batteries separately in labeled plastic cases so you can identify their sets and prevent storage-related contact damage later.
Remove Every Battery Cell
When you prepare a trail camera for off-season storage, take out every battery cell, including any cell that still appears fully charged. Power the unit down, open the battery door, and remove cells one at a time without forcing terminals. Don’t leave “good” batteries installed: age, temperature changes, and internal faults can trigger leakage while the camera is inactive.
Set each removed cell aside on a dry, nonconductive surface. Keep any swollen, wet, crusted, or suspect battery separate, preventing leaked electrolyte from spreading between cells. Place serviceable batteries in divided plastic storage cases, organized by camera and battery type.
Label each case with a Sharpie, noting the camera unit number and removal date. Only install fresh batteries off-season when testing a camera is necessary.
Inspect Compartments for Residue
With every battery removed, inspect the empty compartment under good light for white or greenish crust, wet spots, or staining that signals a leak. Check spring contacts, flat terminals, seams, and the compartment floor for corrosion or tacky deposits. Wear latex gloves and safety glasses; leaked alkaline material can irritate skin and damage eyes.
If you find residue, isolate and properly dispose of the leaking cells. Lightly dab a cotton swab with vinegar or lemon juice, then work gently over affected contact surfaces without flooding the compartment. Use a clean, dry swab to lift loosened material. Repeat only until the area is visibly clean.
Let the compartment air-dry completely, then reinspect it under light. Don’t close until contacts and plastic are dry and residue-free.
Store Cameras Completely Empty
Before you store a trail camera for the off season, remove every battery cell from its compartment. Leaving cells installed creates an avoidable corrosion risk during storage. A leaking battery can release potassium hydroxide, which may attack contacts and damage electronics.
Inspect the empty compartment. If you find residue or corrosion, clean it before storage, then allow it to dry. Don’t reinstall questionable cells.
Isolate batteries in a labeled plastic storage case, marked with a Sharpie, so you can identify and track usable sets. Keep terminals and cells organized. Dispose of leaking batteries through proper recycling. Never reuse batteries with corrosion, leakage, swollen casings, or compromised terminals. Store the camera with its battery door closed after confirming the compartment is clean, dry, and empty.
Humidity Control for Basement Storage
Store your trail camera batteries in an airtight plastic container with a fresh desiccant pack to limit moisture exposure. Keep the case off concrete and away from condensation-prone areas, and monitor basement humidity during seasonal changes. Replace saturated desiccant promptly to reduce terminal corrosion and leak risk.
Use Airtight Storage Containers
An airtight plastic case creates a controlled barrier against the damp conditions that often develop in basements. Choose a case with a compression gasket and positive latches, since a loose lid allows humid air to enter and accelerate corrosion. Before loading it, inspect every cell for swelling, crusting, or wet residue. Remove and discard compromised batteries; don’t seal contamination beside sound cells.
Place each battery type in its own labeled, sealed compartment or small airtight bin rather than loose together. This limits electrolyte damage if one cell fails. Mark the outer container with battery chemistry, brand, and storage date, such as “AA Energizer — 2025-09.” Keep the closed case in the basement’s coolest, driest stable location, away from exterior walls, heaters, and temperature swings.
Add Desiccant Packs
Once the battery compartment is clean and completely air-dried, place a silica-gel desiccant pack inside each sealed storage case to absorb residual humidity. Use a pack sized for the case volume, and keep it loose enough that air can circulate around the batteries. Separate every cell with a dry buffer layer, such as clean cardboard dividers, so residue from a minor leak can’t contact neighboring cells.
Before sealing the case, confirm that the pack is intact and doesn’t touch exposed terminals. Check its saturation indicator when you inspect stored gear; many silica-gel packs change color and require replacement or recharging according to their label. Renew saturated packs promptly to maintain moisture-absorbing capacity through the off-season. Place the closed case in a cool, dry basement location.
Monitor Basement Humidity
In basement storage, monitor relative humidity with a hygrometer and keep it at roughly 30 to 50% RH. Place the meter beside, not inside, your battery case so it measures room conditions accurately. Store trail camera batteries in a dry, climate-controlled area; excess moisture speeds terminal corrosion and increases the risk of leak-related damage.
Check readings weekly at first, then periodically once conditions remain stable. If humidity rises above 50%, run a dehumidifier or position silica gel or other desiccant packs near the labeled, airtight plastic storage case. Inspect the floor, walls, and case exterior for dampness or condensation during each check.
Don’t wait for visible corrosion: increase dehumidification immediately, replace saturated absorbers, and verify that the case seals fully. Keep container elevated off concrete when possible.
Spring Voltage Checks Stay Stable
When spring arrives, check and record the voltage of every trail-camera battery before reinstalling it. Let batteries warm to room temperature first; cold storage can produce temporarily low readings. Use a reliable multimeter, test each cell or pack under the same conditions, and log the date, brand, model, chemistry, and result on the case label or a worksheet.
Compare spring measurements with your pre-storage readings and with matching batteries in the same set. Similar readings indicate that your sealed, clearly Sharpie-labeled plastic storage case maintained stable shelf conditions. A noticeably lower value can signal self-discharge or an early problem. Isolate that battery and replace it before camera testing. Don’t assume one weak battery will recover in service. Retest questionable readings after warming fully indoors.
White Crust or Swelling
A stable spring voltage reading doesn’t rule out physical battery damage, so inspect every trail-camera compartment for white, chalky crust and swollen cells before installation. White residue commonly indicates leaked potassium hydroxide, while swelling shows that a cell’s case has been compromised and may have released more material. Examine each battery terminal and each camera contact spring, even after off-season storage.
Wear latex gloves and safety glasses. Use an old toothbrush to lift bulk corrosion without scattering it. Then wipe terminals with a cotton swab lightly moistened with vinegar or lemon juice. Let the compartment and contacts air-dry completely before storing the camera or installing batteries.
Corrosion can continue while residue remains, even when the camera stays off. Remove and clean deposits to limit damage.
Separate Old and New Cells
Before off-season storage, separate fresh cells from any battery that’s weak, partially discharged, or of uncertain condition. Inspect every terminal under good light for crust, bulging, or wet spots; place any suspect cell in the old/leak-risk group immediately.
- Use separate plastic cases for new and old batteries; containment limits damage if one cell leaks.
- Label each case with its condition, size (AA/AAA/C9), and storage date; this prevents accidental mixing later.
- Treat any battery with reduced performance as old, regardless of brand or apparent age.
Keep the old group in its dedicated container, never alongside fresh cells. If you find corrosion or leakage, remove the battery and dispose of it promptly under local battery-recycling requirements. Don’t return it to either storage case afterward.
Log Leak Incidents Annually
Each off season, log every battery leak with the brand and chemistry, installation and removal dates, and whether the trail camera remained deployed or was stored. Record the exact location of corrosion, especially around positive or negative terminals, because even minor leaks can release potassium hydroxide and damage electronics.
Record seasonal frequency: “three cameras with five leaked cells,” for example. Compare this total year over year to identify patterns tied to storage duration, deployment, or battery type. Note cleanup steps, including using an old toothbrush to remove bulk corrosion and vinegar or lemon juice on a cotton swab for terminals. Document proper disposal for every leaking cell. Your log shows whether your prevention routine works and lets you replace unreliable battery types before season begins.
Conclusion
By removing, inspecting, labeling, and separately storing your trail-camera batteries, you reduce off-season leak risk and protect camera contacts. Wipe cells and compartments with a microfiber cloth while wearing nitrile gloves, then keep batteries dry, cool, and away from mixed-age cells.
Record removal dates and any corrosion incidents. Before spring deployment, check voltage, inspect for white crust or swelling, and replace questionable cells. This method keeps your equipment reliable and simplifies seasonal maintenance each year.
Trail Camera Mount Height & Tilt Calculator
Turn your camera's mount height, aim-point height and distance into a tilt angle, line-of-sight distance and a printable setup card.
Trail Camera SD Card Size Calculator
Estimate how many days your trail camera SD card lasts and the smallest card size that covers the time between your camera visits.
Free Browser Trail Camera Photo Viewer
View SD card trail camera photos in your browser, sorted by EXIF capture time and grouped into events. Nothing is uploaded.
Trail Camera App & Firmware Finder
Find the official phone app for your trail camera brand, filter by connection and platform, and see how that brand updates firmware.