What Batteries Do Trail Cameras Use? AA, 12V and Lithium Packs
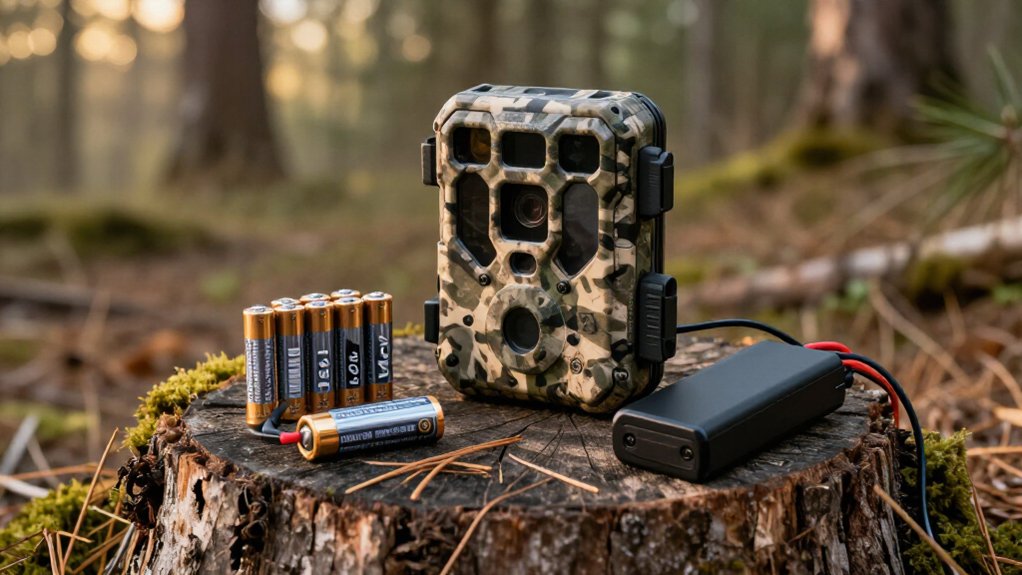
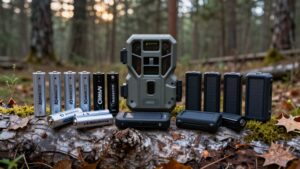
Most trail cameras use eight AA cells arranged for roughly 6V, but you should confirm your model’s manual before loading batteries. Choose fresh, matched alkaline or 1.5V lithium AAs; lithium performs best in cold and resists IR-flash voltage sag. Don’t use 1.2V NiMH cells unless approved.
Cameras with a DC input can run regulated 12V or lithium packs. For cellular models, size power for modem bursts and weak-signal uploads. More guidance helps prevent nighttime capture.
Eight AA Cells Are Common
Eight AA cells power many trail cameras because they form a nominal 6V battery pack: four cells in series, paired in parallel for added capacity and current capability. Fresh 1.5V cells typically deliver roughly 6.0 to 6.4V in this arrangement. That reserve matters when your camera wakes, captures images, and especially switches on infrared LEDs after dark.
The LED burst draws a sharp current surge; weak cells can sag enough to trigger the camera’s approximately 5V low-voltage cutoff. You may see a black screen, missed night photos, or erratic resets although the batteries still test partly charged. For dependable field service, choose AAs rated for high-drain use. Install eight cells together, never blend new and used batteries, and expect colder weather to reduce runtime.
Battery Voltage Must Match
Your trail camera needs the voltage its design expects, not merely AA cells that fit the compartment. A four-cell AA camera typically expects about 6V from 1.5 to 1.6V alkaline or non-rechargeable Li/FeS₂ cells. NiMH rechargeables deliver roughly 1.2V per cell, so their pack starts near 4.8V and may trip the camera’s low-voltage cutoff. Many 4×AA designs shut down around 5V, causing a black screen or missed captures.
IR LED pulses draw high current and create voltage sag: a brief loaded voltage drop. A battery can test strong at rest yet fall below the operating threshold during night images. Follow your manual for chemistry, per-cell voltage, and cell count. Don’t assume every AA rechargeable will work reliably. Choose cells that hold required voltage under camera load.
Cold Weather Favors Lithium Cells
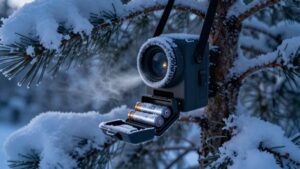
Cold temperatures make voltage stability even more important. When you set a camera in sub-freezing conditions, alkaline AA cells can lose up to half their usable capacity, so shutdowns arrive sooner than expected. Single-use lithium AAs, typically 1.6V Li/FeS2, resist temperature swings better and maintain stronger output through winter.
NiMH rechargeables outperform alkalines in cold, but their voltage can quickly settle near 1.2V per cell. Under a nighttime IR flash, cold raises internal resistance and deepens voltage sag. A camera may read that momentary drop as a depleted pack, despite acceptable open-circuit voltage. For winter deployments, you get more consistent triggering and night images by fitting lithium cells. Check the camera’s approved battery type and install a fresh matched set before leaving the field.
External 12V Battery Ports
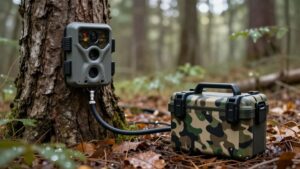
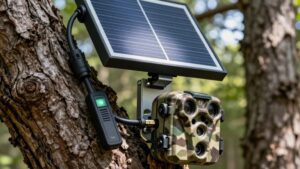
If your camera has an EXT or DC IN port, use a regulated 12V battery pack that meets its specified voltage and current requirements. Match the connector’s size and polarity exactly, since a random adapter can damage the camera or cause shutdowns.
Run weatherproof cable with sealed connections and enough battery capacity to prevent night-trigger brownouts.
Compatible 12V Power Sources
For long deployments, a trail camera’s external 12V port lets you replace frequent AA battery changes with a properly matched lead-acid or LiFePO₄ battery pack.
Choose a sealed lead-acid pack when cost and ruggedness matter, or a LiFePO₄ pack when you need lower weight, deeper usable capacity, and stronger cold-weather performance. Size the pack for your trigger rate, image transmission load, and expected deployment length. More importantly, confirm it can supply the camera’s IR LED surge current; an undersized pack sags under night shots and causes resets or missed captures.
Check the manufacturer’s input-voltage range, current guidance, and polarity before deployment. An approved model-specific 12V kit removes guesswork. For season-long sets, pair the battery with a solar panel only after calculating seasonal sun and demand. Bench-test the complete system overnight, then inspect voltage under IR illumination.
Choosing The Right Connector
Connector compatibility determines whether an external 12V battery actually delivers stable power to your trail camera. Use the connector type, pinout, and polarity specified in your manual or the manufacturer’s kit. These ports expect regulated DC, and a reversed or mismatched plug can shut the camera down or damage it.
Check the camera’s input-voltage range, not just the “12V” label. Nominal 12V packs vary under load. Your plug, adapter, and battery output must maintain the required voltage during the heavy IR LED pulse. Otherwise, port voltage can sag below the camera’s low-voltage cutoff, causing black images or missed triggers.
With third-party leads, verify plug shape, locking fit, voltage rating, and polarity before deployment. Choose a pack and lead rated for high transient current loads.
Weatherproof Cable Installation
Install the external 12V cable through the camera’s approved weatherproof power port, using the specified sealed connector to keep rain, snow, and dust out of the housing. Route the cable downward from the port, then form a drip loop below it so water can’t track along the jacket into the camera. Use only the manufacturer-approved 12V battery and port specification; mismatched voltage or supply sag during an IR LED burst can trigger the camera’s low-voltage cutoff.
Protect exposed connections in a sealed outdoor-rated enclosure, and select UV-resistant cable that won’t crack after heat or freeze-thaw cycles. Secure the run without pinching it. Finally, test at night with triggers. Watch for resets, dim IR performance, or shutdowns, which indicate voltage falling below the camera’s threshold.
Cellular Uploads Drain Batteries
Cellular uploads draw heavy burst current each time your camera powers its modem to send photos or data. Weak signal forces longer transmission attempts, so your batteries drain faster: especially in cold conditions. You’ll extend field life by limiting upload frequency and file size, but plan on more battery changes than with SD-only use.
Transmission Power Draw
Unlike a standard trail camera that mostly sips power while waiting for motion, a cellular model draws sharp current bursts each time it wakes its modem and uploads an image. Those bursts test more than mAh printed on your batteries. During transmission, internal resistance causes voltage sag. If pack voltage dips near the camera’s low-voltage cutoff, you can get resets, missed captures, or failed uploads.
Cold weather raises resistance and reduces usable output, so a setup that works in mild weather may drain batteries quickly in winter. To extend service intervals, set your camera to send fewer images or use buffered transmission when available. Fewer modem wake-ups deliver substantially longer battery life, while batteries that handle surge loads keep voltage steadier during each upload.
Signal Strength Matters
Signal strength directly affects how fast a cellular trail camera drains its batteries. During an LTE, 4G, or 5G transmission, the radio pulls short, high-current bursts; it uses far less power while idle. In weak coverage, distant towers, terrain, and interference force the modem to transmit longer and retry connections. That extra work can sag battery voltage much faster than motion-triggered standby, especially when sends succeed only intermittently.
Before mounting a camera, check signal at the exact location, not just nearby. Move it a few yards, raise it, or change orientation until bars remain reliable. In marginal areas, run quality Li-FeS2 AA lithium cells, about 1.6 volts fresh, or a properly rated external supply. For demanding all-day deployments, use external 12V or solar power.
Upload Frequency Impact
Every cellular upload draws a heavy burst of power because the camera wakes its modem, connects to the network, and transfers photos or video after a trigger. In busy areas, short retrigger delays can make that cycle repeat all day, cutting runtime far faster than occasional scheduled sends.
Cold weather compounds the problem. Alkalines lose voltage as temperatures fall, so repeated uploads may cause low-voltage shutdowns or a black screen. NiMH cells can sag more under modem load and may self-discharge faster. Set a longer delay between transmissions, reduce upload frequency, and start with fresh batteries. For high-traffic sites, use an external 12V source when available. This approach preserves usable capacity and keeps the camera reporting when you need it most in the field reliably.
Backyard Deer Monitoring Setup
A reliable backyard deer camera starts with a battery setup that can hold voltage through cold nights and IR flashes. Most AA trail cameras run a 6V system from four 1.5V cells, yet many shut down near 5V total. Place your camera where it covers a known trail, then check night images after the first cold snap.
IR LEDs create short, heavy loads that expose weak voltage and can produce intermittent black screens. Fresh alkaline AAs work initially, but cold can cut their capacity by roughly half. For steadier winter performance and fewer swaps, use single-use 1.5V lithium AAs. In extreme heat, watch NiMH runtime closely; some cameras don’t accept their lower voltage well. If your model supports it, an approved external 12V pack works.
Don’t Mix Cell Ages
Use a fresh, matched set of cells rather than topping up a camera with older AAs. Old and new cells can show similar idle voltage, but they don’t sag alike when the camera’s IR LEDs fire. A partly depleted cell can drop below the operating cutoff during that surge, causing a low-voltage shutdown or intermittent black-screen images.
Replace every cell at once with the same chemistry, age, and charge level. In a four-AA, six-volt pack, the weakest cell reaches cutoff first and limits usable capacity for the entire set. Start each deployment with matched cells, especially in cold weather. Alkalines can lose up to half their capacity in cold conditions, and their voltage falls faster under load. This simple practice prevents avoidable field failures.
Never Recharge Alkaline AA Cells
Never recharge standard alkaline AA cells for a trail camera. They’re single-use cells, and charging them can reduce capacity, create unstable voltage, and leave your camera unreliable when activity peaks. Fresh alkalines may read about 1.6 volts each, yet IR illumination demands a brief high-current surge that exposes weak cells.
- Replace alkalines rather than attempting to recover them; a charger cannot make them field-ready.
- Watch cold-weather deployments: below freezing, they can lose roughly half their usable capacity.
- Treat a black screen or intermittent triggering as a low-voltage warning, not proof the camera has failed.
- Swap the set before voltage falls near the camera’s shutdown threshold, often about 5 volts in four-AA, 6-volt units; remove cells after long deployments to limit acid-leak damage inside the camera.
Confirm Battery Tray Polarity
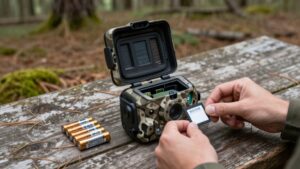
Before closing the trail camera, match every AA cell’s raised + end and flat – end to the battery tray markings. A reversed cell can cause immediate failure or damage, so inspect each position rather than assuming the row is correct.
Most AA trail cameras wire four cells for a nominal 6V pack or eight cells for 12V. Because those cells run in series, one backward battery reduces usable voltage and may trip the low-voltage cutoff. The result mimics a weak battery: a black screen, boot failure, or shutdown.
If the tray shows a + at one end, orient every battery in that row accordingly, following the diagram. Check again after changing from alkaline to lithium or NiMH cells. Chemistry changes; tray polarity doesn’t.
Conclusion
Choose the battery system that matches your camera, season, and reporting load. Eight AA cells work well for standard deployments, while lithium AAs give you longer runtime in freezing conditions. Use a regulated 12V external battery only through the camera’s approved port.
Cellular uploads demand more capacity, so size batteries accordingly. Don’t mix old and new cells, recharge alkalines, or ignore tray polarity. Test your setup at home before leaving it in the field overnight.