How to Extend Trail Camera Battery Life With Smarter Settings
To extend trail-camera battery life, turn off On Demand unless you need access, and schedule uploads every 12 or 24 hours.
Use matching lithium AAs, disable LEDs and sounds, and set a 30-second detection delay. Choose photos over videos, trim grass and branches that trigger your sensor, and keep the seal and contacts clean.
Track battery percentage over seven-day tests to identify settings that save power.
More site-specific steps can substantially extend service intervals.
On-Demand Battery Savings
Turn off On Demand when you don’t need instant photo requests or remote setting changes. With this feature disabled, your camera can rest between scheduled communications instead of maintaining readiness for immediate commands. That reduced cellular activity lowers ongoing power draw, especially at remote locations with weak signal.
Keep On Demand enabled only during periods when you must retrieve photos or adjust settings immediately. After you finish, disable it again rather than leaving the camera available for continuous access. For a longer service interval, pair On Demand off with upload schedules set to every 12 or 24 hours, not immediate delivery. Monitor results at each site, because temperature, signal strength, capture volume, and nighttime images still affect overall runtime. Refine upload timing as needed.
Fresh Lithium AA Batteries
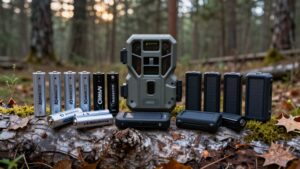
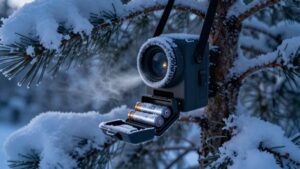
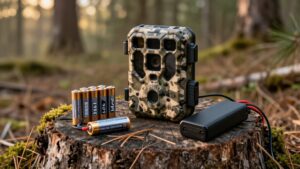
Fresh lithium AA batteries can substantially extend your trail camera’s service interval because they deliver steadier voltage than alkaline cells, particularly in cold conditions. They can run up to three times longer, but trigger frequency, cellular uploads, temperature, and image capture still determine real runtime.
- You’ll feel confident leaving the camera through a hard freeze.
- You’ll avoid the sinking feeling of a dead unit.
- You’ll protect critical scouting days from weak voltage.
- You’ll reduce frustrating trips to replace depleted cells.
- You’ll keep results dependable when remote locations demand reliability.
Install a complete matching set, never mixed brands, chemistries, or used cells. Confirm compatibility first. A 12-AA cellular camera may need a $25 lithium set, so compare recurring expense against external power before buying bulk.
Step 1: Disable Unneeded LEDs and Sounds
After fitting the camera with fresh lithium AAs, reduce small parasitic loads by disabling optional status LEDs, indicator lights, beeps, and startup or shutdown sounds. These features draw modest power, but their cumulative use can shorten unattended runtime and make unit easier to spot or hear.
Open settings and consult manual because models often provide separate switches for status LEDs, flash indicators, and audio alerts. Turn off nonessential notification beeps and power-down tones. Don’t disable the infrared illuminators required for nighttime imaging; those LEDs support capture rather than merely reporting camera status.
If a light or speaker can’t be switched off, don’t cover it, as doing so may obstruct hardware or affect operation. Instead, position the camera in a quieter, less visible location.
Step 2: Set a Longer Detection Delay
Increase the detection delay to at least 30 seconds or 1 minute so the camera won’t repeatedly photograph the same animal and drain its batteries. This setting creates a lockout period after each trigger, reducing sensor activations, captures, and memory-card writes.
At feeders, food plots, mineral sites, and other areas where deer linger, set the delay to one minute or longer. A five-minute delay can eliminate hundreds of near-duplicate images during a single visit. For busy locations, choose 30 to 60 seconds when you need a balance between coverage and battery conservation. Use 15-second or zero-delay settings only on lightly used trails where animals cross quickly and may leave the detection zone before another image. Shorter intervals capture more behavior, but they consume power faster.
Step 3: Reduce Upload Frequency
Set your cellular camera to upload images once every 24 hours for the greatest battery savings, since each transmission uses substantially more power than storing photos on the SD card. The camera can capture and save detections locally between scheduled check-ins, then activate its modem only when it sends a batch. This minimizes high-current cellular connection, network registration, and data-transfer cycles. If daily reports don’t provide enough timely information, set a 12-hour interval first.
Use a 6-hour schedule only when you need faster confirmation of animal activity, site conditions, or equipment status. Avoid 3-hour intervals unless the monitoring need justifies the added drain. Don’t select immediate upload: it transmits every image as it’s taken, repeatedly powering the cellular radio and consuming most battery capacity.
Step 4: Switch to Photo Mode
Photo mode extends battery life further by avoiding the sustained recording load of Video mode. A still image requires the camera to wake, expose, process, and save one frame, then return to low-power standby. Video keeps the sensor, processor, storage system, and, at night, infrared illuminators active for several seconds or longer.
For routine scouting, photos usually give you enough detail to confirm a buck’s presence and evaluate deer quality. Set the camera to capture a small burst of images per trigger rather than recording footage. If you need video to study behavior, limit each clip to five to 10 seconds. Also batch video uploads or select longer upload intervals, since cellular transmission adds another significant power draw. Reserve video for short-term observation periods.
Step 5: Check Signal Strength Monthly
Check cellular signal strength at least once a month, because weak reception forces the camera to spend more time searching for and maintaining a network connection. Use the camera’s status screen or app to record bars, transmission success, and battery decline at each site. If service is weak, relocate the unit to higher ground or a position with clearer path to the tower.
Location can make a difference: a WiseEye DC-2 powered by a 12V 10Ah LiFePO4 battery ran 1½ months in poor service but five months where reception improved. For sites you can’t move, add a solar panel to offset cellular demand; this solved drain on a Cuddeback Tracks using four D alkaline batteries. If readings remain low, install a compatible cellular signal booster instead.
Step 6: Seal the Battery Compartment
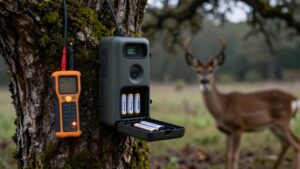
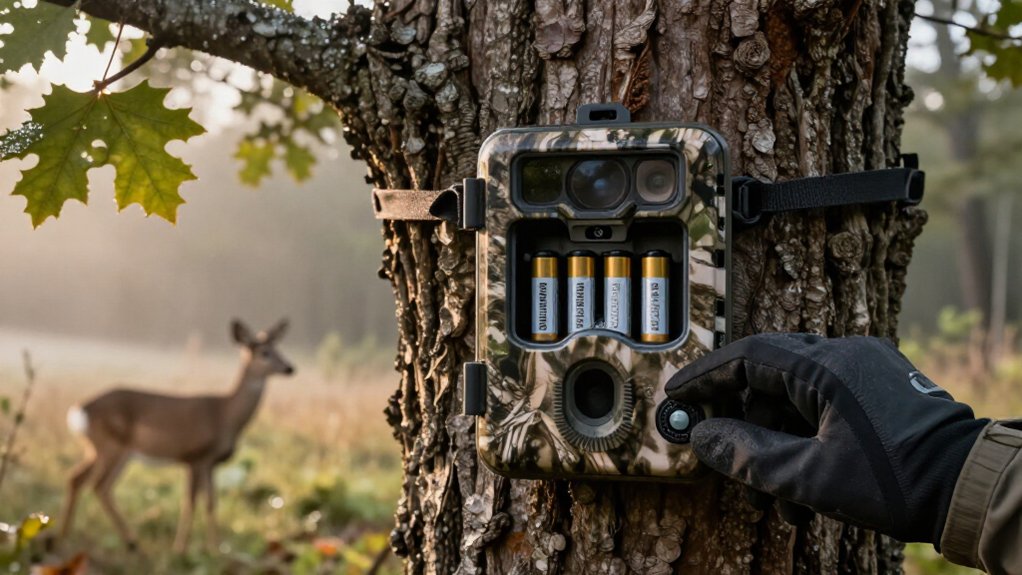
Seal the battery compartment completely before leaving a camera in the field, and verify that the latch engages firmly. Before you close it, inspect the gasket and mating surfaces for dirt, moisture, cracks, deformation, or gaps. Clean both surfaces with a dry, lint-free cloth, and allow them to dry fully.
After installing batteries, check the compartment perimeter before latching it. Don’t trap a pull tab, wire, leaf fragment, or other debris between the door and seal. Press the door closed evenly, engage the latch, then run a finger around the compartment edge. The door should sit flush without rocking, lifted corners, or openings. A secure, clean seal prevents moisture intrusion that can corrode battery contacts, create electrical leakage, and damage the camera during extended deployments.
Compare 7-Day Battery Percentage
Track each camera’s battery percentage at the start and end of the same 7-day period, then calculate the percentage points used. Log the result beside the camera’s power source, placement, and operating conditions so you compare like with like. Record upload frequency, detection delay, On Demand status, and whether it captures photos or video.
Run one settings profile for a week, then test another under comparable conditions. A lower weekly percentage loss indicates an efficient configuration. In setups, longer upload intervals, a 5-minute detection delay, On Demand off, and Photo mode reduce demand. Don’t treat one reading as final proof: weak signal, low temperatures, nighttime activity, and animal traffic can raise consumption. Repeat under similar conditions and use average weekly loss to choose settings.
False Triggers: Trim Nearby Brush
After you identify an efficient settings profile, reduce wasteful activations by trimming grass, weeds, bushes, and branches from the camera’s detection zone and field of view. Moving vegetation can repeatedly trip the sensor, creating files you don’t need and draining power. Remove material likely to grow into the zone, not only what you see at setup. Also exclude sun-heated dirt and dry, dead grass.
| Condition | Trigger risk | Your action |
|---|---|---|
| Tall grass | High | Cut below sensor |
| Swaying branches | High | Prune outside view |
| Dry grass | Medium | Rake clear |
| Heated dirt | Medium | Reaim camera |
Recheck the view during the season, especially after rain or rapid growth. Keeping the detection zone clear reduces false captures, storage work, and battery draw. Adjust your trim promptly as local conditions change.
Clean Battery Contacts Quarterly
Clean the battery contacts every three months to maintain dependable power delivery to your trail camera. Before servicing, switch the unit off and disconnect any external power source, then remove batteries. Inspect each positive and negative terminal for dust, corrosion, oily residue, or discoloration. These contaminants increase resistance, weaken the battery-to-camera connection, and can produce intermittent shutdowns or missed captures.
Wipe the contacts gently with a dry, clean, lint-free cloth. Don’t use water, sprays, or damp wipes, since moisture can enter the housing and damage electronics. Let the compartment remain dry, reinstall a matching set of batteries with correct polarity, and latch the door. Finally, power on the camera and verify its screen, status LEDs, and operation before returning it to the field.
Conclusion
Start with fresh lithium AAs, then cut every avoidable load: disable unused LEDs, sounds, and frequent uploads. Increase detection delay, trim moving brush, and seal the compartment against moisture. Check battery contacts quarterly and compare seven-day percentage loss after each setting change. You’ll quickly identify which adjustments reduce false triggers and power draw.
Use on-demand captures when possible, and document your baseline so you can maintain reliable field performance through changing weather and seasonal conditions.