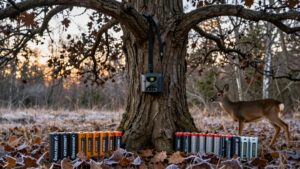
How to Set Up a Trail Camera for the First Time: Batteries, Card and Settings
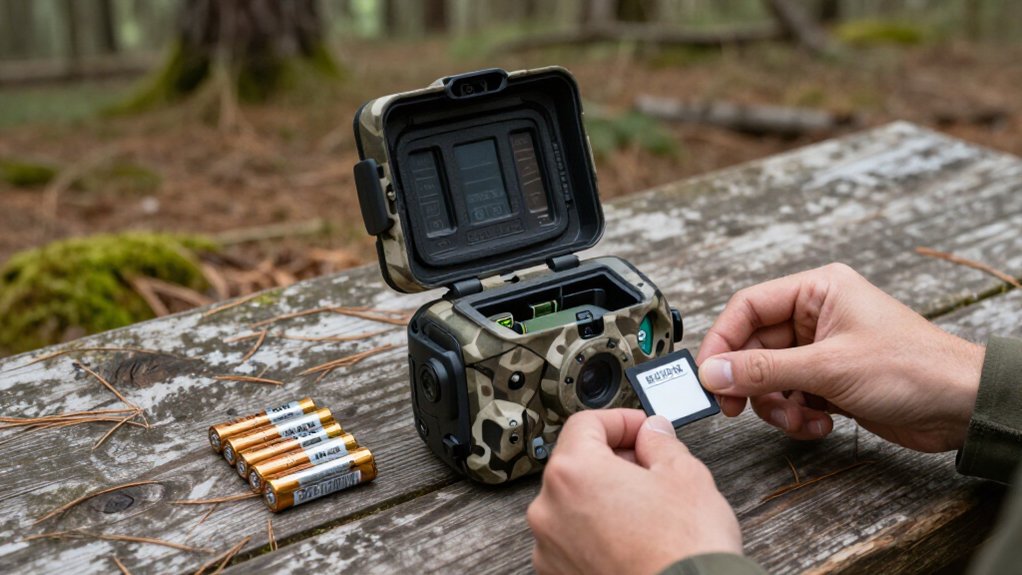
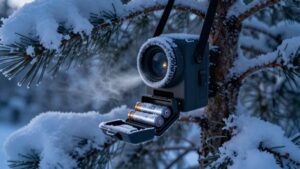
Before mounting, install fresh lithium AA batteries and inspect the battery-door gasket for grit, cracks, or pinching.
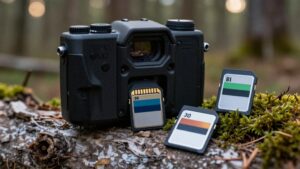
Insert a plain 32GB Class 10 SD card with its lock switch off, then confirm the camera recognizes storage.
Set date, time, time zone, format, and a unique camera name.
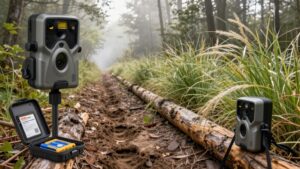
Choose photo or video settings, mount 12 to 24 inches high, clear brush, and walk-test motion and infrared flash after dark.
Next, you’ll verify cards, seals, and troubleshooting with guidance.
Camera Ready in 15 Minutes
You can prepare a trail camera in about 15 minutes if you configure it before mounting. Install good-quality lithium AA batteries, such as Energizer Ultimate Lithium, and confirm the battery compartment seals securely. Power on the unit, set the date and time, and assign a unique Camera Name for reliable identification.
Choose photo or video mode, then set image quality or clip length, motion sensitivity, and capture delay. For fast traffic, use a three-shot burst with a 10-second delay. Mount it 12 to 24 inches high, aimed straight at the expected path, ideally 3 to 5 meters away. Take test shots, inspect alignment, and adjust before leaving it. Check the display for clear framing and confirm initial recordings before you rely on the setup for later field use.
Bring a 32GB SD Card
A plain Class 10 32GB SD card provides broad compatibility with most trail cameras and enough space for routine photo or video captures. Before mounting, verify that your camera accepts the card’s type and format. Insert it fully, check that its write-protect switch is unlatched, and power on the camera. Confirm it recognizes available storage before you complete any testing.
- Label each card for one camera brand.
- Keep cards assigned; don’t swap brands.
- Remove the card after setup.
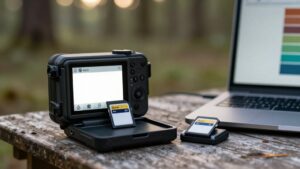
- Review files on a computer or required brand-specific viewer.
This verification confirms recordings save correctly and gives you a baseline before leaving the camera in the field. If it doesn’t appear in the menu, remove it, reinsert it, and check its lock switch again at once.
Step 1: Clear Branches Blocking Lens
Clear branches, leaves, and vines from the camera’s line of sight before leaving it in the field. Inspect the area between the lens and the travel route, then cut or move vegetation that could drift into the frame. Nearby brush is problematic: plants within a few feet can sway in wind, repeatedly trigger the motion sensor, and fill your card with unusable footage.
Vegetation that covers the lens can also spoil night images. Infrared illumination may reflect unevenly or fail to fill scene, producing dark or washed-out photos. Run a walk test after mounting. Stand 3 to 5 metres away, where wildlife passes, and review recorded frames for obstructions. Recheck site after wind, snow, or ice because shifted branches can create triggers or block the lens.
Step 2: Set Date, Time, Camera Name
Before mounting the camera, open its menu and verify the date, time, and, if offered, time zone, especially after installing new batteries or replacing depleted ones. A reset misorders wildlife activity, so use the settings buttons to enter current values. Confirm month/day order and 12- or 24-hour time format. Then assign a unique Camera Name, such as North Trail or Creek Crossing.
The name is stamped on each image and lets you identify files quickly when you run several units. Take a test photo and inspect its timestamp and camera label before leaving the site. If the first retrieved images show an incorrect time or date, reopen the menu and correct it immediately. Accurate metadata keeps later photos ordered, comparable, and useful for analysis later.
Step 3: Insert Fresh Lithium Batteries
Insert a full matched set of fresh lithium AA batteries, such as Energizer Ultimate Lithium cells, with the camera switched off. Open the battery compartment and follow the polarity symbols exactly, seating cells against their contacts. Don’t combine old and new batteries, alkaline and lithium cells, or different brands. A mixed set can deliver uneven current, reduce night recording performance, and create unreliable operation.
After closing the compartment, open the setup menu and select lithium as the battery type if available. An incorrect selection can materially reduce performance. Don’t rely on a voltmeter to judge questionable batteries: voltage alone doesn’t show how well cells supply current under camera load. Replace any doubtful set. Lithium cells last longer but can fall off quickly abruptly near end-of-life.
Step 4: Angle Camera Slightly Downward
Mount the camera with a slight downward tilt rather than aiming it straight out at chest height. This alignment reduces blank images caused when an animal crosses the sensor’s area but remains above the lens’s capture zone. Set the lens toward the expected deer path, typically about 30 to 60 cm high, adjusted for your terrain and desired framing. Don’t tip it so far that photos show only legs and hooves.
Before leaving the site, walk past the camera from roughly eight steps away. Check resulting day and night images for body framing and infrared shadows. Avoid aiming toward sky or ground; either can miss animals or degrade infrared images. Make corrections, retest, then keep the mount firmly fixed during battery or SD-card replacement.
Step 5: Set Motion Sensitivity Level
Set motion sensitivity only after you’ve mounted, aimed, and secured the camera in its final position. Start at the manufacturer’s medium setting, then test the actual detection zone. Walk toward the camera from several distances, including about eight steps away, and confirm that it triggers consistently. Detection relies on heat and movement, so performance changes with weather: cold conditions may differ from hot, sun-warmed conditions.
Review the first recordings before you leave the area. If you see repeated empty frames, near-IR “snow,” heat shimmer, reflected sunlight, or wind-driven brush and ferns, lower sensitivity one step and retest. If animals pass through without recordings, raise sensitivity incrementally and repeat the walk test. Aim for reliable triggers on wildlife without constant activation from background movement alone.
Step 6: Lock Camera, Pack Trash
Before you leave, verify that the SD card is fully seated and its side write-protect switch isn’t in the locked position. Close the camera’s door and latch until they engage. Check that the battery compartment and card bay cannot open from animal contact or weather-related vibration. If your model accepts a cable lock or built-in security lock, secure it after you’ve finished aiming and adjusting settings.
Collect every installation item: old battery packs, packaging, zip ties, and SD card wrappers. Put the waste in a sealed bag and carry it out, limiting litter and scent around the site. On later checks, open the housing only as far as needed. Remove the card carefully and place it in a protective case to prevent damage or deletion.
Confirm Infrared Flash Fires
Test the camera’s night function immediately after mounting: after dark, walk across its detection zone about eight steps away, then review the resulting images to verify that the infrared LEDs fire and illuminate you rather than producing blank or black frames.
Review several nighttime sequences before leaving the site. Repeated triggers without a visible subject often indicate wind-moved grass, leaves, or branches crossing the sensor. Trim or redirect nearby vegetation if it causes false activations.
For reliable illumination, keep subjects within roughly 3 to 5 metres when possible, and aim the camera level across the trail. An overly high or low angle can send infrared light into empty ground or branches. If photos remain dark, install matching, fresh lithium AA batteries if your model supports them.
Fix SD Card Read Errors
If the camera captures properly but displays an SD card read error, start with the card itself. Use a plain Class 10 card, not an ultra or extreme model, and confirm its side switch is unblocked. Keep cards assigned to one brand; where applicable, match the M/B/W marking.
| Check | Action |
|---|---|
| Camera | Reinsert card, then use Format/Delete All. |
| Computer | Copy readable files; reformat, test in VLC. |
If the camera cannot clear it, reformat it on your computer. Don’t use brand-mismatched viewing software. If errors continue after formatting, replace the card; card failures are common. Use only these erase and reformat steps for troubleshooting. Before replacement, verify that you haven’t moved the card between cameras from different manufacturers, even when capacities match in normal daily use.
Inspect Gasket for Moisture
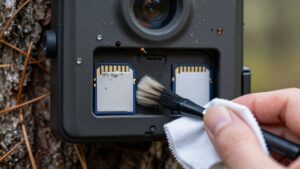
Inspect the rubber gasket around the battery door and SD card slot before mounting the camera. Check the seal for cracks, grit, pinching, flattening, or sections that sit outside the groove. Even a small gap can admit moisture, leading to condensation or water intrusion that often causes odd, black, or missing night images.
If you find dirt, wipe the gasket and its mating surface with a clean, dry cloth. Seat the gasket evenly in its channel, then close and latch the cover firmly without twisting it. Don’t try to solve a damaged seal with fresh batteries or revised settings; replace the gasket if it is cracked or permanently deformed. After the first cold or rainy period, review nighttime photos to verify the camera records properly.
Conclusion
With a fresh card, lithium batteries, and correct settings, you can place your trail camera confidently in about 15 minutes.
Clear the lens path, verify the infrared flash, and label the unit with accurate date, time, and camera name. Before leaving, lock the housing, remove packaging, and check the gasket seal. If images fail, test the SD card for read errors first. These steps give you reliable, usable footage from day one in the field.