How to Reduce False Triggers on a Trail Camera (Wind, Sun and Branches)
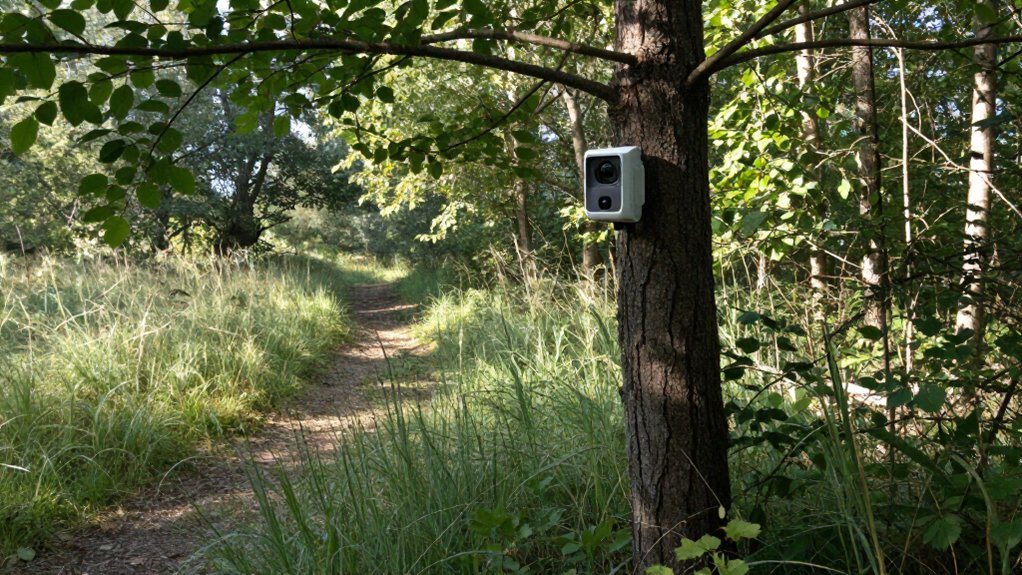
You’ll reduce false trail-camera triggers by clearing grass, leaves, twigs, and branches within the first 5 to 10 feet of the sensor. Mount the camera rigidly, latch it flush, and remove debris from the PIR and lens.
Start with low or medium PIR sensitivity, use a 10 to 30-second delay, and shorten detection range to the trail. Face north when possible, avoid glare, then test in wind, sun, and rain.
The steps below refine each adjustment systematically.
Fewer Wind-Triggered Photos
Wind-triggered photos usually start with movement inside the camera’s detection zone, so clear grass, leaves, and small branches, especially within the first 5 to 10 feet in front of the sensor. Mount the unit on stable ground or a solid tree, then tighten its strap or bracket until the housing can’t wobble during gusts. Set motion sensitivity to medium first; increase it only where a narrow trail has calm surrounding cover.
Add trigger delay to filter repeated motion: use 10 to 30 seconds at open sites or food edges, and 5 to 10 seconds at tight trail funnels. Finally, aim the camera at the animal’s expected travel line. Keep frame edges away from brush that sways in the background, since peripheral movement can still activate the sensor and create empty images.
Bring a Pruning Saw
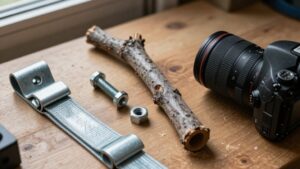
Bring a small pruning saw or folding saw when setting a trail camera so you can remove motion-prone vegetation without changing the camera’s position or framing. A compact saw lets you preserve your chosen angle, height, and detection coverage while making precise clearance adjustments. Work systematically:
- Inspect the first 5 to 10 feet ahead of the sensor for grass, stems, and twigs that could enter the detection field.
- Make short, targeted cuts at the base of movable growth; don’t alter mounting hardware or shift the camera.
- Review image results after a windy test period. If blank captures exceed roughly 20 to 30 percent, inspect the detection zone and make a second light pass.
Pack it closed. This tool lets you correct vegetation-related triggers without restarting setup or compromising framing.
Step 1: Trim Windblown Branches
After clearing low vegetation, inspect the first 5 to 10 feet of the camera’s detection zone for thin branches, leaf clusters, and twigs that sway across the PIR/IR field. Cut or prune any flexible growth that can move into this area during gusts. Even minor side-to-side motion can repeatedly cross the sensing zone and produce empty captures.
Prioritize twigs directly in front of the lens, then remove loose leaves and small branches along both detection edges. Preserve stable cover outside the zone where possible. Then aim the camera so its coverage follows a stable, expected animal route rather than open brush. If blank photos exceed roughly 20 to 30%, inspect again after trimming. Recheck after storms or heavy wind: loosened debris and new growth can restore false triggers.
Step 2: Set PIR Sensitivity Low
Use Low during early-spring temperature swings, when rapidly warming air and surfaces can create heat changes that resemble movement. This setting makes the sensor less likely to respond to moving grass or branches in front of the lens.
After changing it, review captures. If empty images previously exceeded 20 to 30 percent, Low should materially reduce them. Increase to Medium, then High, only if you confirm that real animals are passing without triggering the camera.
Step 3: Face Camera Northward
Face the trail camera north whenever the site allows it to keep sunlight more consistent across the PIR detection zone. A north-facing view reduces the rapid angle changes created by sunrise and sunset, helping the sensor distinguish actual animal movement from shifting thermal and visual contrast. Avoid east- or west-facing placements: glare, moving shadows, and bright reflected highlights can cross vegetation and generate empty captures.
If terrain requires an east or west orientation, inspect the area at different times of day. Move the camera so reflective water, pale rocks, glossy leaves, or sunlit background openings stay outside the monitored zone. After repositioning, check the blank-photo rate over days. If false triggers persist, realign northward where practical and trim vegetation directly in front of lens.
Step 4: Limit Detection Range Settings
Set the camera’s trigger distance to the shortest range that still covers the expected animal path. A reduced detection zone prevents distant, wind-blown branches from activating the sensor and creating empty captures. If your model offers detection-area controls, narrow the field around the trail or funnel route. Exclude side zones first, because vegetation there often moves before an animal reaches the camera’s field.
Lower sensitivity in small increments, then verify that the remaining range protects the target corridor, especially along windy field edges. Use a five to ten-second trigger delay on trails to stop intermittent motion from repeatedly filling the SD card. Finally, maintain a mounting angle and keep a five to ten-foot foreground, ensuring the animal pathway remains within the reduced detection zone.
Step 5: Test With a 30-Second Walk-By
Run a 30-second walk-by test to map what the PIR sensor detects and when it begins treating motion as a trigger. Walk across its field from the front, both sides, and slightly behind, noting each capture and its timing. Repeat at 5 to 10-foot and 15 to 20-foot distances, especially during breezy periods and shifting sun-shadow conditions.
If distant branch motion still produces captures, lower sensitivity first, then set a practical 10 to 30-second trigger delay for open or food-edge sites. Run the identical 30-second sequence after every adjustment. Compare total events with empty or incorrect captures over several tests, aiming to keep false captures below roughly 20 to 30% rather than judging success from one pass. Record weather, distance, approach angle, sensitivity, delay, and captures for repeatable comparisons in each test.
Step 6: Latch Housing, Remove Cuttings
Before leaving the site, firmly re-seat and latch the housing so the camera body sits flush and can’t flex in wind. Before closure, inspect latch channel, lens, IR window, and PIR sensor area. Remove clippings, twigs, and debris; light material can blow through the detection zone and create empty captures. Confirm no branch is wedged against the latch or housing.
Clear the first 5 to 10 feet ahead of the camera. Seat the gasket evenly, if present, and remove dirt that could hold the seal open. Close the housing, engage the latch, and tug the unit. It shouldn’t shift angle, gap at the seam, or let the detection window vibrate. A sealed, rigid mount limits rain and dust entry and keeps vegetation outside the trigger zone.
Review Noon Test Photos
With the housing latched and the foreground cleared, review the noon test photos for blank frames, glare, and washed-out backgrounds. These signs often reveal sun-angle triggers as shifting light reaches the lens or detection area. Calculate the blank-frame rate; if it exceeds 20 to 30% of captures, lower motion sensitivity and narrow the detection zone.
You’ll compare images taken in full sun with those from partially shaded minutes. Rapid exposure shifts, direct sunlight, bright rocks, or water can produce false events. Check whether grass, thin saplings, or branches enter the zone, and trim vegetation within the first 5 to 10 feet. If repeated near-identical empty shots appear, set trigger delay to 10 to 30 seconds to limit retriggering from the same wind movement. Record findings before adjustments, then retest at noon.
Fix Rain-Triggered Empty Photos
Rain can trigger empty photos when droplets, wet grime, or wind-driven vegetation disturb the camera’s detection field. Start by drying the lens and checking it for spots; water or residue can distort detection. Reposition the unit so wind-driven spray doesn’t repeatedly cross its field. Aim it slightly downward to shed direct impact while keeping the trail centered.
| Symptom | Adjustment | Setting/check |
|---|---|---|
| Open trail spray | Lower sensitivity | Add 10 to 30-second delay |
| Wet leaves | Trim field vegetation | Remove swaying tips |
| Branch splash | Shift mounting angle | Keep spray outside zone |
| Repeated captures | Test after rainfall | Confirm trail remains framed |
Use a methodical sequence: adjust one variable, then run a short wet-weather test. Review results before changing another setting, so you can identify the specific source of each retrigger accurately.
Clean the PIR Sensor Monthly
Clean the PIR sensor lens at least monthly, because dust, pollen, and insect residue can disrupt detection and create empty images. Inspect the sensor window after windy or dusty weeks, and clean it sooner if false triggers increase. First, wipe the cover gently with a dry, soft microfiber cloth. If debris remains, use a slightly damp lens cloth; don’t apply solvents, abrasives, or other harsh chemicals that can haze the surface.
Afterward, clear nearby grasses and branches so wind can’t shake fresh debris onto the lens. Close and lock housing, then check that the sensor cover sits flush with no gaps or looseness. A poorly secured cover can vibrate, compromise the seal, and contribute to spurious triggers. Test latch before departure.
Conclusion
To reduce false trail-camera triggers, control what the PIR sensor sees before you leave. Prune moving branches, clear cuttings, latch the housing, and set sensitivity low when wind is persistent. Aim the camera north to limit sun-driven temperature shifts, then review noon test photos for hot spots or glare.
After rain, inspect for moisture-related empty images. Clean the PIR lens monthly and recheck your setup whenever vegetation, weather, or season changes affect the camera’s view.