How to Format an SD Card for a Trail Camera (FAT32, exFAT and In-Camera)
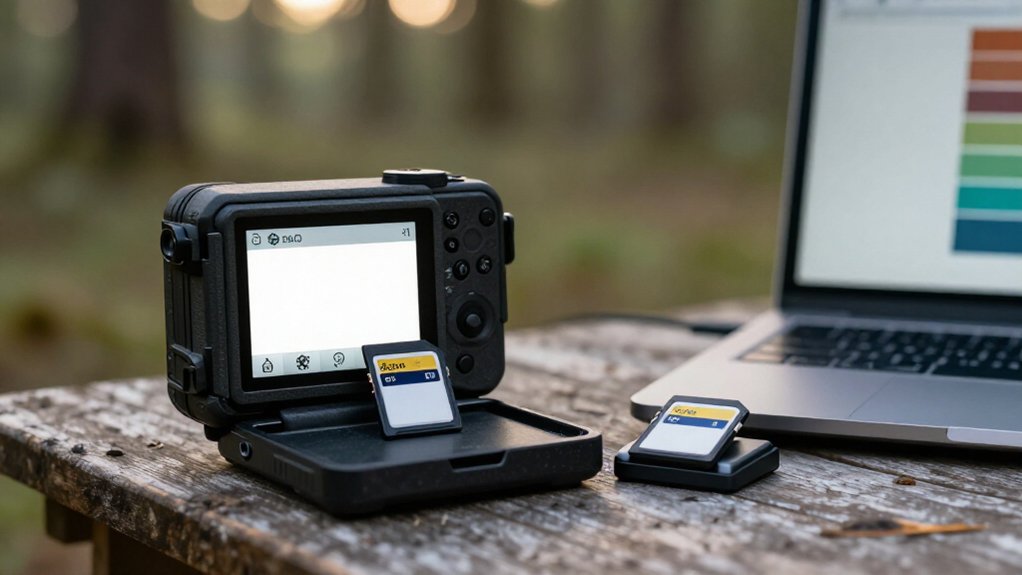
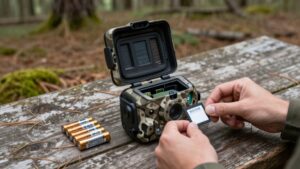
Power off your trail camera, wait a few seconds, and remove the SD card.
Back up existing photos and videos before formatting.
Use FAT32 for compatible 4GB to 32GB SDHC cards; use exFAT only if your camera explicitly supports 64GB-plus SDXC cards.
Reinstall the card, latch the door, open Setup or Tools, choose Format SD Card, and confirm.
Then take a test photo and verify it saves correctly.
Continue for troubleshooting and compatibility checks below in detail.
Fresh FAT32 Card in Minutes
For a fresh SD card of 32GB or less, format it as FAT32 before using it in your trail camera. On Windows 11, insert the card and open File Explorer. In the left pane, select the card’s correct drive; don’t continue until you’ve verified it. Right-click the drive and choose Format. Keep Quick format enabled because the card is fresh, then let Windows select the appropriate file system for its size.
Start the format; it’ll finish within a few minutes. When Windows reports completion, safely eject the card and reinstall it in the trail camera. The camera can then create its required folder structure. If it later reports card or read errors, format the card again with Quick format cleared for a deeper format.
Back Up Existing Images
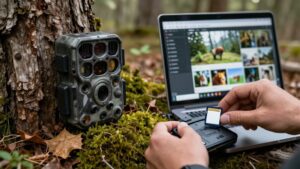
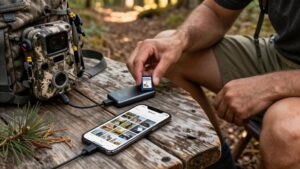
Before you format a used SD card, copy every photo and video to your computer or a cloud backup; formatting erases all card data. Use a card reader to transfer the DCIM folder, then confirm both stills and clips are present. If your camera records photos and video, check used storage against the copied folder size.
- Open several images and recordings on your computer; verify they play without errors.
- Compare file counts and total capacity with the card’s contents.
- Keep one copy locally and another in cloud storage.
- Start formatting only after you’ve verified the backup.
Deleting files only marks their space available; it doesn’t rebuild a file system. A full or deep format may take longer, so don’t begin until recovery is assured.
Step 1: Power Down Your Camera
Turn the trail camera fully off and wait a few seconds before removing or formatting the SD card. This prevents write interruptions that may corrupt files, damage file-system structures, or trigger a “card not compatible” message. A camera can continue brief disk activity after its last trigger event, even when it appears idle. Let shutdown complete before opening the card compartment.
Never pull the card while the camera is powered on or processing data. Removing it mid-operation can leave the file system inconsistent and make formatting or image access unreliable. If battery-powered, don’t format while active; formatting rewrites directory and allocation information. Once the camera is off and the wait has passed, format the card in-camera. This creates the FAT32 or exFAT layout your camera needs for operation.
Step 2: Verify Camera Supports SDHC
Check your trail camera’s manual, specifications, or card-slot label to confirm that it supports SDHC cards, which typically range from 4GB to 32GB and use the FAT32 file system. If the documentation states “SD/SDHC up to 32GB,” use a 32GB FAT32 card or a smaller compatible capacity. Don’t assume a 64GB-plus SDXC card will work: SDXC cards normally use exFAT, and an SD/SDHC-only camera may reject them or request repeated reformatting.
Check the label and published specifications for explicit capacity limits. Test one known-good card at a time; a “card cannot be used” message can indicate unsupported card type or capacity, not merely an incorrect file system. After confirming compatibility, format the card in the camera so it creates its required directory and file-system structure.
Step 3: Open the Camera Settings Menu
With the compatible SD card inserted, power on the trail camera and open its main menu. Use the navigation buttons or touchscreen to locate the Setup, Settings, or Tools section; manufacturers label this area differently. Enter that section and move through its pages until you find the storage-related controls. Look for a Memory Card or SD Card page rather than general capture settings.
Before making changes, confirm the camera detects the inserted card and that the displayed card type or capacity matches it. This check helps prevent you from applying a storage command while viewing internal memory or another device. Keep the camera powered by fresh batteries or an external supply, and don’t press any erase or format command yet; first verify the selected page.
Step 4: Select “Format SD Card”
Select Format SD Card from the camera’s storage menu or its companion app, then review the warning before choosing Start or Confirm. This command rebuilds the file system and folder structure your trail camera requires, rather than merely deleting existing photos. Confirm that you’ve copied any needed images or videos elsewhere, because formatting permanently clears the card’s contents.
For cards with 64GB or more, select exFAT when the camera offers a format choice; use FAT32 for cards of 32GB or less. These selections help prevent compatibility messages and write failures. Keep the camera powered on and wait for the success notification. If the process fails, run Format SD Card again and select full or deep format, if available, to clear all sectors before use.
Step 5: Test a Triggered Photo
After formatting, reinstall the SD card, power on the trail camera, and wait a few seconds for it to enter ready mode. Trigger the sensor once by walking through its detection zone, or use the camera’s test or preview function when available. Let the camera complete its capture and write cycle, then inspect the card for a newly created image file.
Open that photo on a computer or phone. Confirm that it loads fully, shows the expected scene, and contains no corruption, partial image data, or read errors. A successful single image confirms basic card compatibility, but repeat the check three to five times before leaving the camera unattended. Trigger the camera from detection distance and verify that each event creates a separate, readable file.
Step 6: Latch the SD Card Door
Before you start the format command, push the SD card into its slot until it clicks, then close and latch the SD card door completely. A fully latched door keeps the card’s contacts seated so the camera can detect it reliably during formatting.
If your trail camera uses a spring latch or slider, hold it until it fully engages. Don’t press Format/Clear Card while the door is loose or partially closed. A weak connection can cause a card-not-recognized message, a failed format, or intermittent power that corrupts data.
This check matters especially on screenless models, where you can’t easily watch formatting progress. Keep the door firmly latched throughout the operation. After the camera indicates completion, wait before opening the door or removing the card.
Verify Full Card Capacity
Verify that the card’s reported capacity falls within your trail camera’s supported limit, using the manual or manufacturer’s compatibility list. Many older or budget cameras support no more than 32GB. Confirm the printed capacity and SD classification agree: SDHC cards are generally 32GB or smaller, while SDXC cards begin at 64GB.
Before formatting, inspect the card’s capacity in Windows File Explorer or Disk Management. Ensure the selected removable drive shows its expected full size, approximately 32GB or 64GB, allowing for normal decimal-to-binary reporting differences. This check prevents you from formatting another connected drive. It also confirms that the capacity matches the filesystem your camera expects: 32GB and smaller cards typically use FAT32, whereas 64GB and larger cards use exFAT. Use a capacity your camera supports.
Camera Displays “Card Error”
A “Card Error” usually means the camera can’t read the card’s filesystem or required file structure. If you recently switched to a larger SDXC card or used it in another device, its format may not match the camera. Format it in the camera whenever possible; this rebuilds the expected folders and files.
Before formatting, confirm your manual’s supported capacity and filesystem: a FAT32-only model rejects exFAT even when the card is genuine.
| Symptom | Action |
|---|---|
| exFAT SDXC card | Use FAT32 if camera supports 32GB/FAT32 only |
| Error after device use | Back up files, then format in camera |
| Error persists after formatting | Replace card; bad sectors or write failures are likely |
FAT32 has a 4GB per-file limit, so long recordings can also trigger failures resembling card errors.
Inspect Card Contacts Periodically
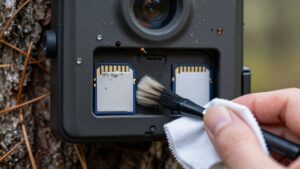
Periodically remove the SD card and inspect its metal contacts for dust, corrosion, or residue, which can create intermittent read/write errors that resemble a compatibility or card-error problem. If they look dirty, wipe them gently with a clean, dry microfiber cloth; don’t use liquids. Reinsert the card fully so its contacts seat correctly in the SD slot.
Partial insertion can cause missing files or failed recordings, even after formatting. After cleaning and reseating, run a short test. Confirm that the camera creates its folders and writes a new photo or video. If it can’t, the fault may involve the contacts or slot. Check them whenever you see repeated formatting prompts or corrupted clips, rather than waiting for complete card failure during regular camera maintenance checks too.
Conclusion
Formatting your trail camera SD card correctly prevents recording failures and keeps storage reliable. Back up images, confirm the card type and capacity your camera supports, then format it in the camera whenever possible.
Use FAT32 for compatible SDHC cards and exFAT only when your camera specifies it. If errors persist, power down the unit, reseat the card, inspect its contacts, and replace damaged or incompatible media. Check capacity before deployment and repeat these steps.