How Far Can a Trail Camera See at Night? Real IR Flash Range
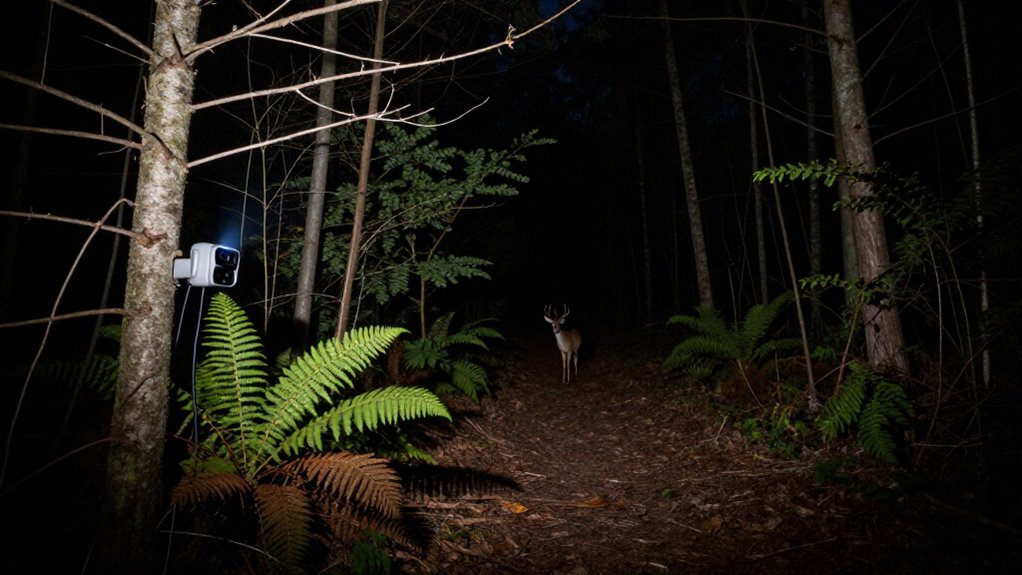
Most trail cameras give you usable nighttime images to about 80 feet with 850 nm low-glow IR, while 940 nm no-glow models typically provide about 50 feet.
Don’t confuse PIR detection distance with flash range: your camera may trigger farther away than it can illuminate a clear subject. Fog, vegetation, weak batteries, and glare reduce practical range.
For a 20-yard feeder, test after dark with targets. The details below help you optimize placement and results.
Typical IR Range: 80 Feet
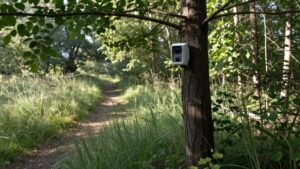
Most low-glow trail cameras use 850 nm infrared LEDs that can illuminate a scene to about 80 feet at night, while 940 nm no-glow models often reach closer to 50 feet. This typical rating describes the area your camera’s infrared emitters can light under favorable conditions. You’ll usually get the most useful results along open trails, where branches, grass, and leaves don’t intercept the beam.
Moisture, fog, rain, and snow can scatter infrared energy, reducing even illumination and producing bright foreground reflections. Camera sensor sensitivity also changes how efficiently the unit uses available infrared light. For a meaningful brand-to-brand comparison, mount cameras at similar heights and angles, then test them on the same night under the same sky conditions and tree canopy. This controls variables.
Detection Range Isn’t Flash Range
Detection range and IR flash range measure different parts of nighttime performance: the PIR sensor can detect motion farther away than the infrared LEDs can illuminate a usable image. Detection range tells you how far the passive infrared (PIR) sensor detects motion and triggers the camera. Your camera can consequently trigger on an animal beyond its flash distance and produce a dark, low-detail, unusable image.
Don’t use a long detection claim to estimate nighttime image distance. Flash wavelength matters: 850 nm low-glow cameras average about 80 feet; 940 nm no-glow cameras average about 50 feet.
Night Range on Open Fields
In an open field, judge nighttime performance by the camera’s IR flash range, not by the farther distance at which its PIR sensor triggers. That range is the farthest distance at which infrared illumination produces a discernible image, with usable brightness and subject detail. A camera can detect motion beyond this limit, so a 100-foot trigger doesn’t prove that you’ll get an identifiable nighttime photo.
Test the setup at measured intervals across the field. Place a person, target, or marker at each distance, then inspect images for exposure, sharpness, and detail. Use the farthest clear result as your practical range. Recheck after changing camera height or aim. Fog, rain, and snow scatter infrared light, reducing usable distance even where vegetation doesn’t block the view.
850nm vs. 940nm Flash
Your flash wavelength determines both how far the camera illuminates and how visible it becomes. An 850nm low-glow flash produces about 30% more infrared light, typically reaching 80 feet with brighter, clearer images, but it emits a faint red glow. Choose 940nm no-glow when concealment matters, accepting a roughly 50-foot range and darker, grainier night footage.
Visibility And Illumination Range
An 850 nm low-glow flash generally illuminates farther than a 940 nm no-glow flash, averaging about 80 feet versus 50 feet under comparable conditions. Treat these figures as illumination range, not motion-detection range: they indicate how far the flash can make an animal or person discernible after dark. If you need coverage across a long trail, field edge, or bait site, an 850 nm unit gives you a larger usable nighttime zone.
Choose 940 nm when concealment matters more, since its infrared emitters produce no visible red glow that may alert people or wildlife. Your actual range can fall well below either average in fog, rain, snow, or dense brush. Water and brush scatter or block infrared energy; position your camera for a view.
Image Brightness And Detail
At the same camera settings, an 850 nm low-glow flash delivers roughly 30% more usable infrared illumination than a 940 nm no-glow flash, so it typically produces brighter images, sharper subject edges, and clearer nighttime video. That extra output gives the sensor a stronger reflected signal, improving tonal separation in dark fur, bark, and background cover.
At matched distances, you’ll usually see less shadow noise, finer texture, and more reliable identification of body shape or antler detail. By comparison, the weaker 940 nm illumination leaves less signal for the camera to process, so automatic exposure or gain can’t recover detail that the sensor never recorded. Results become especially noticeable near the edge of the flash field. There, subjects lose contrast and fine detail first.
Choosing The Right Wavelength
Choosing between 850 nm low-glow and 940 nm no-glow flash depends on whether you prioritize nighttime illumination or camera concealment. Choose 850 nm if you need clearer images, stronger video detail, and coverage near 80 feet. Its LEDs deliver roughly 30% more infrared light, although you may see a faint red glow.
Select 940 nm for discreet security or sensitive wildlife sites. It loses about 30% more light and averages 50 feet, but most people and mammals won’t notice it. Don’t assume no-glow hides every camera: reptiles and amphibians can detect 940 nm. Test both options at your actual placement distance.
| Priority | Result |
|---|---|
| Brighter, farther coverage | 850 nm: ~80 feet; faint red glow |
| Stealth and peace of mind | 940 nm: ~50 feet; nearly invisible |
Reflective Backgrounds Increase Visibility
You can use pale rock, water, snow, or a light-colored wall to return more infrared light and brighten subjects at night. Test photos at the same distance and angle to separate background benefits from changes in moonlight or canopy cover. Avoid highly reflective surfaces near the camera, since glare can overexpose the frame and hide detail.
Reflective Surface Benefits
A reflective background can return some of your trail camera’s infrared flash toward nearby subjects, increasing their apparent brightness in nighttime images. This can improve detail and contrast for animals already within the unit’s effective flash range, especially when the surface sits behind or beside the target at a useful angle. It doesn’t increase motion-detection distance: the sensor must still detect the animal before the camera triggers.
Position and orientation determine the benefit. A surface angled away from the camera may send little infrared energy back into the scene, while a highly reflective material can produce hotspots or overexposed areas. Take controlled test shots with and without the background, keeping camera placement and settings unchanged. Inspect illumination across the frame under adverse conditions.
Natural Background Reflectors
Nearby trees, pale bark, rocks, and open brush can reflect some of a trail camera’s infrared flash back into the scene, making animals within the flash’s effective reach appear brighter in nighttime photos. That returned light can improve detail on subjects already inside the illumination zone, but it doesn’t increase the emitter’s measured range.
| Background | Practical effect |
|---|---|
| Pale bark | Can return IR and improve subject visibility |
| Open brush | May brighten the nearby scene |
| Dense bushes | Scatter or block illumination behind foliage |
Fog, rain, and snow scatter IR, so reflected backgrounds won’t reliably restore illumination. Test nighttime images at your mounting location under typical canopy and weather conditions. Compare results across backgrounds; apparent brightness changes with surroundings, while detection distance remains governed by flash output.
Managing Glare And Exposure
Reflective backgrounds can improve nighttime visibility, but they may also create glare, hot spots, and uneven exposure when infrared light returns directly toward the camera.
Place your trail camera so highly reflective surfaces sit outside the strongest part of the IR beam whenever possible. Review night images for even illumination across the frame, especially near pale rocks, water, metal, or signs. Bright return reflections can fool exposure control, leaving nearby animals washed out or darker areas underlit.
Keep bushes and branches clear between the camera and target; they block and scatter infrared energy. Fog, rain, and snow also scatter the flash, producing haze and irregular brightness. Test your intended angle and distance under consistent conditions. Then adjust placement until glare falls outside detection zone.
Monitor a 20-Yard Feeder
For a feeder set 20 yards away, judge a trail camera by its nighttime infrared flash range rather than its motion-detection range. Twenty yards equals 60 feet, so the specification must cover that distance with usable illumination.
A 940-nm no-glow model typically reaches about 50 feet, leaving a 60-foot feeder near or beyond its average flash capability. Its images can look darker or grainier, even when the sensor triggers reliably. An 850-nm low-glow camera averages roughly 80 feet, giving you more illumination margin and making it the stronger choice for this setup.
Before relying on any rating, mount the camera and photograph a target at the feeder location after dark. Compare images under conditions: confirm even scene lighting and that an animal remains discernible.
Fog Dramatically Reduces IR Range
Even an 80-foot low-glow rating can shrink sharply when fog fills the camera’s field of view. Fog scatters infrared light before it reaches your target and again as reflected light returns to the sensor. As a result, the advertised flash range doesn’t equal the distance at which you’ll get a clear, discernible image.
Don’t assume a published range will hold on misty nights. Set the camera at its intended location and photograph a test target at several measured distances. Review the images for subject detail, contrast, and identification. Record the farthest distance that remains usable, then position trails, bait, or monitoring zones inside that limit. Rain, snow, and thick bushes can disrupt IR illumination and darken images, so repeat the test when conditions change.
Ignoring Fresnel Lens Obstructions
A blocked Fresnel lens can compromise motion detection long before you notice a problem in the photos. The segmented plastic cover over your PIR sensor must stay clear: leaves, dirt, spiderwebs, and branches can absorb or distort the infrared changes the sensor needs to register movement. Because the PIR zone may extend beyond or differ from the camera’s framed image, a seemingly clear photo doesn’t confirm clear detection.
- Trim vegetation directly in front of the lens; wind-blown stems can mask targets or create false triggers.
- Mount the camera away from unstable brush and surfaces that wind can shake.
- After cleaning and repositioning, walk across the detection zone at several distances, then review trigger results.
This field test verifies nighttime detection coverage rather than relying on the visible scene alone.
Use Fresh Lithium Batteries
Use fresh lithium batteries when evaluating or relying on a trail camera’s night vision, because the infrared flash needs stable power to illuminate distant subjects consistently. Install a new matched set before range testing or deployment. Fresh cells keep flash output consistent, so you can compare illumination fairly across cameras.
Weak batteries can trigger captures but limit energy available for nighttime flash, reducing detail on animals farther away. Runtime varies with photo volume, night-to-day capture ratio, temperature, video use, and camera power draw. For realistic battery-life estimates, test nighttime photos and videos with flash enabled, not daytime-only captures.
Check battery status, replace every cell together, and don’t mix brands, ages, or charge levels. Cold weather increases demand, so carry spare lithium cells for monitoring.
Conclusion
Most trail cameras deliver useful night images to about 80 feet, but you shouldn’t confuse IR illumination with motion-detection distance. You’ll get longer reach across open fields, with reflective backgrounds, and from 850 nm LEDs; 940 nm models trade range for less visible glow. For reliable feeder coverage, place your camera roughly 20 yards away, clear the Fresnel lens, avoid foggy conditions, and use fresh lithium batteries to maintain flash output and trigger performance consistency.