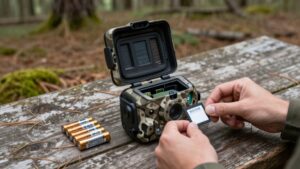
How to Recover Deleted Trail Camera Photos From an SD Card
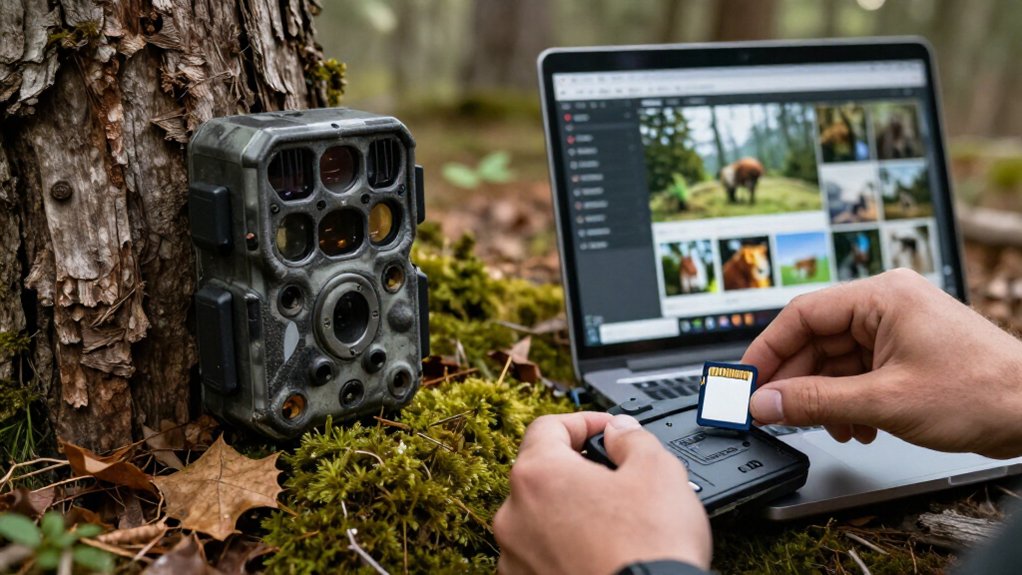
Stop using the SD card immediately, power off your trail camera, and remove the card.
Lock its write-protect tab, connect it to Windows with a card reader, and confirm its drive letter.
Install PhotoRec or recovery software on your computer, scan the card for JPG files, and save results to another drive.
Preview images before selecting them.
Don’t format or repair the card until recovery is complete.
The steps below explain scanning and JPEG fixes.
Recover JPGs: Easy, 15 Minutes
If you stopped using the SD card right after deleting the photos, you can often recover its JPGs in about 15 minutes. Remove the card from your trail camera and connect it to a Windows PC through a card reader. This prevents new data from overwriting the sectors that held your images.
Open a recovery tool that offers JPG previews, such as Disk Drill, and start with its normal scan. Review the discovered files in preview and select the photos you need. If the card was emptied or shows corruption, run the deep or extensive scan to search for JPG signatures.
Save recovered files to another drive or folder, never the SD card. A preview-enabled trial lets you verify results before buying the software.
Enable SD Card Write Protection
Before connecting the SD card to Windows, enable write protection to prevent any new data from overwriting deleted trail camera photos. This preserves data and metadata needed for recovery. Treat the card as read-only until recovery is complete:
- If your SD adapter has a sliding notch, move it to LOCK or PROTECT.
- Connect it and confirm Windows rejects a copy to the card; don’t delete, rename, format, or save anything.
- If you use microSD without a lock, use a write-protect-capable adapter or reader. Otherwise, avoid every write operation.
Protection doesn’t restore files, but it limits the main risk: overwritten photo data. Save recovered JPGs to your computer or another drive, never back to this card. Afterward, disable it when ready to reuse the card.
Step 1: Gather an SD Card Reader
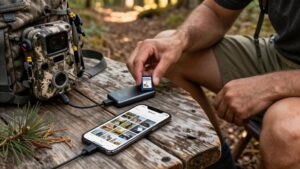
Use a specific SD card reader, preferably a USB 3.0 model, to connect the trail camera card directly to Windows as a removable drive. Choose a reader that supports your card’s exact format, whether it’s full-size SD or microSD with the proper adapter. Plug the reader directly into a computer USB port, ideally a rear motherboard port, rather than an external hub that may interrupt the connection.
Open File Explorer and confirm that Windows assigns the card a drive letter before you proceed. If other storage devices are attached, identify and note the SD card’s letter carefully. This simple check ensures you’ll target the correct removable drive and avoids confusion with internal disks or other media. Leave the card in place and don’t reconnect it unnecessarily.
Step 2: Install PhotoRec on Your Computer
With the SD card connected and its drive identified, download PhotoRec as part of the TestDisk package from the developer’s official site and extract or install it on your computer’s internal drive, not on the card you’re recovering.
PhotoRec is a command-line utility, so you don’t need a separate graphical installer. On Windows, extract the downloaded archive to a convenient folder, such as Documents or Program Files. On macOS or Linux, follow the package’s included instructions and keep the program on your system storage. Confirm the TestDisk folder contains the PhotoRec executable before continuing.
Avoid saving the download, temporary files, or future recovered images to the trail camera card; writing to it can reduce the photos you’ll be able to recover successfully later during scanning.
Step 3: Choose the SD Card Drive
Confirm label and capacity before you proceed. This quick check ensures you target the card containing the deleted photos, not another disk. If the card isn’t listed, or File Explorer reports 0 bytes, remove it safely and try another USB port or card reader.
Let Windows mount the card again, then recheck This PC. Verify it now; a wrong drive wastes time and risks overwriting data.
Step 4: Recover JPGS With Photorec
PhotoRec can recover deleted trail-camera JPGs even when the SD card’s file system no longer lists them, because it scans the card’s raw data for JPEG signatures.
First, stop using the card and connect it through a card reader; any new writes can overwrite recoverable data. In PhotoRec, select the entire SD device, such as /dev/sdX, rather than an individual partition. Set a destination folder on another drive, never the card itself. Open File Opt and enable only JPG recovery to reduce clutter and speed extraction.
Let PhotoRec complete its pass without interrupting it. Then inspect the output folder, opening recovered images. Keep photos and discard broken thumbnails or partially reconstructed files, which can occur when signature-based carving encounters damaged or fragmented JPEG data.
Step 5: Rescan Unallocated Space for JPGs
If the first recovery pass misses photos, rescan the SD card’s unallocated (free) space, where deleted JPG remnants may persist until new data overwrites them. Choose a recovery tool with Deep Scan or Rescan Unallocated Space, and filter its results to JPG/JPEG files. This reduces scan time and keeps the results focused on trail-camera images.
In Windows File Recovery, use /extensive for larger losses or formatted cards, and specify both *.jpg and *.jpeg patterns. Preview found files when possible; an opening thumbnail confirms the scanner located usable JPG signatures. Recover selected photos only to another drive or folder, never back to the SD card. Writing new data there can overwrite the remaining unallocated-space remnants before you finish scanning. Review file sizes before recovery, too.
Step 6: Eject SD Card Safely
Before you connect the card to a recovery tool, stop using the trail camera and remove its SD card to prevent new writes from overwriting deleted photos. If the camera is on, end its activity and power it down completely before removing the card. This reduces the chance that its filesystem is still writing data. Use the camera’s designated eject procedure, if available; don’t pull the card while the camera remains active.
Then handle it only by the edges and insert it into a USB card reader connected directly to your PC, not a hub. After recovery, save recovered files to another drive, never the SD card. This stable connection helps the recovery process proceed without interruptions or additional avoidable card corruption risks too.
Open Recovered JPGs in Preview
Why rely on filenames alone when the recovery tool’s built-in preview can verify each recovered JPG? Run a scan first, then open the JPGs in the preview pane before paying for or completing recovery. For trail camera deletions, this check is particularly valuable: a standard delete often leaves image data in unoverwritten SD card sectors.
If an image displays normally without garbling, its structure is likely intact, and the saved recovery should be usable. Select only the specific JPGs that preview correctly, rather than spending time on unreadable items. When you’re ready, recover those confirmed files to your computer’s internal drive or another external location. Don’t save them back to the SD card, because doing so can overwrite other recoverable photos still on it.
Corrupted JPEGs: Rebuild Thumbnails
| Check | What you confirm |
|---|---|
| Rebuild result | Several frames load |
| Independent viewer | Full subject and date/time appear |
| Save location | Different drive, never the card |
Don’t rely on file size alone. Toggle the repair setting, then inspect several recovered frames. Open each successful file in Windows Photos or another independent viewer and verify the wildlife subject and date/time in the full image, not only its thumbnail. Stop all writes to the SD card and save repaired copies elsewhere. It helps sort files before detailed verification.
Format Cards Only In-Camera
If you formatted the SD card only in your trail camera, you may still recover the deleted photos because most in-camera formats mark storage space as available instead of securely erasing every image sector. Remove the card immediately; don’t take new photos or videos, because fresh writes can overwrite sectors holding original files.
On Windows, run Microsoft Windows File Recovery with `/extensive`, intended for formatted cards, and save recovered files to a different drive or folder. Run a deep scan first to find remnants created before formatting. Preview available images before full recovery; a normal preview usually means their data blocks remain intact.
Avoid formatting or repairing the card again until recovery finishes. Use a reliable card reader, then keep the card write-free throughout recovery.
Conclusion
You’ll often recover most deleted trail camera photos if you stop using the SD card, enable write protection, and scan it with PhotoRec. Use a reliable card reader, select the correct drive, and save recovered JPGs to your computer, not the card. Check files in Preview, rebuild thumbnails when needed, and eject safely. Going forward, format cards only in your trail camera. This workflow minimizes overwrites and gives your images the best possible recovery chance available today.