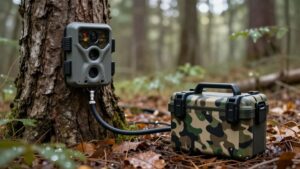
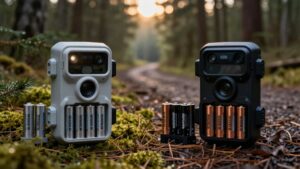
How to Use a Trail Camera With Kids to Spark a Love of Wildlife
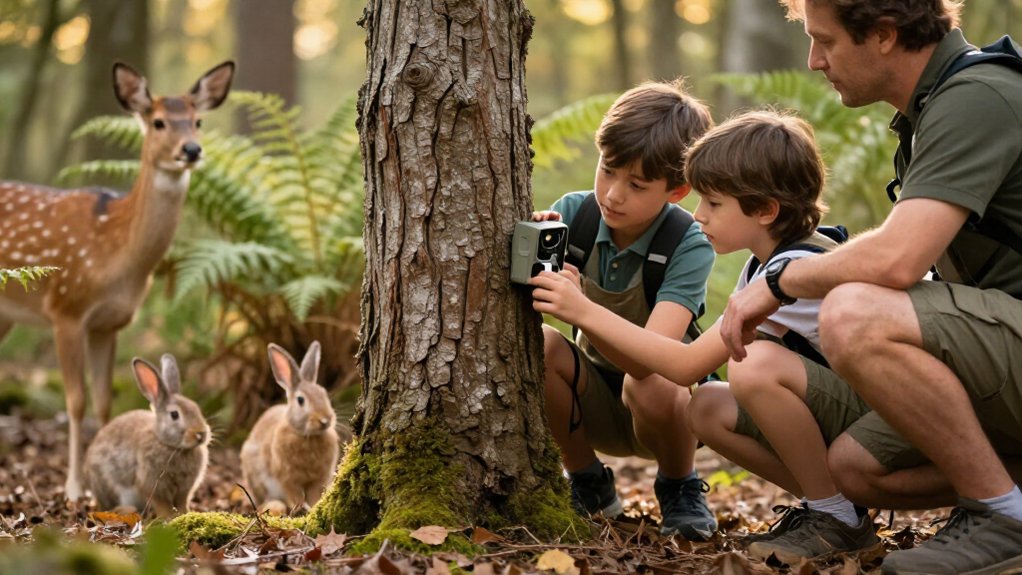
Turn your backyard into a wildlife detective station with your kids.
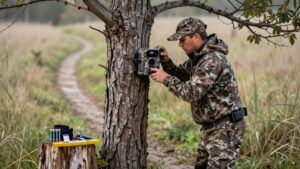
Format a blank SD card, set the date and time, then mount the camera above knee height, angled downward toward a feeder or trail.
Use motion detection and a weatherproof case, and keep grass clear.
Review timestamped photos together to spot daytime and nighttime visitors.
Wipe the lens with microfiber after mist, and add a rain hood if needed.
Your next wildlife clues await.
First Squirrel Photo Overnight
How exciting will it be when your kids spot their first squirrel photo the next morning? Set the trail camera above knee height, aiming its lens slightly downward, about 45° toward the ground. This keeps empty sky out of the picture and helps snow or low plants stay below the view.
Look for waving stems, which can cause blurry, repeated photos. You can pin a small square of landscape fabric in front to calm the scene. Choose a four-second trigger delay, so the camera records several squirrel visits without draining batteries or crowding the card. The next day, remove the card and explore the images together on a computer. Notice when the squirrel arrived and which angle and sensitivity made it look the clearest.
Format a Blank SD Card
Before your kids start checking for animal visitors, prepare a truly empty SD card. Formatting erases every photo and video, so copy anything important elsewhere first. Choose a card your camera supports; many trail cameras work best with 32–64 GB cards.
- With the camera powered on, insert the blank card.
- Open its menu and select “Format SD card,” if that option appears. This lets the camera build the folders it needs.
- Let formatting finish, then run the camera briefly and check for a saved test image or video.
- Turn the camera off before removing the card, unless its instructions say otherwise. Careful handling prevents file errors and disappointing “no pictures” surprises.
Kids can check the test file together and learn preparation helps discoveries count.
Step 1: Choose a Backyard Wildlife Spot
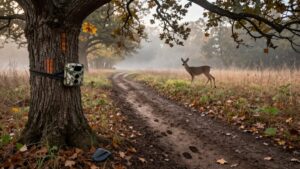
Start with one backyard “wildlife hotspot,” such as a bird feeder, compost area, pond edge, or the path beside a flower bed. These places give your camera a real chance to catch visitors, from squirrels and rabbits to nighttime explorers.
Invite your child to look for a well-used animal route: the edge of the lawn, a trail beside plants, or a curve leading into open space. Animals often follow these natural highways. Attach the camera to a tree, log, or sturdy stake above knee height. Tilt it downward at about a 45-degree angle, aiming at a small patch of ground rather than the sky. This setup helps capture animals walking toward the lens. Choose just one target zone first. Photo checks become wildlife investigations.
Step 2: Set Date and Time
Set the trail camera’s date and time before you place it, so each wildlife photo becomes a reliable clue. Open the menu with your child and match the clock to today’s date and current time. If your camera offers a choice, select AM/PM or 24-hour time carefully, then use that format consistently.
Next, run a quick test trigger and check the photo’s timestamp, or watch the LCD screen if yours has one. It should show the real moment. After you change batteries or adjust power settings, check the clock again; some cameras reset or drift.
Later, invite kids to become wildlife detectives: count animal visits, divide by the number of days, and discover how often their backyard neighbors appear at different times each week.
Step 3: Mount Camera Knee-High Facing North
Mount the camera a little above knee height on a sturdy tree or post, then aim it north to help prevent bright sun glare from washing out daytime photos. This height keeps it above snow buildup while watching animals arriving at ground level.
With your child, point the lens downward at roughly a 45-degree angle. Frame a small, open patch of trail, mud, or leaf litter instead of a wide view full of sky. Tight framing makes animal visits easier to spot and reduces empty pictures. Check for ferns, grasses, or branches that could wave across the view. If wind makes a plant distracting, pin a small square of landscape or tamping fabric over it. Invite your young wildlife helper to guess which creatures might pass through this tiny outdoor stage before you leave the site together for the day and come back tomorrow again.
Step 4: Activate Motion Detection Mode
Turn on motion detection so your camera wakes up only when something moves through its view, rather than filling the memory card with empty-sky photos. Angle the camera slightly downward, aiming the sensor at the ground along an animal path. This helps it notice paws, hooves, and curious noses instead of movement beside the scene.
If your model lets you choose trigger speed, select a fast setting, ideally under half a second. You’ll have a better chance of photographing the whole animal, not just its disappearing tail. Set recovery time to about one or two seconds, allowing quick resets for squirrels, birds, or deer. Finally, try a small burst of several photos or a short video per trigger. Later, compare each visitor’s behavior together.
Step 5: Trim Grass Blocking Sensor
Before you hang the camera, trim grass, weeds, and fern fronds from in front of the lens and along its detection path. Waving plants can fool the motion sensor and cause empty pictures. Aim the camera about 45 degrees downward, so it watches the ground where animals travel, not nearby leaves.
Set it slightly above knee height, especially where snow piles up, and clear space so grass or snow won’t cover the sensor. If low plants remain, lay a small square of weed-tamping fabric directly below the camera to calm wind-blown greenery. Then run a quick test with your child: walk past, review several images, and adjust the view if you see mostly moving vegetation. This cleanup helps you capture real wildlife moments together.
Step 6: Latch Case, Pocket Cable Ties
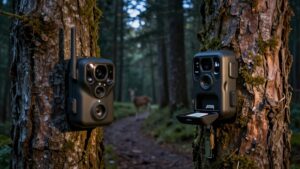
Slip the trail camera into its latch case, then let your child help fasten it to a tree, stake, or fence post with pocket cable ties. The weatherproof, often lockable case guards your camera from rain, snow, and curious hands. Show your child how to thread ties through the mounting loops and pull it snug. A steady camera won’t wobble into blurry pictures of empty sky.
Choose a height that matches your animal target, then angle the lens about 45 degrees downward. Use the same loops and case marks each time you experiment, so your scientist can see how a new position changes the results. Carry extra ties in your pocket or tool bag. After wind or moves, retighten ties to keep camera aimed.
Review Timestamped Photos Together
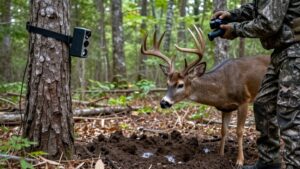
Once you’ve retrieved the SD card, sit with your child and scroll through the timestamped photos in order. Ask who visits by day and who appears after dark. Notice whether a deer, raccoon, or other guest returns regularly.
If you see one sighting about every 10 days, calculate together: that could mean roughly 36 visits in a 365-day year.
Consecutive burst photos provide clues: Did the animal pause, come closer, or wander away? Compare weeks and months, then celebrate seasonal surprises. Let your child choose a favorite “time story,” such as an animal arriving at the same hour, and explain what the timestamps suggest. You’ll turn a simple photo folder into a wildlife detective journal, built from real evidence and curious questions each week.
Foggy Lens: Add Rain Hood
Clear photos make your family’s wildlife detective work much easier, so add a simple rain hood, or rain cap, above the trail camera when wet weather rolls in. The hood helps droplets miss the lens, keeping nighttime animal clues sharper. Point the camera at your target area, but keep its lens tucked beneath the cover. Then test the setup on playback before your team heads home.
| Check | Why | Kid mission |
|---|---|---|
| Hood high | Stops drops | Look upward |
| Lens covered | Cuts glare | Peek sideways |
| Lights clear | Keeps exposure right | Find panels |
| Playback | Confirms results | Vote: clear? |
After heavy rain, inspect the hood’s position, not the camera’s wildlife evidence. If mist persists, ask an adult for help. You’ll protect better pictures and spot more visitors.
Wipe Lens With Microfiber
Before each outing, make lens cleaning part of your wildlife detective routine: gently wipe the trail camera lens with a clean microfiber cloth to remove dust, pollen, and light film that can blur nighttime infrared photos.
Show your child how to sweep in one direction first. Use light circles only when a spot remains; hard rubbing can scratch the lens and soften every image. Store the cloth in a sealed bag, where grit can’t turn it into tiny sandpaper.
After rain, mist, or snow, wipe the lens again before you reinstall the camera. This helps capture crisp daytime details and stronger night pictures within the flash range. Skip tissues, paper towels, and household cleaners. They leave lint or residue that causes haze and ghosting.
Conclusion
With a little setup, you’ll turn your backyard into a wildlife classroom. Let kids help format the card, choose the spot, and check the timestamps. Mount the camera knee-high facing north; then review each surprise together. If fog blurs the view, add a rain hood and wipe the lens gently.
Soon, you’ll celebrate squirrels, birds, and nighttime visitors while building curiosity, patience, and care for nearby wild neighbors right outside your door every single day.
Which Trail Camera Do I Need? Use-Case Quiz
Five-question quiz that matches your use, signal, power and visits to a cellular, Wi-Fi or SD-card trail camera, with shelf matches.