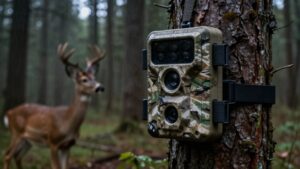
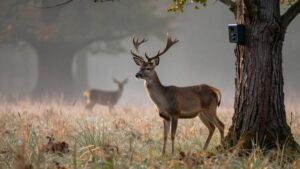
How to Use Trail Cameras to Pattern Deer Before Opening Day
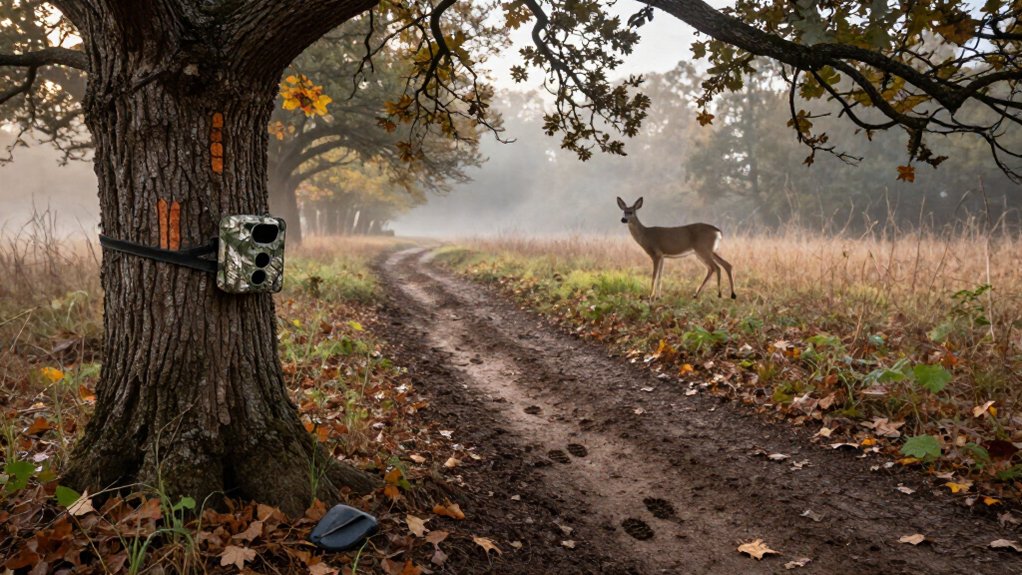
Before opening day, deploy legal trail cameras from mid-September through late October on soybean-to-timber edges, creek crossings, waterholes, and bedding pinch points.
Use photo-plus-video mode, aim across travel lanes at 45 degrees, and log timestamps, wind, routes, and travel direction.
Compare five to six weeks of images for repeated 5 p.m. to dark patterns.
Minimize pressure with one downwind access route, check batteries, trim obstructing goldenrod, and lock each unit.
These observations can refine your next steps further.
Find Velvet Buck Patterns Fast
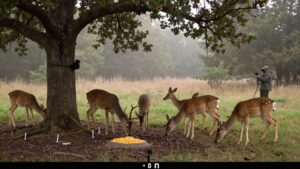
To find velvet buck patterns fast, deploy trail cameras from mid to late September through late October, when bachelor groups break up and buck movement begins to localize near opening day. Prioritize cameras on field edges, creek crossings, and pinch-point bedding approaches. Use photo-plus-video mode to document entry and exit directions while animals remain within close range.
Analyze timestamps across five to six weeks and isolate repeated early-evening visits, especially from about 5:00 PM until dark. Cooling temperatures can concentrate mature buck approaches during this last-light interval. Weight high-frequency use at the same scrape or food edge above isolated images. Check clock accuracy before analysis and minimize visits; repeated intrusion can shift movement within 48 to 72 hours and erase an otherwise repeatable pattern quickly there.
Verify Local Camera Regulations
Before you deploy a trail camera, verify the regulations that apply to your exact location. Rules can differ by state, province, parcel status, season, and camera technology. Treat your plan as a compliance dataset: document agency sources, rule dates, coordinates, and equipment specifications before collecting images.
- Confirm that cameras are legal on your property, then check whether cellular transmission, SD cards, still photos, or video carry separate limits.
- Map each proposed site against property lines, public-land boundaries, and easements. Placement restrictions may apply even when camera use is legal.
- Compare deployment and removal dates with hunting-season rules, opening-day timelines, and preseason no-access periods. If you use bait for inventory, verify bait legality at that specific site; camera and hunting regulations don’t always fully match.
Step 1: Plan Low-Impact Access Routes
Treat access as a controlled variable in your camera survey: use one repeatable entry and exit route that keeps you downwind or crosswind of the bedding to feeding corridor. GPS studies indicate that repeated human intrusion can alter buck movement within 48 to 72 hours, so use the same-way path quickly and consistently. Stay on established trails or benches, avoiding food sources, scrapes, and known travel lanes; trampling and deposited odor can trigger rerouting.
Schedule placement and checks for late morning or evening, then limit total visits. Frequent checks can shift mature bucks toward nocturnal activity before opening day. Stage batteries, cards, and tools so you can complete each stop without lingering.
Record each visit, wind direction, time, and route in your survey log. Interpret results using it.
Step 2: Aim Cameras at Soybean Edges
Along soybean-field edges, place cameras where beans meet timber, creek bottoms, or dense bedding cover; deer repeatedly use these passages as travel lanes between security cover and food. Monitor the wind-advantaged side, setting each unit far enough inside cover that approaching deer can keep the wind in their favor. This placement increases the likelihood of identifiable images.
Prioritize the early movement windows: roughly 6:30 to 8:30 a.m. and 5:00 p.m. through last legal light. Aim the lens along the anticipated route, at about 45 degrees or nearly perpendicular, rather than directly down the trail; this reduces motion blur and records body profiles. Compare image frequency among edges, favoring sites backed by fallen acorns or nearby perennial clover, which can elevate visitation and sharpen pre-opening-day patterns.
Step 3: Inventory Bucks at Waterholes
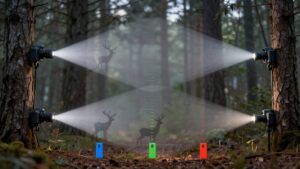
Waterholes, pond edges, and creek crossings can reveal which bucks consistently use your property in the two weeks before opening day. Set cameras at these inventory points because drinking corridors funnel deer through predictable routes. Aim each unit across a travel lane, not into the deer’s direct approach; mount it high or back to limit detection and preserve normal daytime movement.
Use photo plus short video mode to verify antler traits and record approach angle and drinking behavior. Log every detection by date and time, then compare repeat visits, especially late-evening and pre-dawn activity. Frequent water use indicates a homebody buck spending more time nearby.
At manufactured water, place cameras where narrow banks, pinch points, or converging approaches restrict choices and increase repeat identifications.
Step 4: Target Evening Bedding-Exit Trails
Identify evening bedding-exit corridors by reviewing trail-camera series for bucks that first appear between roughly 5:00 PM and the end of legal shooting light while moving away from the suspected bedding direction. Treat this first image as a directional data point, then compare several weeks of sequences rather than trusting one encounter. Place cameras 30 to 80 yards off active food or cover at field edges, creek crossings, and scrape lines that constrain travel. Use burst or three-shot mode, and aim perpendicular or about 45 degrees to the trail for body images. Record wind with each timestamp; last-light bucks commonly approach with their noses into it. When the dusk window repeats, you can locate your opening-day setup on the corridor where movement is reliable.
Step 5: Shift Cameras After Rainstorms
Rainstorms can reset the travel pattern you recorded on evening bedding-exit trails, so monitor camera timestamps closely during the first 2 to 6 hours after precipitation ends. For the next 24 to 48 hours, check existing cameras more frequently without lingering at each site. Compare sequences by direction of travel and first-light versus last-light timing to identify fresh routes toward food or water. Rain-softened mud can alter approach lines, especially at scrapes, creek edges, and field boundaries.
Reposition units slightly higher, framing head-and-shoulders as bucks cross these substrates. Prioritize creek crossings, pond margins, and perennial creek bottoms, where movement concentrates after rain, over food plots. Improved visibility may also reveal smaller bucks moving earlier; log each detection’s time and direction for comparison.
Step 6: Lock Camera and Remove Prunings
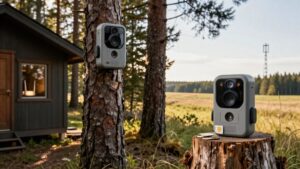
Once you’ve positioned the camera over a scrape, pinch point, or trail, fully tighten every strap or bolt and verify the frame captures the established travel line without shifting. Locking the unit prevents angle drift and limits return trips, reducing repeated human movement deer may detect.
Remove every cut twig, leaf, and pruning from the site. Freshly disturbed cover creates a visible and scented anomaly during pre-opening observations. If you need lens clearance, make only targeted cuts, then step back and confirm the deer’s natural route remains unobstructed and intact. After scent-control preparation, don’t handle discarded vegetation again.
Select photo, burst, or video mode only as site activity requires, secure the natural-looking setup, and minimize visits before opening morning to protect baseline behavior.
Compare Timestamps to Wind Logs
Match each photo’s timestamp to a wind log for that date, recording direction, speed, and the camera’s position relative to bedding, feeding, and approach routes. Use an anemometer app or site gauge, then group images by first light, roughly 6:30 to 8:30, last light, 5:00 PM to dark, and midday.
Repeated daylight photos reveal whether a buck enters with wind at its nose. Compare week-over-week records for shifts after winds rotate: activity may turn nocturnal when air carries bedding scent toward a camera, then appear from 11:00 AM to 2:00 PM under a different flow. Cross-check field-edge and scrape-line cameras to isolate routes favored when scent travels away from each position. Finally, flag timestamp clusters after human intrusion. Those pressure spikes, paired with prevailing wind, show approach exposure on hunting days.
Blank Photos: Trim Goldenrod
Goldenrod can redirect deer around a camera and obscure its detection zone, producing blank-photo weeks that look like lost activity. Trim stems directly in front of the lens and along deer approach lines, while preserving surrounding cover. Mount the lens two to three feet above the canopy.
| Observation | Adjustment | Verification |
|---|---|---|
| Wet goldenrod | Trim corridor | Buck visible |
| Swaying stems | Raise lens | Fewer blanks |
You’ll use nearby images to locate blockage: if a buck appears only when goldenrod is wet or displaced, open view further. Wind-swaying brush can trigger misses and false negatives.
After trimming, run photo-plus-video checks for 24 to 72 hours. Compare captures with observed approach routes; consistent full-body detections verify a clear approach body line. Record blank-frame frequency before and after trimming to quantify visibility.
Check Battery Voltage Before Departure
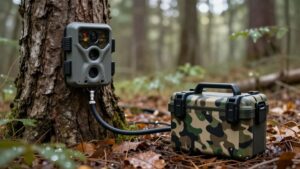
At each camera, check battery voltage before you leave the site, then replace cells or recharge packs that are trending toward the unit’s low-voltage threshold. Weak power reduces count, shortens burst sequences, and creates no-show evenings when deer move. If you use rechargeable packs, charge them fully and verify their voltage with a meter before departure. A partially charged pack can fail in a late-day cold snap or after weeks of recording to the SD card.
Check card capacity at the same time; swap cards approaching full. Low voltage with a near-full card erases the first-light, 6:30 to 8:30 AM, and last-light period from 5:00 PM through legal shooting light. After servicing the unit, walk past it once. Confirm it triggers and records the three-shot burst reliably.
Conclusion
By combining regulated camera placement, low-impact access, and repeated timestamp analysis, you can turn preseason images into defensible deer-pattern data. You’ll identify velvet buck feeding edges, waterhole visits, travel timing, and wind-dependent movement without adding unnecessary pressure.
Maintain locked units, clear obstructing vegetation, and verify battery voltage so your dataset stays consistent. Before opening day, compare photo frequencies across sites and conditions; then select the stand and entry route that match the strongest observed pattern.