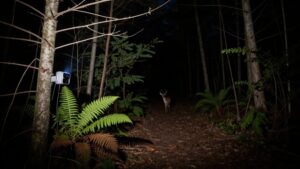
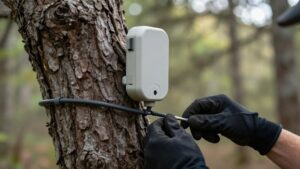
Why Are My Trail Camera Night Photos Washed Out? IR Glare Explained
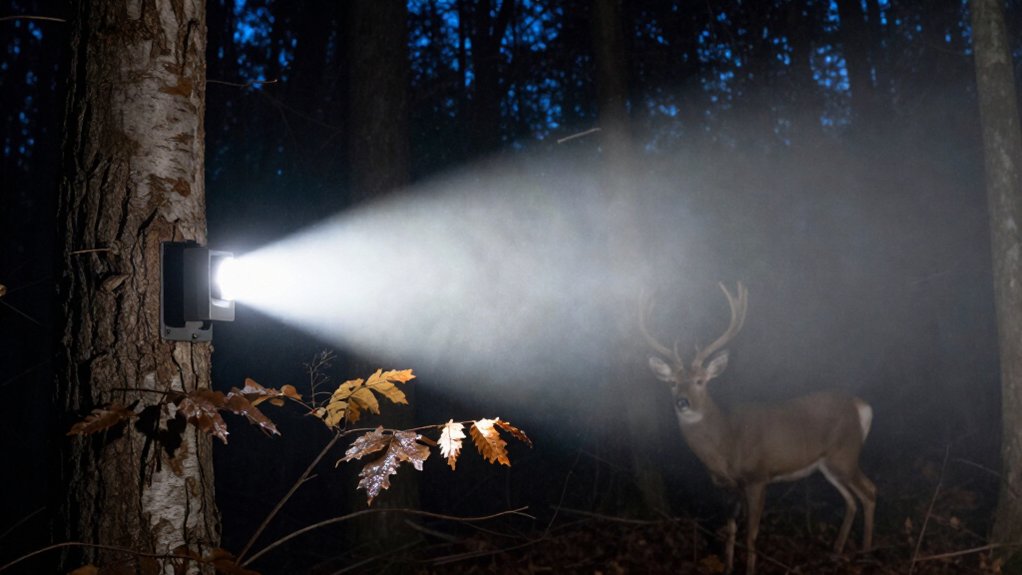
Your trail camera’s washed-out night photos usually happen when its IR flash bounces off nearby grass, branches, insects, rain, wet vegetation, pale animals, or a dirty lens cover and returns to the sensor.
Check for protective film, water spots, and close reflectors in the foreground. Lower IR intensity, trim vegetation, and angle the camera across an open trail.
Then take comparison photos on dry nights. The steps below help you isolate the exact glare source.
Nearby Objects Reflect IR Light
Nearby objects can reflect a trail camera’s infrared flash directly back into the lens, creating glare, bright streaks, or a washed-out night image. Check the first few feet in front of the camera for moving or stationary reflectors. Rain droplets, flying insects, and branches can catch IR, particularly in warm weather when bug activity rises.
A pale animal facing the unit, such as a white possum, may overexpose and lose identifying detail. Raccoons at close range can also produce odd eye-shine streaks instead of round points. Review affected frames for a bright foreground source, then lower IR intensity to medium or low. If glare persists, shift the camera angle slightly to move reflective material away from its field of view before retesting at night.
Infrared Bounce Causes Whiteout
Infrared bounce occurs when the camera’s IR flash strikes a close object and reflects back into the lens, producing a bright haze or full whiteout. This happens when insects, rain, branches, or an animal cross the illumination cone near your lens.
A possum’s white fur can return enough IR energy that you can’t recover facial detail. Check the frame edges and foreground for the brightest source.
| Symptom | Likely cause |
|---|---|
| Bright veil | Near reflector |
| Streaked eyes | Long exposure |
Set flash output to medium or low, then tilt camera slightly to move reflection outside the lens axis. If eyes appear as lines rather than round points, exposure may collect nearby reflected light too long. Recheck after rain and warm bug activity often around your trail camera.
Dewy Grass Amplifies IR Glare
Dewy or rain-soaked grass can scatter your camera’s IR flash back toward the lens, creating bright patches or a washed-out veil in night images. Each wet blade acts as a reflective surface, so vegetation close to the camera can return infrared light to obscure detail. The effect is strongest when animals pass near glistening grass; their outlines may blend into streaks and hotspots.
Inspect images after humid nights or rainfall, when moisture and insect activity can add reflective clutter. Trim tall grass, weeds, and branches from the detection zone. If you’ve cleared the foreground and washout remains, reposition the unit so it doesn’t face wet cover directly. You can also reduce IR-flash intensity and test again to confirm that exposure improves while detail remains usable.
IR LED Ring Configurations
A standard LED ring concentrates IR around the lens, while wide-angle layouts spread illumination across more of the scene. You should check whether your camera’s coverage pattern catches nearby grass, branches, or animals, since those surfaces can reflect IR back into the lens. Dense LED rings can produce stronger glare at close range, so lower the flash setting or adjust the camera angle.
Standard LED Ring Layouts
Most trail cameras place IR LEDs in a ring around the lens, which keeps the flash aligned closely with the camera’s viewing path. This compact layout means nearby objects sit in both the illumination and capture paths, so they can send IR directly back into the lens. Diagnose washed-out frames by checking for rain, insects, branches, or animals close to the camera. White fur can also reflect enough energy to clip detail.
| Symptom | Likely return | Practical adjustment |
|---|---|---|
| Bright speck | Insect or rain | Lower IR setting |
| Pale subject | White fur | Set IR to medium |
| Haze near edge | Branch | Angle camera slightly |
Use a lens shield when a fixed nearby object keeps reflecting light. Test one change at a time, then compare exposure and detail results.
Wide-Angle Illumination Patterns
Wide-angle IR LED rings spread illumination beyond the camera’s main viewing area, so they can light insects, branches, or animals close to the housing and send reflected infrared back into the lens. This pattern can produce washed-out zones even when the obvious reflector sits outside the recorded frame. Check the ground, vegetation, and trail edges near the camera: a pale branch, close animal, or moving insect may return enough IR to haze the image.
If nearby subjects look overly bright, lower flash output to medium or low. Then test a slight angle adjustment to move illumination away from reflective surfaces near the lens. Review images after each change; you’ll identify whether broad coverage or a nearby reflector drives the flare in night trail setups.
Dense Ring Glare Risks
Dense IR LED rings can concentrate strong, uneven light near the camera, causing close animals, reflective fur, branches, or insects to blow out in night images. This LED layout can create a hot zone around the lens, so nearby surfaces return infrared directly to the sensor. When only part of the frame washes out, inspect for grass, twigs, webbing, or an animal standing inside that zone.
Lower your IR flash to medium or low, and then retest the same location after dark. Also shift the camera angle slightly to move close reflective material beyond the strongest beam. Compare the resulting images: cleaner highlights after either adjustment confirm IR reflection rather than a faulty exposure setting or sensor failure within the camera itself at night.
Dirty Infrared Lens Cover
Dust, fingerprints, water spots, and webs on the infrared lens cover scatter IR flash, producing haze or washed-out night photos. Inspect the cover for residue, insects, and streaks, especially after rain or routine camera checks. Clean it gently with a soft, lint-free cloth, then take a dark test photo to confirm the glare is gone.
How Dirt Scatters IR Light
A dirty infrared lens cover can scatter the camera’s IR flash back toward the sensor, producing haze and washed-out night photos. Instead of passing cleanly outward, infrared light strikes dust, dried water spots, pollen, or oily smears and changes direction. Some of that reflected energy re-enters the imaging path, lifting shadow levels and reducing contrast across the frame.
The effect intensifies at night because the camera relies on its own IR illuminators. Nearby subjects can then look unnaturally bright, while fine detail disappears behind a milky veil. Insects or rain close to the unit may also catch this scattered light and amplify the glare. Wipe the IR cover with a soft, lint-free cloth. If cleaning doesn’t restore exposure, assess scratches, condensation, and reflective objects.
Spotting A Dirty Lens Cover
Inspect the infrared lens cover when night images turn foggy, washed out, or develop bright halos across several shots. Those repeated symptoms often indicate contamination on the protective window, not a one-time exposure problem.
Use a flashlight to examine the cover from several angles. Look for dust, fingerprint smears, water spots, pollen, and fine spider web strands. Even a thin film can redirect the camera’s infrared flash toward its lens, producing low-contrast haze or a glowing ring around the frame.
Compare affected nighttime photos with daytime images and note whether the pattern persists across locations. Inspect after rain or after the camera has sat near brush. Before mounting or repositioning it, confirm the cover is dry and free of debris and webs around its edges.
Cleaning Without Damaging Coatings
Clean the infrared lens cover gently with a clean, soft microfiber cloth, since dust, fingerprints, and smears can scatter IR flash back into the lens and wash out night photos. Wipe in light, straight passes; don’t grind debris across the surface.
If dry wiping leaves residue, apply a small amount of lens-safe cleaner to the cloth, not directly to the camera. Never use paper towels, abrasive pads, household solvents, or strong pressure: they can scratch the cover or strip protective coatings. Inspect the cover under angled light afterward. Look for remaining film, scratches, or cracks. If glare persists after cleaning, diagnose other reflective causes, especially insects near the camera or objects within the IR flash zone. Test a fresh nighttime image before relocating it.
Aim Camera Across Open Trails
Mount the camera so it looks across an open trail, not straight down it, because animals moving side-to-side are more likely to cross the PIR sensor’s detection zone and appear fully in the frame. This orientation reduces infrared glare: branches, grass, and objects can bounce flash into the lens and wash out images.
Leave space between camera and trail, since animals and insects may overreflect IR LEDs and hide detail. Verify that the PIR zone overlaps the camera’s field of view; a trigger doesn’t guarantee the animal is photographed. Walk across the trail at typical animal distance, then inspect a night test image. If subjects enter at an edge or appear partly cropped, pivot or reposition the camera until crossing movement stays properly centered.
Rain Can Scatter Infrared Light
Even with a clear, cross-trail setup, rain can scatter the camera’s infrared flash and wash out night photos. Falling drops close to the lens can bounce infrared energy back into the sensor, producing bright haze or localized glare. This is especially likely during warm, wet periods, when rain and flying insects may pass through the flash zone as wildlife approaches.
Diagnose the pattern by comparing questionable images with photos from dry nights at the same location. If washout tracks rainfall, moisture-related reflections are likely contributing. Clear grass, twigs, or other nearby objects from the camera’s field of view, then shift its angle slightly. These adjustments reduce close-range reflective targets and help the infrared flash illuminate the trail instead of the lens area directly again.
Leaving Protective Film On Lens
A clear shipping film left over the lens can reflect and scatter the infrared flash back into the camera, causing glare, haze, or fully washed-out night images. Before you mount the camera, inspect the lens window under bright light. Thin, edge-lifted film often looks like part of the housing, yet its smooth surface can return IR energy directly to the sensor. Use this checklist:
- Look for tabs, seams, bubbles, or curled corners around the lens.
- Peel the film slowly from one edge; don’t scratch the lens cover.
- Wipe residual dust with a clean microfiber cloth.
- If glare persists, inspect nearby reflective objects that may bounce infrared light toward the lens.
Removing this overlooked barrier restores optical transmission and eliminates a source of infrared flare.
Run a Nighttime Test Photo
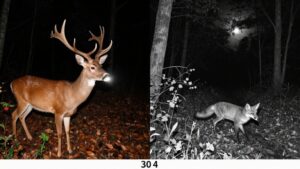
After removing any lens film, run a controlled test photo after dark to confirm that the washout is tied to infrared illumination rather than daylight conditions. Aim the camera at a nearby target, then inspect the frame for reflections caused by insects, rain, branches, or shiny animal fur. Look for bright patches, haze, and streaked eye reflections. These clues can indicate IR light bouncing into the lens; streaking can also point to a long exposure.
If the test image remains washed out, reduce the IR flash setting to medium or low and shoot again. Shift the camera angle slightly between shots, keeping the target distance similar. If washout changes or disappears after repositioning, a nearby object is reflecting infrared light directly toward the lens.
Conclusion
Washed-out night photos usually mean your trail camera’s IR LEDs are reflecting back into the lens. You’ll reduce whiteout by clearing nearby grass, branches, rain droplets, and debris, then aiming across open space rather than at close surfaces.
Clean the lens cover, remove any protective film, and check for moisture. Because LED-ring designs vary, run a nighttime test photo after each adjustment. That quick diagnostic lets you isolate the reflection source and restore exposure.