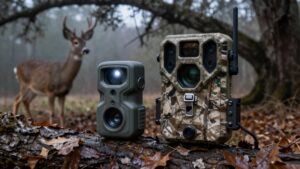
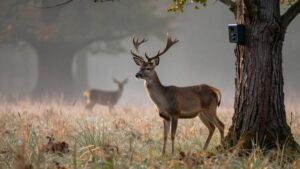
What Setting Should My Trail Camera Be On? Best Settings by Use Case
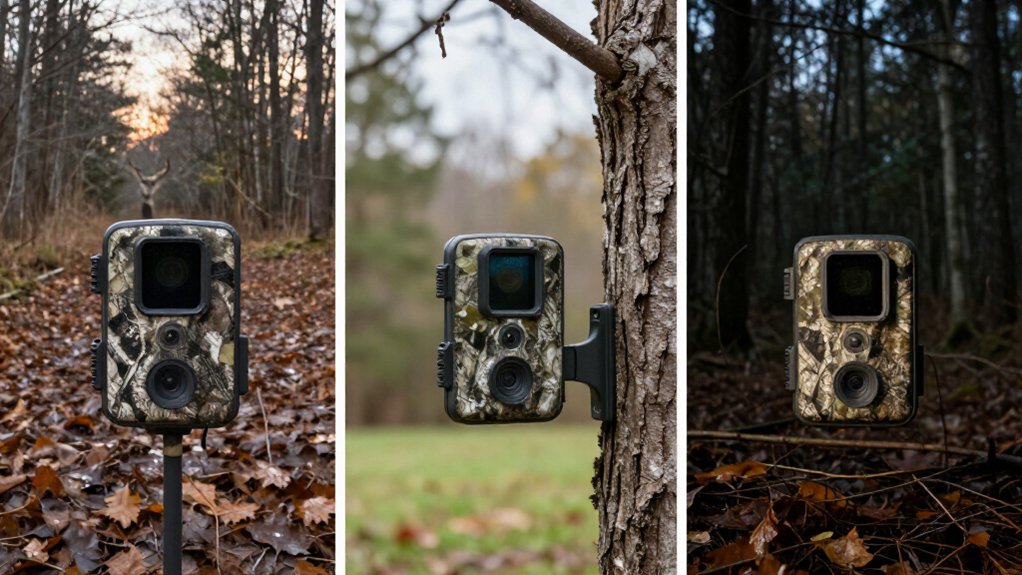
Start in photo mode with medium sensitivity, a three to five-photo burst, and a trigger under 0.3 seconds on trails.
Use two or three stills for fast deer; choose three to five for turkeys.
At feeders, use single-photo mode and a 30-second delay to save card space.
Mount it 3–4 feet high, angled down the trail, facing north.
Use no-glow around pressured deer and lower sensitivity in heat or wind.
The adjustments ahead refine your baseline.
Start With Photo Mode
Start with Photo Mode for most scouting setups, since it captures still images day and night whenever motion enters the detection zone. For general daytime coverage, set resolution between 32 and 60MP, then enable a three- to five-shot burst. This sequence gives you several frames to review, improving your odds of a sharp, useful image while maintaining solid trigger performance.
Use medium sensitivity under normal field conditions; it detects meaningful movement without constantly recording wind-shifted grass or drifting debris. Where animals move quickly through a travel corridor, select a trigger speed below 0.3 seconds to capture the subject before it exits the frame. At a feeder, change to single-photo capture and add a one-minute trigger delay. That interval limits near-duplicate shots, protecting SD-card capacity.
Match Settings to Species
Once you’ve established a solid photo-mode baseline, adjust trigger speed, sensitivity, and capture format for the animal and location you’re monitoring.
For deer crossing fast trails, choose a sub-0.30-second trigger when available and set a short or no delay. Capture two or three stills per event so a quick pass remains documented. For turkeys, use moderate sensitivity to limit false triggers, then select three to five photos per trigger; reserve video for zones with reliably frequent movement.
At night, enable high-power IR, maximum night resolution, and medium-high night sensitivity for usable identification without excessive battery drain. Raise sensitivity for smaller foxes or turkeys, but reduce it where wind moves grass or branches. Use photos for broad deer scouting; add Photo+Video when behavior context matters.
Use 30-Second Delay at Feeders
At feeders, set the camera to Single Photo with a 30-second trigger delay when you need a practical balance between documenting activity and protecting SD-card space. This setting prevents a lingering doe or mature buck from filling the card with near-identical images, yet it can record movement changes during a visit. Aim the camera at the feeder’s approach or the animal’s standing spot so each trigger captures arrival, repositioning, or departure rather than every bite.
Set one photo per capture; use two only if you need a backup frame or clearer confirmation. Keep the camera in Photo mode instead of recording long videos because deer may remain at feed for several minutes. If cards fill too quickly, extend delay to two to five minutes.
Choose Low-Glow or No-Glow
Choose low-glow IR when you need strong night range and can accept a faint red flash. Use no-glow IR around pressured whitetails or other sensitive locations, since its illumination remains invisible at night. Match long-range, high-power IR to open ground, and use power-save IR in close wooded setups.
Low-Glow Flash Benefits
Low-glow or no-glow infrared flash is the better default when you need nighttime coverage without drawing unnecessary attention to the camera. For general scouting, choose low-glow to capture natural deer behavior while retaining enough illumination for species recognition. It is especially useful around dawn and dusk, when ambient light supports cleaner detail and low-glow LEDs can fill shadows without the harsh burst produced by older white-flash cameras.
Run high IR power with medium-high night sensitivity, then verify exposure at your camera distance. This combination usually delivers images at bedding edges, pinch points, and pressured locations with less behavioral disruption. Use an appropriate detection range and avoid long video clips. Switch to brighter, higher-power illumination only when your target distance requires maximum brightness.
No-Glow Stealth Advantages
No-glow and low-glow trail cameras use infrared illumination rather than visible flash, so you can monitor deer and turkeys after dark without adding a bright disturbance at the trigger point. Choose no-glow when cautious animals or human attention make detection a concernion It produces the least visible infrared signature, though subjects at the edge of its range can look dimmer than they do with low-glow.
To preserve detail, enable high-power IR and select your camera’s highest usable night resolution or sensitivity setting. Mount it 3–4 feet high and aim across the expected travel line. Keep animals within the strong IR field rather than relying on distant triggers. This setup gives you identifiable nighttime images while minimizing the chance that wary game notices the camera.
Matching Flash To Location
Match the infrared flash to the site’s pressure level and your required night range: low-glow IR works well in typical woods at close-to-medium distances, while no-glow IR is the better fit for tight bedding or feeding edges, heavily hunted ground, and other locations where deer may notice a visible emitter. Use low-glow when you need clear photos on ordinary wooded trails; it remains less conspicuous than older bright IR flashes. Choose no-glow to minimize disturbance in deer-rich sites.
For longer night coverage, select a model with strong, long-range IR rather than relying on glow level. Mount no-glow cameras 3 to 4 ft high, angled down about 45°, so deer enter naturally. At dawn and dusk, use the lowest-glow option that reliably exposes your target distance well.
Adjust for Heat and Wind
In hot weather, set motion sensitivity to medium-low or shorten the detection range to limit false triggers from heat shimmer and moving cover.
In wind, use Smart Zones to exclude swaying vegetation and aim the camera across deer travel routes. Mount it 3 to 4 feet high with a slight downward angle, avoiding tall grass, leaves, and water reflections.
Lower Sensitivity In Heat
As summer heat builds, lower your trail camera’s motion sensitivity to limit false triggers from heat shimmer, wind-blown grass, and moving leaves. Start with medium sensitivity in spring, then reduce it one level for summer conditions. If breezy-afternoon checks produce empty images, lower sensitivity before altering other settings; this usually improves signal-to-noise quickly.
Field-edge cameras especially benefit because distant heat distortion can mimic movement across the background. Confirm your framing before accepting the lower setting: mount the camera roughly 3 to 4 feet high and angle it about 45 degrees down the trail. This target geometry keeps deer moving through the primary detection zone, so you can filter weak, distant motion without sacrificing meaningful captures. Check results after several days, including hottest afternoon, if blanks persist.
Manage Wind-Blown Vegetation
Wind can create the same false-trigger problem as heat, so lower motion sensitivity from medium toward low when grass, leaves, or branches move through the detection area. In spring, begin at medium, then test low sensitivity during summer’s dawn-to-midday breezes. Review the first day’s images: repeated empty frames mean vegetation is still crossing an active sensor area. If supported, mask that movement with Smart Zones while retaining the travel lane.
Don’t drop sensitivity blindly: verify that animals still trigger reliably at the distance you expect. Make one change at a time, and compare trigger counts, empty-image rate, and battery use over 24 hours. This keeps wind control from reducing useful detections unnecessarily.
| Condition | Recommended setting |
|---|---|
| Spring | Medium |
| Wind | Low |
| Vegetation | Smart Zone |
| Lane | Active |
Optimize Camera Placement
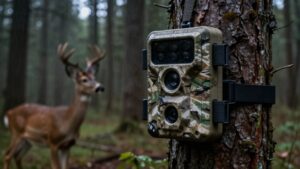
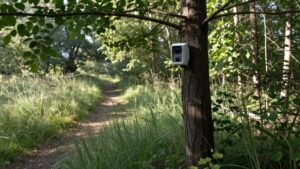
Place the camera about 3 to 4 feet above ground level and angle it roughly 45° down the trail, keeping the sensor’s active zone centered on the travel lane rather than on grass, branches, or reflective water. This knee-to-waist-height position limits wind-driven motion inside the detection field and gives animals a consistent crossing angle.
In summer, raise sensitivity only when you need to detect distant movement or activity along field edges. Higher sensitivity can register heat shimmer and blowing vegetation as subjects. Face the unit north when possible and frame it away from sunrise and sunset glare; changing light can mimic motion, particularly when wind moves foliage.
Before installation or card checks, evaluate wind direction. If your route carries scent toward bedding cover, use alternate path.
Pattern Bucks at Scrapes
Scrape cameras need to capture more than a passing deer, you’re documenting head position, antler detail, and the direction each buck uses. Set Photo mode to a three to five shot burst and trigger speed below 0.3 seconds. Use medium sensitivity; it reduces wind-blown grass and leaf false triggers without sacrificing reliable detection.
| Setting | Specification | Result |
|---|---|---|
| Capture | Photo, 3–5 shots, under 0.3 second | Records head angles |
| Sensitivity | Medium | Limits vegetation triggers |
| Schedule | Time-Lapse+, 10 seconds | Maps activity windows |
Mount the camera 3–4 feet high, 10–15 feet from the scrape for antler comparisons between individual bucks. Aim it 45 degrees down the approach lane, following likely travel rather than crossing it. To reveal activity windows, run Time-Lapse+ at 10-second intervals; it records quick visits that don’t trigger.
Check Local Baiting Regulations
Before deploying a bait-site camera, verify regulations with your state or provincial wildlife agency and any applicable county or special-zone rules. Baiting laws can change by location, season, species, and management unit, so don’t assume a deer rule also covers turkey hunting. Read the current digest and zone-specific orders before selecting a feeder setup. Agencies may define bait broadly: corn, commercial lure, edible material, minerals, food attractants, and a baited scrape can all qualify.
Confirm whether cameras at or near those sites face distance limits, date restrictions, or outright prohibitions. If you monitor a feeder or mineral lick, verify that both the material and your intended camera use remain lawful during the current season. For property-specific questions, call a conservation officer and document guidance.
Avoid Aiming Toward Sunrise
Once you’ve confirmed a legal camera location, orient it away from the sunrise whenever practical. Direct early-morning sunlight can wash out an image within seconds, obscuring a deer’s face and antlers during a trigger event. East- and west-facing setups also invite low-angle glare at sunrise or sunset.
- Prefer a north-facing mount to maintain consistent daylight and reduce direct solar exposure.
- Mount the camera about 45° down the trail, following deer travel instead of viewing the path straight across.
- Inspect the sunrise-side background for water, wet leaves, or other reflective surfaces; glare can degrade image quality and cause false triggers.
These adjustments preserve detail when animals move at dawn and make exposure results more reliable throughout each day in changing conditions.
Format SD Cards Before Deployment
Format every SD card in the trail camera that will use it before deployment. Use the camera’s in-menu “Format SD Card” or “Erase” command, not a computer format. Each model may write folders and files differently, so even a new card can trigger recording, playback, or recognition errors if you skip this step.
| Card situation | Required action | Why it matters |
|---|---|---|
| New or previously used | Format in camera | Creates compatible file structure |
| Different brand or capacity | Format again in camera | Prevents card-specific errors |
After formatting, check the clock, date, time zone, and daylight-saving setting. Accurate timestamps make photos and videos useful for pattern analysis and evidence.
Reformat periodically only after you’ve copied and verified every needed file; formatting deletes the card’s current images and videos.
Conclusion
Start in photo mode, then tune trigger speed, delay, sensitivity, and flash to your location and target species. At feeders, use a 30-second delay; at scrapes, prioritize rapid capture and consistent coverage.
Choose low-glow or no-glow illumination based on disturbance risk, and account for heat, wind, and sunrise glare. Follow local baiting rules, aim cameras carefully, and format every SD card before deployment. You’ll collect cleaner images, reduce false triggers, and learn patterns faster overall.