Cheap vs Expensive Trail Cameras: What You Actually Get for More Money
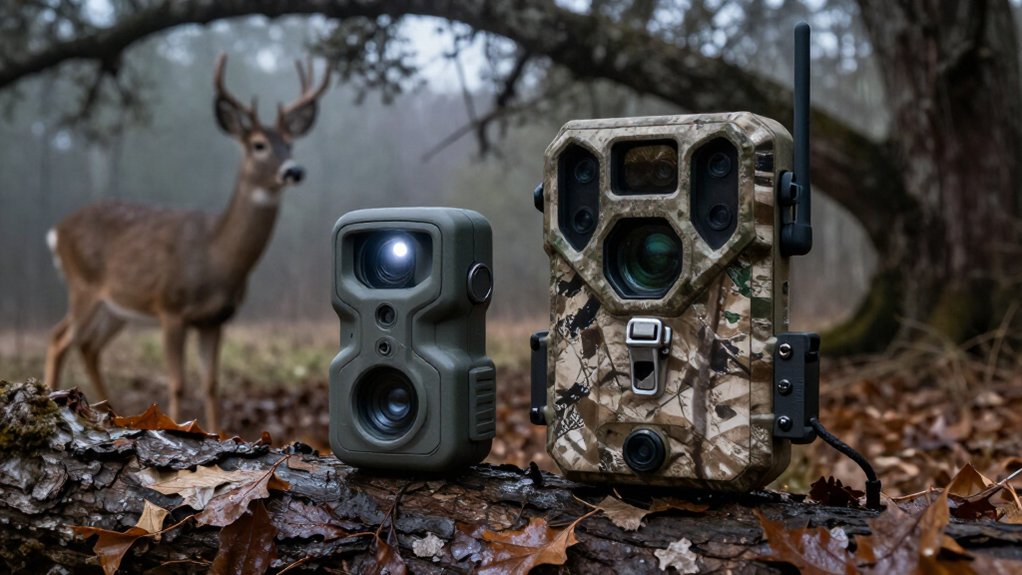
Cheap trail cameras can catch deer and store photos on an SD card, but you’ll often accept slower triggers, shorter night range, and fewer scheduling controls. Paying more can give you faster captures, low-light images, cellular delivery, aiming, and time-lapse tools for food plots.
You still shouldn’t trust megapixel claims alone, since interpolation can inflate them. Factor in batteries, cold weather, security boxes, and data plans before upgrading. Differences clearer in details below.
Trigger Speed and Flash Range
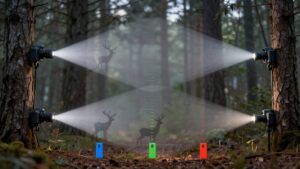
Trigger speed and flash range often reveal the most meaningful differences between cheap and expensive trail cameras. You’ll notice it when a deer crosses a narrow trail: a camera firing in under 0.25 seconds is excellent, while one exceeding 0.5 seconds can record only a tail. Budget options can still perform well; the Moultrie Micro-42i and Tactacam Reveal X 3.0 trigger at roughly 0.4 seconds or less. Detection range tells you how far away movement activates the camera; flash range tells you how far nighttime light reaches.
| Measure | What you should watch |
|---|---|
| Trigger speed | Under 0.25 seconds excels |
| Detection range | About 100 feet is useful |
| Flash range | Aim for 80–100 feet |
The Micro-42i offers 70-foot detection and 80-foot flash coverage at night consistently.
Cellular Transmission vs SD Cards
Your choice between cellular transmission and an SD card determines how often you’ll need to visit a trail-camera site. An SD-card model stores images locally, so you’ll return to retrieve them and replace or clear the card. That approach suits you if routine site checks are practical.
Cellular cameras send photos to an app, allowing you to monitor activity remotely and make fewer visits that might leave scent or disturb wildlife. You’ll usually pay more upfront and may need a service plan, although the $80 Spypoint Flex-M lowers that entry point. The Moultrie Micro-42i uses an SD card conventionally or connects to Moultrie Mobile with a separate modem. At about $125, the Tactacam Reveal X 3.0 sends app images and includes an optional SD-card slot.
False Triggers and Battery Life
A camera’s motion sensor can react to more than deer or other intended game: swaying grass, branches, and even mice may cause false triggers. Test yours near a bird feeder, where small, quick movements reveal whether it records unnecessary images. Those extra captures consume power, so battery choices and settings matter.
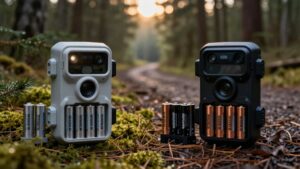
In picture mode, you may get months of service; in video mode, the same camera can drain within weeks. Lithium cells cost more than alkalines, but their longer runtime helps when you can’t visit remote cameras often. Rechargeables require a larger initial investment, while solar panels or external packs can further reduce trips.
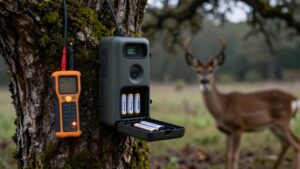
Keep the battery chamber free of dust and dirt. Clean contacts gently with emery cloth to limit oxidation and maintain power.
Mounting Height and Setup Time
Mounting height affects both what the camera sees and how easily someone can spot it. For property security, place it above eye level when practical, then angle it toward an entry point where people or animals naturally pass. This higher, deliberate position can make the unit less noticeable, while camouflage and discreet placement further reduce the chance that someone finds it.
Setup time often separates a basic camera from a pricier model. A built-in screen, such as the Reveal Pro 3.0, lets you check framing at the tree. The Reveal X 3.0, instead, provides live aiming through its app, so you can adjust position and view without repeated trips between the camera and your phone. That feedback helps you finish a careful setup faster.
Cold-Weather Performance Limits
Once you’ve aimed and mounted the camera, cold weather becomes the next practical limit on reliability. Batteries lose useful capacity as temperatures fall, so your power plan matters more than the camera’s price tag.
Lithium cells cost more than alkalines, but they’re the sensible choice for winter deployments. Rechargeables can reduce downtime, although their upfront investment is larger. For a remote setup, picture mode usually conserves power far better than video, which may drain a set of batteries within only a couple of weeks.
- Use lithium batteries for cold-season checks.
- Keep dirt out of the battery chamber and polish contacts gently with emery cloth to limit oxidation.
- Consider solar panels or external batteries to reduce visits, while remembering that conditions still affect the system.
Warranty Coverage and Replacement Parts
Warranty coverage can shape a trail camera’s long-term value just as much as its purchase price, especially if it will stay in the field for months at a time. The Moultrie Micro-42i includes a two-year warranty, giving you a defined period to weigh against its budget price. For most other listed cameras, check the manufacturer’s policy before you buy.
Ask what the coverage excludes, how claims work, and whether U.S.-based after-sale support is available. Also ask if you can order battery trays, antennas, and mounting hardware separately. A durable body and responsive support can reduce downtime when service is needed.
Theft Risk and Security Boxes
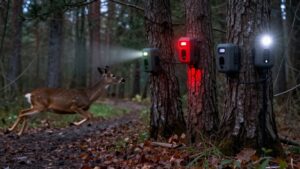
Support can replace a failed camera, but it can’t recover one that disappears from the field. Theft risk depends heavily on placement and visibility, whether you’re protecting property or monitoring a remote trail. A no-glow or infrared model produces a less noticeable flash at night, though no-glow designs may have a shorter effective range in some conditions.
- Mount the camera above eye level and aim it at an entry point.
- Use camouflage to help it blend into its surroundings.
- Compare security-box construction, lock compatibility, and theft-prevention ratings separately.
These steps don’t make a camera theft-proof, but they can reduce casual discovery and keep your monitoring position less obvious during regular routine checks in the field.
Image Resolution and Video Quality
You can’t judge photo quality by megapixel claims alone, so compare real day and night samples before paying more. Pricier cameras may deliver clearer long-range images, while no-glow infrared models trade some nighttime detail for discretion. Check video resolution, frame rate, and sound, too, because recording clips can drain your batteries quickly.
Photo Resolution Differences
Although megapixel counts dominate many trail-camera listings, they don’t reliably predict sharper images because some models use software interpolation to inflate the number. You’ll learn more from full-size sample photos than from a spec sheet. The Moultrie Micro-42i lists 42 MP, while the Stealth Cam Fusion Pro Max adjusts to 36 MP, yet those numbers alone can’t tell you which records finer fur detail.
- Check daylight samples for clean edges, natural color, and readable background detail.
- Compare night samples at your distance; the Tactacam Reveal X 3.0 delivered strong daytime and long-range night images in testing.
- Consider illumination: white flash usually captures the sharpest full-color night photos, while no-glow models can lose detail at longer ranges.
Spypoint Force-48 still impressed reviewers at its price.
Video Quality and Frame Rates
Video reveals movement and behavior that still photos can miss, but resolution and frame rate determine how useful the clip remains. A budget camera such as the Spypoint Force-48 records 720p video with sound, which can document a deer’s direction or an interaction. Step up to a Browning Strike Force Pro X 1080, and its 1080p recording gives you more detail to inspect in fur, antlers, and background cover.
Check clips, not just megapixel claims; software interpolation can inflate specifications without adding true clarity. Night video deserves extra scrutiny. White flash usually delivers the sharpest color images, while no-glow units can lose detail at longer distances. Confirm features before buying: Tactacam Reveal X 3.0 takes strong photos but doesn’t offer video on demand.
Time-Lapse Modes for Food Plots
Time-lapse lets you watch a food plot at set intervals, revealing movement patterns that motion-triggered photos can miss. Budget cameras may offer limited scheduling controls or consume batteries quickly when you use this mode. Premium models can give you more precise scheduling, but you’ll still want to compare battery performance and sample images before paying more.
Why Time-Lapse Matters
For food plots, time-lapse mode gives you a wider view of deer activity by taking photos at set intervals instead of waiting for motion to trigger the camera. You can watch plot’s rhythm, including where deer feed, when they enter, and how their use changes across days. That broader record helps you judge the plot, not just the animals that pass in front of a sensor.
- You’ll see deer using edges or corners that motion detection may miss.
- You can compare morning, midday, and evening activity over time.
- You’ll build a picture before deciding where to hunt or adjust setup.
The Spypoint Force-Pro-S 2.0 offers Time Lapse+ for this plot-wide approach. Regular captures use power faster, so plan extra batteries or visits for remote plots.
Budget Camera Limitations
Budget cameras can add useful time-lapse coverage to a food plot, but their modes often lack the scheduling and expanded features found in models such as the $150 Spypoint Force-Pro-S 2.0 with Time Lapse+. You can use basic captures to watch germination, canopy fill, and seasonal change, but don’t treat the sequence as a record of every deer that used the plot.
Time-lapse frames occur at set intervals, and a slower budget camera may miss animals moving between them; the roughly $70 Force-48 has a somewhat slow trigger. Check power needs before committing to long sequences, especially with video or frequent shots, because batteries drain quickly. For remote setups, picture mode may run for months. Inspect sample images and settings; megapixel claims can mislead.
Premium Scheduling Advantages
Premium cameras give you more control over food-plot monitoring by letting you schedule captures at set intervals, whether deer trigger the sensor or not. This adds context that motion photos alone can miss: emerging green cover, shifting browse pressure, and changing travel patterns between visits. The Force-Pro-S 2.0’s Time Lapse+ lets you build that record across days or weeks.
- Set intervals that match the growth or activity you want to observe.
- Compare successive images to spot bare areas, forage progress, or new movement routes.
- Keep motion-triggered captures active, so scheduled frames supplement deer photos.
For remote plots, choose picture mode when battery life matters. Video can drain batteries in as little as a couple of weeks, while still images let your schedule run longer.
Monthly Cellular Plan Costs
A cellular trail camera’s upfront price is only part of what you’ll pay, since it needs a data plan to deliver photos to your phone. The plan cost sits apart from the camera price, so compare current subscription rates and included photo limits before you buy. A Spypoint Flex-M may cost about $80, or roughly $130 for two, while a Tactacam Reveal X 3.0 costs about $125; none of those prices includes cellular service.
Look closely at how each provider structures its plans. You may pay for every camera individually, encounter a cap on uploaded photos, or qualify for a multi-camera discount. This matters when two cameras seem like a bargain. Estimate your photo volume, then check what happens if you exceed the allowance.
Conclusion
You don’t need the most expensive trail camera for every location, but you should match its strengths to your setup. Pay more when fast triggers, reliable cellular service, cold-weather batteries, secure mounting, and useful night images save you trips or missed deer. Choose a basic SD-card model when theft risk is high or you can check it often. Compare plan fees, test placement, and let your results—not marketing resolution—guide the upgrade for you over time.