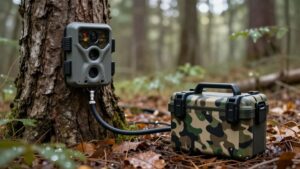
No Glow vs Low Glow Trail Cameras: Stealth vs Night Photo Quality
Choose a 940 nm no-glow trail camera when you need maximum stealth: its LEDs are usually invisible, reducing attention from wildlife and people, but night images may be softer and reach less far.
Choose an 850 nm low-glow model when you want brighter, sharper, longer-range infrared photos; its emitters show a faint red glow.
For active trails, prioritize 0.5-second-or-faster triggering and precise aiming. The trade-offs below help you match placement, security, and image results reliably.
940nm vs. 850nm Infrared
The key difference between no-glow and low-glow trail cameras lies in their infrared wavelength: no-glow models typically use 940 nm LEDs, while low-glow models use 850 nm LEDs.
| Wavelength | What you observe |
|---|---|
| 940 nm | Greater discretion; reduced detail |
| 850 nm | Brighter, longer-range illumination |
| Image result | Sensor and settings matter |
You’ll usually choose 940 nm when concealment outweighs maximum nighttime detail. It is difficult for people and most animals to see, but its illumination can yield softer, shorter-range images. By comparison, 850 nm generally delivers brighter coverage, more reach, and sharper night photos. Don’t treat wavelength as the only predictor: sensor sensitivity, lens design, exposure control, and image processing strongly affect what you capture. You should compare sample images under your trail conditions before deployment.
Why 850nm LEDs Glow Red
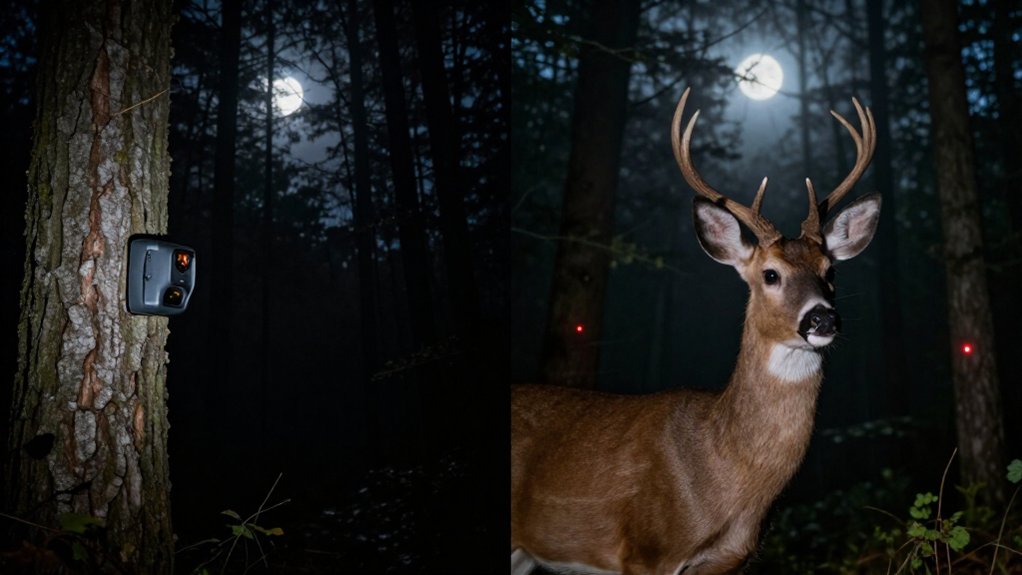
Because 850 nm infrared sits close to the visible spectrum, a low-glow trail camera’s LEDs can appear as faint red dots when they activate at night. The red appearance comes from the emitters themselves, not from red illumination spreading across the scene. When you look directly at an operating camera, you may see a small, dim cluster at the LED array, while nearby vegetation remains visually unlit.
This partial visibility distinguishes 850 nm low-glow units from 930–940 nm no-glow models, whose LEDs produce far less detectable visible output. The difference reflects wavelength: 850 nm retains a small visible component at the spectrum’s edge. In exchange, these LEDs generally deliver stronger infrared output, so your nighttime images often appear brighter than those from no-glow cameras.
Night Detection Range Differences
Low-glow cameras usually illuminate farther at night, with some models showing activity 75 feet or more from the lens. When you compare usable identification, however, advertised flash-range claims need scrutiny. A camera may light an animal at its stated maximum, yet produce insufficient detail for you to identify it reliably.
Many no-glow cameras deliver realistic identification around 70–80 feet, although certain Browning no-glow units reportedly extend effective infrared performance beyond 100 feet. That variation shows why glow wavelength alone doesn’t define night detection or photo quality. Your results also depend on the infrared system, sensor, lens, and exposure programming. Fur texture, movement speed, contrast, and ambient conditions can shorten the distance at which you get a clear image, even when illumination reaches farther out.
Mounting and Aiming Precision
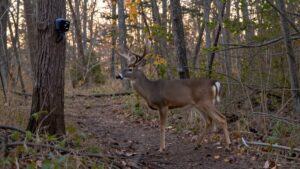
Mounting and aiming determine whether either infrared system delivers usable nighttime detail at its practical range. For deer, mount the camera around chest height or slightly lower. Aim it so the expected path sits inside the effective infrared illumination zone, not merely within the daytime frame. On narrow trails or in small clearings, compose tightly around the travel line.
In open areas, give a low-glow model more room to use its broader illumination. Clear leaves and branches near the lens; they can return infrared light as bright spots or haze. After installation, review night images or video and adjust. When possible, aim across the path so deer move through the field of view, producing more consistent exposure and identification than head-on approaches at the camera.
Glass-Window IR Reflection Issues
Glass introduces a separate nighttime imaging problem: it can reflect a trail camera’s infrared flash back into the lens, creating glare, bright spots, or a washed-out image. This affects low-glow and no-glow models alike; neither flash type prevents pane reflection. You’ll usually get cleaner night captures by keeping the camera outside and aiming through an open window. A closed pane places a reflective surface between the illuminator, lens, and subject.
If you must record through glass, test images after mounting the camera in its final position. Small changes in angle, camera-to-glass distance, and nearby walls or interior objects can alter the reflection pattern. Don’t mount the unit tight against the pane or point it squarely at the glass. Instead, offset its aim and compare test frames for hotspots and haze.
940nm LED Replacement Costs
Before you budget for a 940 nm LED repair, get a service quote from the camera maker, since replacement pricing and expected LED life vary by model. Confirm whether the failed infrared LED can be replaced individually or whether the repair requires a complete flash board. For a cellular camera, compare the quoted repair total with a replacement camera’s price, including accessories you would need to repurchase. Ask if warranty coverage includes parts and labor; unauthorized work can affect that coverage.
No-glow units use infrared LEDs above 940 nm, so verify the replacement matches your camera’s specified wavelength and model. Board-level service may cost more than a single-LED repair, but it can address related flash faults at the same time if they occur later.
940nm Battery-Life Penalty
A 940 nm no-glow camera may not deliver the same battery life as an 850 nm low-glow model, but no reliable fixed “battery-life penalty” applies across all cameras.
You can’t infer a drain difference from wavelength alone. Although 940 nm systems typically provide weaker illumination and a smaller coverage area, those traits don’t quantify their power draw. LED design, flash intensity, trigger frequency, image resolution, recovery time, temperature, and cellular transmission can shift endurance.
For a long deployment, compare manufacturer battery-life estimates using matched settings and similar capture workloads. Check whether estimates include night triggers or image transmission. You’ll get a useful comparison by testing both cameras at your range and activity level. Where supported, lithium AA batteries or solar power can extend intervals.
Animal Sensitivity to Red Glow
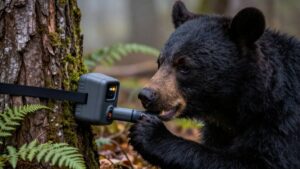
You may see a faint red glow from 850 nm low-glow LEDs, and some animals can detect it as well. Deer and other wary species may react with alert behavior or avoidance, while responses vary by animal, pressure level, and placement. Compared with low-glow units, 930–940 nm no-glow cameras reduce visible flash, though you should also consider audible filter-switching clicks.
How Animals Perceive Infrared
Although infrared is outside human vision, low-glow trail cameras use 850 nm LEDs that emit a faint red glow some animals may detect, while no-glow models use roughly 930–940 nm illumination that most people and animals can’t see. That difference reflects wavelength placement relative to visual sensitivity: 850 nm sits closer to the visible red boundary, so its LED elements can remain perceptible under darkness.
At 930–940 nm, emission shifts farther beyond that boundary, reducing detectable light output. You should treat perception as variable rather than absolute; individual visual systems and ambient conditions can alter what registers. No-glow thus minimizes optical conspicuousness, yet camera placement still matters because animals may detect shape, scent, sound, or movement nearby before they approach the setup at night.
Species Reactions to Red Glow
When an 850 nm low-glow camera triggers, its LED array can appear as a faint red cluster of dots that may alter an animal’s response. Deer, turkeys, coyotes, and foxes don’t all react alike: a visible emitter may startle one animal, yet another may ignore it.
If an animal notices the red dots, it can pause, look toward the camera, change its route, or return less often. Those behavioral shifts can reduce the naturalness of your observations, especially at heavily used sites. A 930–940 nm no-glow unit emits infrared that is generally invisible to people and most animals. You’ll typically choose it when monitoring wary game or sensitive wildlife, whereas low-glow models trade some stealth for stronger night illumination and image detail in darkness.
Public-Land Theft Risk
On public land, a low-glow camera’s faint red flash can expose its location to passersby, while a no-glow model remains less conspicuous at night. You’ll generally benefit from no-glow placement near trails, gates, and other high-traffic corridors, but concealment alone won’t stop theft. Check local rules, then use a compatible security box or cable lock to secure either camera type.
Visibility And Theft Deterrence
For public-land setups where theft is a realistic concern, no-glow trail cameras offer a clear concealment advantage: their infrared illumination remains invisible to most people. That matters when you monitor areas used by hikers, hunters, or trespassers: the camera can record at night without advertising its operation through a visible LED glow.
Low-glow models, typically using roughly 850-nanometer LEDs, may display a faint red cluster when viewed directly after dark. That cue can identify the unit to a passerby and increase the chance of interference or theft. No-glow reduces this exposure, but it doesn’t make your equipment undetectable to every observer. A lock or security box adds physical resistance if someone finds it. You should treat concealment as risk reduction rather than complete protection.
Camera Placement Strategies
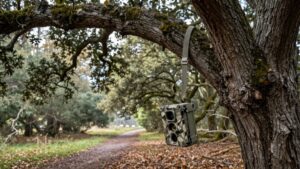
Because public-land cameras face both human traffic and wildlife movement, placement should balance concealment with a clear view of the target travel corridor. Avoid mounting beside obvious trails, roads, gates, or popular access points, where passersby can notice it. Instead, choose a legal site away from traffic, then aim across an animal route within the camera’s detection zone and infrared range.
This offset approach reduces casual discovery without sacrificing coverage. At night, a no-glow model produces an infrared flash that most people won’t see, while a low-glow model may reveal its operating position to people nearby. Still, no-glow technology limits nighttime visibility; it doesn’t make a poorly placed camera undetectable. Check local rules and minimize visits to avoid exposing the location or disrupting wildlife.
Securing Public-Land Cameras
Public-land trail cameras face a higher theft and tampering risk because other visitors can encounter them easily. At night, a no-glow model using 940 nm infrared produces fewer visible clues than a low-glow unit. Its illumination is difficult for people to see, whereas a low-glow camera’s approximately 850 nm LEDs emit a faint red glow when triggered. That glow can identify the camera’s position to passersby and increase attention in heavily used areas.
Still, no-glow technology only reduces nighttime detection; it doesn’t stop someone who finds the housing. Choose a discreet location, mount the camera securely, and use a compatible security box and cable lock. Before deployment, confirm local rules allow cameras, security hardware, and your intended mounting method on the specific public parcel.
Prioritize Trigger Speed on Trails
On active trails, prioritize a trigger speed of 0.5 seconds or faster, since deer and other wildlife can cross a narrow camera field of view before a slower unit fires.
Fast response matters more than detection range. Position camera so its detection zone overlaps trail width and travel line. If zone triggers late, even a wide-angle sensor may record a hindquarter or miss it. Compare trigger speed with detection range and coverage angle, not specification alone.
A wider angle helps on bends or multi-use paths, but it doesn’t replace placement. Test setup by walking across the frame at realistic trail distances and check timing afterward. Review images for centered captures, adjust camera angle, height, or distance until animals enter detection before reaching image edge.
Conclusion
If you need stealth, choose a 940nm no-glow camera: it minimizes visible emitter light and reduces theft or animal-alert risk. If you need longer night reach, clearer illumination, and often better efficiency, choose 850nm low-glow. You’ll see its faint red LEDs, so mount it carefully and avoid public exposure. On trails, prioritize trigger speed and precise aiming; near glass, expect IR reflection from either system. Match wavelength to your surveillance risk, distance, and power budget.