Why Are My Trail Camera Pictures Blurry at Night? Motion Blur Fixes
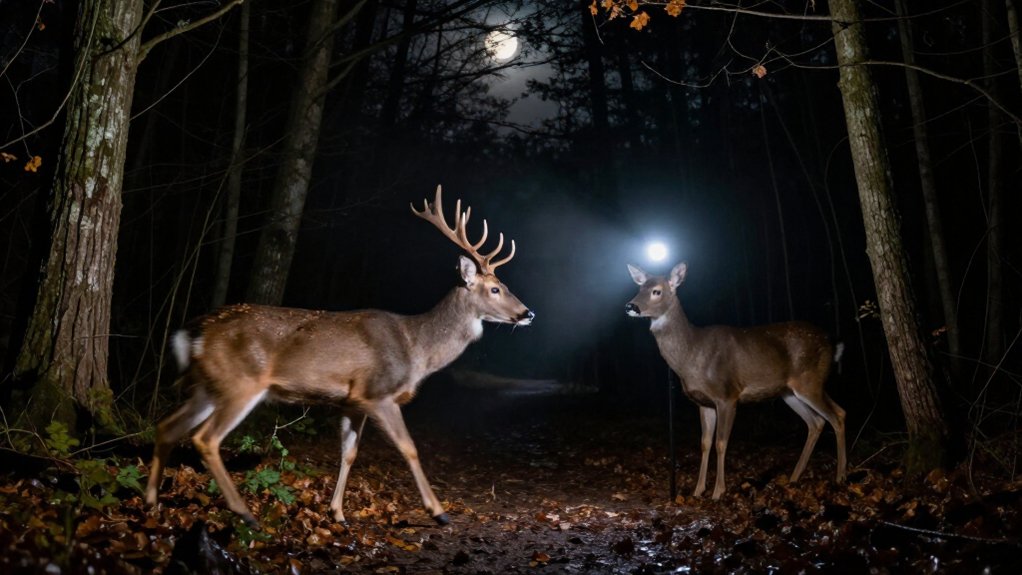
Your night photos blur because IR mode uses a longer exposure, so a moving deer smears even when trigger speed is fast.
Keep animals 5 to 15 feet away, aim along travel routes, and match flash range to that zone.
Lower flash power if nearby fur washes out.
Test clear versus overcast nights, shelter the lens from rain, and use burst mode.
Megapixels and a lens can’t fix motion during exposure.
The steps help you isolate cause.
Infrared Exposure Causes Motion Blur
At night, your trail camera relies on infrared (IR) illumination and often lengthens its exposure to collect enough light. That longer shutter interval records any movement that occurs during the frame, producing motion blur. When wildlife moves side to side, its image crosses more pixels and creates heavier smear than movement directed mostly toward or away from the camera.
IR operation can also reduce the effective capture rate, so fast-moving animals appear less clearly frozen in successive nighttime images. Improve illumination so the camera can select a shorter shutter time: add stronger IR light or adjust the IR range to illuminate the scene without overexposure. If settings permit, disable IR auto modes that unnecessarily extend exposure. Test each change at the same site and compare blur.
Animal Distance Affects Sharpness
Distance changes how strongly nighttime motion blur appears in your trail-camera photos. At close range, an animal’s sideways movement travels across more pixels during the IR exposure, so it looks softer than the same movement farther away.
Set the camera to cover a moderate portion of the travel route, with animals generally about 5 to 15 feet from the lens. This range helps the illuminator cover the subject effectively while limiting apparent motion across the frame. Don’t assume a closer placement delivers more detail; within a few feet, blur often increases.
Move the camera a few feet, keep its IR settings unchanged, and compare several night captures. Choose the position that produces the cleanest outlines and most consistent exposure under similar animal movement and field conditions.
Deer Crossing at 15 Feet
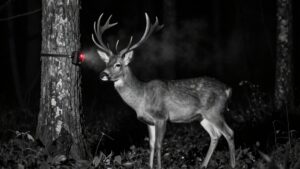
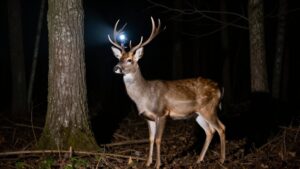
With a deer crossing about 15 feet from the camera, you can still get smeared faces or bodies at night despite a fast trigger speed. Trigger speed only determines when capture begins; it doesn’t guarantee a short night exposure. In low light, the shutter can remain open long enough for a moving deer to smear while the background stays sharp.
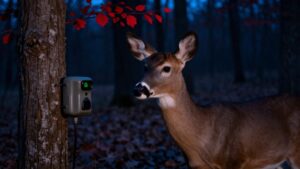
Add light across the approach path with a porch or spot light. This lets the camera use a shorter exposure, reducing the deer’s movement across pixels. Test night modes at the same 15-foot distance; don’t rely on Auto IR, which may lengthen exposure or reduce frame rate. Mount the camera about five feet high and angle it downward roughly 10 degrees for a cleaner shot.
Infrared Flash Range Differences
Match your camera’s IR flash range to the distance where animals actually pass, ideally within its reliable illumination zone. A range set too long can blow out nearby highlights and erase detail, while animals beyond the effective range receive too little light and may blur as the camera compensates. Change only the flash-range setting, then retest the same trail route to identify the sharpest exposure.
Matching Flash Range
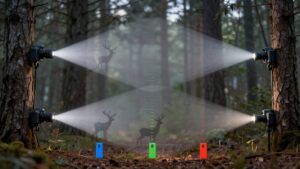
Your flash range needs to cover the animal’s expected path: typically about 5 to 15 feet for the clearest night images. Set camera so usable IR or white-flash illumination reaches the body area at the trigger point. If deer or wildlife pass beyond that distance, the camera must lean on longer low-light exposure and processing, which makes moving subjects softer.
Don’t judge range from a brightness check. Flash output, beam pattern, and effective distance vary by model and by IR, night-vision, white, or spotlight mode. Instead, mount the camera at its final height and angle, then perform a walk-test along the exact approach path. Review sharpness at the actual trigger point, adjust placement or flash setting, and repeat. Keep the flash mode consistent during testing and use.
Near-Field Overexposure
Near the camera, excessive IR or white-flash output can wash out an animal’s fur and erase edge detail, creating apparent blur even when the trigger fires quickly. Flash intensity drops with distance, so an animal passing within roughly 5 to 10 feet may overload the near-field portion of the sensor. The resulting bloom can spread across bright fur, soften outlines, and resemble motion blur.
Check your camera’s flash-range setting before changing trigger-speed controls. If it is set for maximum distance, reduce it one level and retest. Photograph a target or walk past the camera at about 3 to 4, 7 to 10, and 12 to 15 feet. Compare exposure and edge definition in each frame. Choose the lowest range that exposes the 5 to 15-foot working zone cleanly without glare at close range. This adjustment limits flash overload.
Distance And Motion Blur
Flash output also sets the usable distance for sharp night images: as an animal moves beyond the IR’s effective range, the camera may use a longer exposure or slower night processing, allowing movement to smear across the frame.
Keep travel routes 5 to 15 ft from the camera, where illumination is strongest and exposure can remain short enough to freeze movement. Fast sideways movement still blurs most, particularly close to lens, despite correct focus. Smoke, fog, grass, and reflective surfaces can alter IR coverage. Test your setup: put a target at the far edge of the intended zone, review moving images. If your camera lowers nighttime FPS under IR, each frame records more travel. Move the unit closer or redirect the trail into its flash zone.
Moon Phase and Cloud Cover
A full moon can give your camera enough ambient light to hold a faster shutter speed, while a waning or new moon often increases blur-prone exposure time. Cloud cover can quickly mute that light and reduce effective IR range, causing more gain or longer exposures even when the flash fires.
Test clear and overcast nights, then place the camera closer to the trail or restrict its field of view when darker conditions produce motion smear.
Moonlight Levels and Exposure
Moon phase and cloud cover directly affect how long your trail camera exposes each nighttime image. Bright, clear full-moon conditions add ambient light, so the camera usually uses a shorter exposure and records moving animals more sharply. New-moon conditions or thick clouds reduce available light; automatic exposure may lengthen capture time or raise gain, increasing smeared movement.
| Conditions | Expected exposure result |
|---|---|
| Clear, bright moon | Shorter exposure; lower blur risk |
| New moon or heavy clouds | Longer exposure; higher blur risk |
Test the location on clear and cloudy nights. Compare sharpness on moving subjects, not still backgrounds. When moonlight fluctuates, let your camera’s IR or white flash provide consistent illumination. That reduces reliance on ambient light that can change and leave exposure too slow for movement.
Cloud Cover and Infrared Range
Cloud cover can make your camera’s nighttime exposure change from one trigger to the next. Thick overcast and haze reduce available moonlight, so your camera may use a longer exposure and depend heavily on infrared illumination. That combination increases blur when an animal moves. A bright moon can improve ambient light, while a new moon or rapidly changing clouds can produce softer, smeared subjects.
Don’t treat the advertised IR range as a fixed distance. Humidity, cloud haze, and reflective surfaces reduce effective illumination, leaving distant animals underlit. IR output also has a distance band: subjects too close may look washed out, while distant subjects lose detail. Keep the camera fixed and compare images across clear, bright-moon nights and cloudy, low-light nights. This confirms it.
Adjusting Placement for Darkness
Use the same trail and adjust placement around the night sky conditions you actually face. Keep the key approach zone in front of the camera, but move it out of direct moonlight glare. Bright, uneven moon illumination can force exposure swings that reduce nighttime sharpness.
When blur first appears, check the moon phase. Full moons usually supply more usable light and support faster shutter behavior; new-moon nights rely more heavily on IR and longer exposures, increasing motion blur. Compare the same trail on clear and overcast nights: clouds scatter and vary moonlight, making exposure selection less stable.
Tilt the camera about 10° downward to discourage condensation from pooling on the lens during cooler, low-light periods. After adjustment, run a walk-by test and review night data.
Aim Cameras Along Travel Routes
Position your trail camera along a predictable travel route, such as a trail, scrape, creek crossing, or feeding approach, rather than facing an open area where animals can rush past at close range. This setup lets you control where motion occurs and keeps subjects from flashing through the near foreground.
Set the main activity zone 5 to 15 feet from the lens. Mount the unit level, roughly 3 to 4 feet high, then add about a 10-degree downward tilt toward the travel line. Keep the expected body and face area centered in the detection zone. Whenever terrain permits, adjust the location so animals cross the middle of the frame at a consistent distance instead of approaching the lens. This reduces extreme, close-range pixel movement that produces pronounced night-time motion smear.
Rain Can Scatter Infrared
Rain can make otherwise sharp IR night images look hazy because droplets near the lens scatter the camera’s infrared light back toward the sensor. This backscatter creates a misty veil that lowers contrast, so animals lose crisp edges and may appear smeared. Wind-driven rain worsens the effect: droplets cross the IR beam during an exposure and act like a moving diffuser. Broadly aimed LEDs can also illuminate rain as a glowing patch, obscuring detail.
Place the camera where its lens and front cover have some shelter from rain, while keeping its view clear. After wet weather, wipe the lens and cover gently with a clean microfiber cloth. Check for moisture, water spots, or film before the next night; lingering dampness continues to scatter IR.
Megapixels Don’t Stop Motion Blur
A clear lens won’t prevent blur if the animal moves while the camera exposes the frame. More megapixels can’t restore detail that motion has smeared across every pixel. They often make the smear appear larger when you zoom or crop. At night, the camera may use a longer effective exposure to balance brightness and noise, letting a walking or running animal travel farther within one image.
- Treat resolution as cropping flexibility, not motion control.
- Add usable light near the coverage area, where appropriate and legal.
- Use an external IR illuminator to help the camera work with shorter exposures.
- Evaluate sharpness at normal viewing size and at 100 percent crop.
IR operation can also lower frame rate, increasing smear risk during fast movement. Use bursts or shorter exposures, but prioritize limiting sensor recording time for active animals nearby.
Verify Trigger Speed Settings
Verify what your camera means by “trigger speed” before relying on a 0.1-second claim. That claim may describe sensor response rather than the shutter or exposure time that determines whether a moving animal appears sharp. Check your manual and menus for trigger delay, detection interval, and night-mode behavior. An animal may move after detection but before recording begins, creating blur despite a fast advertised trigger.
Select the correct IR or black-flash setting; these modes can alter timing or frame rate. Test methodically: mount the camera normally, walk past at night, and adjust only one trigger or delay setting per pass. Compare sharpness. If available, enable burst or fast capture, which records multiple frames and improves your chance of one with less movement during exposure.
Conclusion
To reduce blurry night photos, match your camera’s infrared range to the trail, keep animals within the effective flash distance, and aim along, not across, their travel path.
Check trigger speed and exposure settings, then test at typical deer distance. Use clear, dry mounting locations, since rain and vegetation scatter infrared light. Don’t rely on megapixels; they can’t freeze movement.
Note moon and cloud conditions, review results, and reposition the camera until nighttime subjects stay sharp consistently.