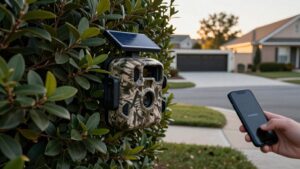
How to Set Up a Trail Camera in Your Backyard to Catch Night Visitors
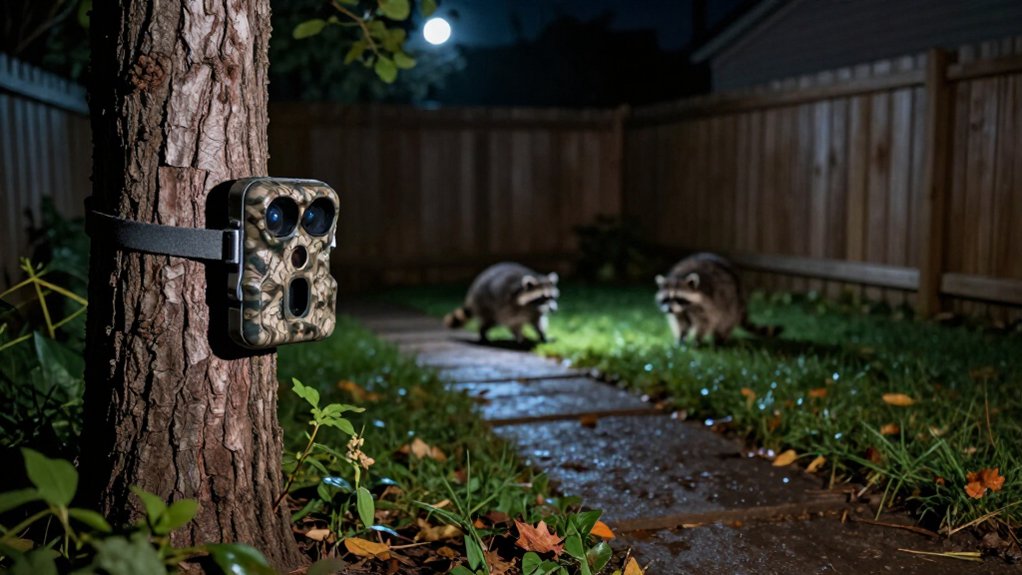
Mount your trail camera three feet high, angled slightly downward, keeping sunrise and sunset outside its view.
Clear grass, branches, and reflective objects from the PIR zone, and avoid vents, hot surfaces, or windblown leaves that cause false triggers.
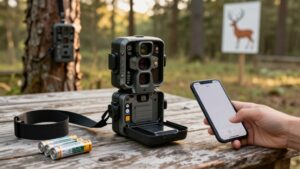
Install matching fresh AA lithium batteries, format a quality SD card in-camera, then test it at dusk.
Lock the housing, check timestamps, and clean the lens after rain.
Further steps build clearer, reliable records of nighttime wildlife visits.
Capture Nocturnal Backyard Wildlife
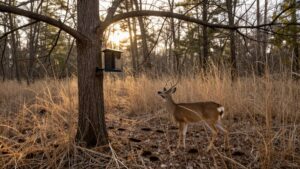
To capture nocturnal backyard wildlife, mount your trail camera 3–4 feet above the ground and angle it slightly downward to frame deer and other mammals while keeping their heat signatures within the PIR sensor’s detection zone. Position it away from direct sunrise or sunset glare, because shifting light can wash out footage near nightfall and reduce useful observations. Use PIR motion detection so the camera responds when warm animals cross its field, rather than recording continuously.
If visitors usually pass after dark, select high-resolution photo burst mode to document rapid movement. Clear nearby grasses, leaves, and branches that could obscure animals or trigger false events. Then tune sensitivity to local conditions: excessive sensitivity records wind-driven vegetation and insects, while insufficient sensitivity may miss animals.
Fresh AA Lithium Batteries
Fresh AA lithium batteries give your trail camera steadier power during cold nights, when infrared imaging and PIR motion detection draw increased energy. Use fresh, matching-brand cells rather than old batteries or mixed sets; lithium chemistry sustains voltage longer than alkaline cells, supporting dependable nighttime records without repeated disturbance to wildlife.
- Replace every battery in your camera’s four-to-twelve-cell compartment at once.
- Seat each cell firmly and align its positive and negative terminals with the markings.
- Run a low-light walk-through after installation; confirm that the PIR sensor responds and capture timing remains prompt.
- Recheck power before extended cold spells, so you can observe visitors reliably while minimizing unnecessary checks near feeding, resting, or travel areas.
This preparation keeps observations consistent, useful, and less intrusive overall.
Step 1: Clear Branches From Camera View
Clear branches, twigs, and tall grass from the camera’s direct view before mounting it, because wind-driven vegetation can obscure animals, blur nighttime images, and trigger the PIR sensor unnecessarily. Trim overhanging limbs and nearby brush that might sway into detection zone. Even small stems or leaves close to the unit can create repeated motion events and empty images.
Keep enough native cover beyond viewing corridor to avoid stripping shelter or travel habitat; you’re opening a narrow observation window, not clearing yard. Then inspect the site at dusk or after dark. Walk a likely animal route through the frame and check whether vegetation masks your outline or narrows the open angle. Recheck after storms and seasonal growth, when new shoots can alter the camera’s view.
Step 2: Format the SD Card
Insert the SD or microSD card into the trail camera and format it through the camera’s menu rather than on a phone or computer, which guarantees the file system matches the unit’s photo and video specifications.
Choose a high-quality card rated for cameras or video, because night bursts and clips demand rapid write speeds and can quickly fill storage. Check that the formatted card has ample free space before monitoring nocturnal activity; this preserves a complete record of visitors’ behavior rather than fragmenting observations.
After formatting, run one nighttime test capture. Remove the card and verify that the camera wrote readable files. Reformat it each season, or whenever the display reports a card error or failed message. This simple maintenance helps keep recordings reliable.
Step 3: Mount Camera Three Feet High
Mount the trail camera about 3 feet above the ground, roughly 3 to 4 feet, for a reliable view of deer and other larger nocturnal visitors while keeping the lens above most grass. At this elevation, you can document animal size, behavior, and timing without placing equipment where damp soil or low vegetation interferes.
Fasten it firmly with a secure strap or adjustable mount, then check that it doesn’t shift as temperatures change or wildlife brushes nearby cover. Tilt the lens slightly downward into the intended detection zone, which helps keep approaching animals clear in infrared images. Trim only the weeds or brush that cross the field of view; retaining surrounding cover protects habitat while reducing false triggers from windblown plants. Finally, test night images for clarity.
Step 4: Aim Toward Natural Animal Trails
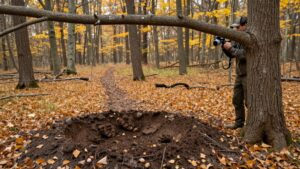
Along natural deer trails, field edges, and track-marked openings, aim your camera toward routes animals already use rather than broad, unpredictable open ground. Look for repeated hoofprints, narrow worn soil, scat, or flattened vegetation that indicates regular travel. Place the camera three to four feet above ground and orient it lengthwise down the path, so approaching wildlife moves across the frame.
This alignment documents behavior while improving the chance that the sensor records each pass. Favor travel corridors beside a garden, food plot, hedgerow, or dependable water source, where movement concentrates naturally. Trim only grass, leaves, and small twigs that obstruct the lens or sway into view; retain surrounding cover whenever possible. A clear sightline helps you observe nocturnal visitors without altering their routes.
Step 5: Test Detection Range at Dusk
As daylight fades, walk slowly into and out of the camera’s detection zone to confirm that its PIR sensor still triggers reliably at dusk. Keep the lens pointed away from direct sunset glare, which can wash out images or interfere with motion detection. Then stand at your model’s expected farthest range, often 60 to 100 feet, and repeat the pass to see whether capture begins consistently.
If activity usually starts after dark, select the highest-resolution burst or photo setting and check whether it records enough frames during a brief crossing. Review the SD card results afterward. Adjust aiming and sensitivity if needed, reducing false triggers from wind-blown vegetation while preserving reliable records of animals moving through your yard. This helps you observe wildlife with minimal disturbance.
Step 6: Lock Housing, Remove Fingerprints
Once dusk testing confirms reliable detection, close the housing fully and lock the case and strap so the weatherproof seal remains intact and the camera can’t shift during animal activity. Handle it only by its housing or strap; oils on the lens or infrared emitter can scatter illumination, producing blurred or washed-out nocturnal images.
If you need to refine the angle, reopen the unit briefly, avoid the optical surfaces, adjust it, then relock it at once. Before the final lock, use a clean microfiber cloth to gently remove any marks from the lens.
Then conduct one quiet evening walk-through at the expected approach distance. Confirm that the sensor responds while the view remains unobstructed. These precautions protect image quality and support low-disturbance wildlife observation.
Review Timestamped Night Footage
After the first night, open each motion-triggered file and read its on-screen timestamp to identify exactly when wildlife crossed the detection zone. Because PIR recording responds to heat and movement, you can focus on documented passages instead of watching empty darkness. Sort files by date and time, then build a simple activity log: record species, first arrival, busiest hour, and estimated visit length. These observations show how animals use your yard without disturbing their routines.
If visitors appear mainly after dark, select the highest-resolution burst or photo mode for the next session. Recheck timestamps to confirm recording begins in the right seconds. Keep the lens away from sunrise, sunset, and direct bright light; washed-out frames can obscure identification and weaken your time-based scientific record.
False Triggers: Remove Heat Sources
False triggers often come from abrupt temperature shifts rather than wildlife, so inspect the camera’s detection zone for nearby HVAC vents, grills, fireplaces, hot tubs, outdoor lights, or vehicle exhaust. Move or shield these sources beyond view; you’ll reduce PIR responses to changing infrared energy rather than animal movement. Also avoid sun-warmed walls, rocks, and fences that cool rapidly after dusk during calm conditions.
| Source | Why it misfires | Your action |
|---|---|---|
| Vent | Warm plume shifts | Reposition camera |
| Shiny feeder | Reflection changes exposure | Remove or rotate |
| Windblown leaves | Apparent heat motion | Clear debris |
Clear moving plants, dry leaves, and loose branches near the camera.
At three to four feet high, test after dark with lights off. Walk the zone, then confirm captures show visitors while minimizing disturbance to wildlife.
Clean Lens After Rainstorms
Rain can leave droplets, mineral film, and mud on the lens or IR illuminator, turning otherwise well-aimed night captures into blurred or washed-out frames. After storms, power down the camera when it’s safe, then use a clean microfiber cloth to lift moisture and surface film. For muddy streaks, gently use lens-safe wipes or distilled water before drying the glass completely; leftover residue can streak under infrared light.
Clean beading and smears from the IR illuminator as well, because nearby dirt scatters light and creates glare. Recheck the camera’s aim and field of view. Rain may bend leaves or grass into the detection zone, obscuring wildlife routes and increasing false triggers. At dusk, take a test image to verify a dry, sharp night scene overnight.
Conclusion
With a well-placed, clean trail camera, you can observe your backyard’s night visitors without disturbing them. Fresh batteries, a formatted card, and a clear, stable view help you collect reliable timestamped records.
By reducing false triggers and checking the lens after rain, you protect data quality and wildlife privacy. Review patterns patiently, then use what you learn to support habitat, avoid unnecessary lighting, and appreciate the species quietly sharing your space each night in peace.