How to Set a Trail Camera to Video Mode for Better Wildlife Clips
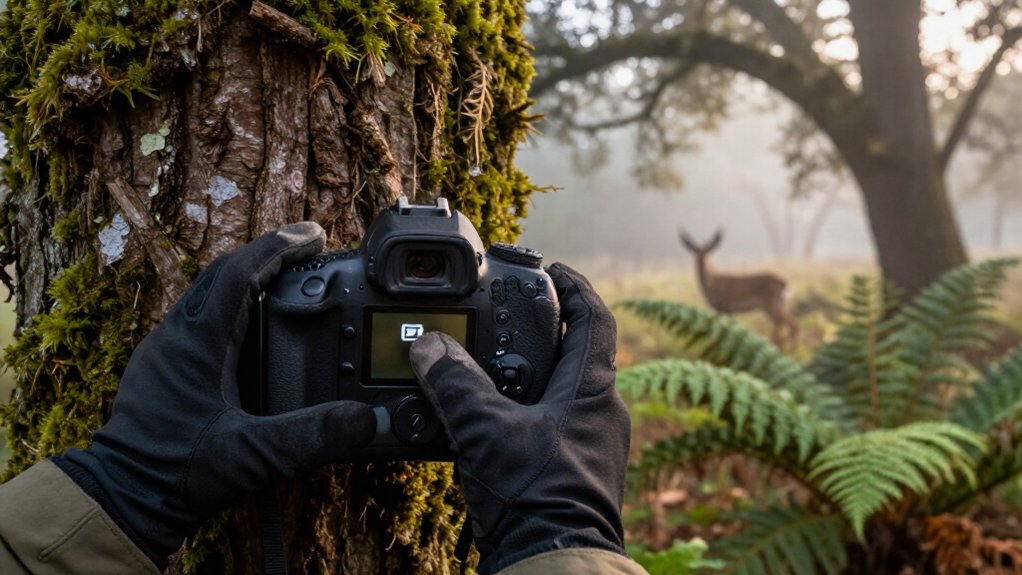
Open the menu, switch Mode from Photo to Video, and confirm the video icon before closing it.
Choose a 20-second, 1080p clip and a five to 10-second PIR interval.
Format a fast SD card in the camera, install fresh lithium batteries, and record a test clip.
Mount it three to four feet high, clear moving vegetation, and aim away from sun.
Check day and night samples; next steps help refine triggering and prevent empty clips.
Capture 20-Second Wildlife Videos
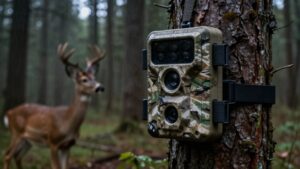
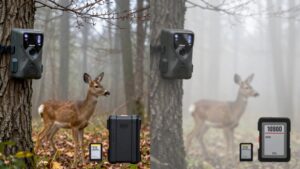
Set your WOSPORTS G600 to Video Mode and select a 20-second clip length to capture more than the instant an animal trips the sensor. This setting lets you watch an animal’s approach, pause, and movement across the frame, rather than only its first step. Mount the camera three to four feet high and aim it 25 to 35 inches ahead of the subject area for dependable framing of larger wildlife. Choose a fast 0.1 to 0.5-second trigger response, and set the PIR interval to five to 10 seconds where activity is frequent. If wind-blown brush creates empty clips, lower sensitivity or clear the vegetation.
Keep the camera out of direct sun, preferably facing north, so you can preserve fur detail in changing light as animals cross the scene at dawn.
Formatted SD Card and Batteries
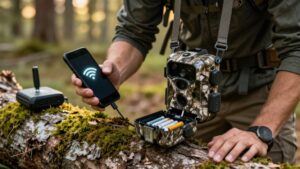
Prepare the WOSPORTS G600 with a high-speed SD card and fresh lithium batteries before relying on video mode in the field. Choose a card with fast write speeds and enough capacity for 4K footage, so motion-triggered clips don’t buffer or disappear. Format it in the camera before first use; this establishes dependable file handling.
- Seat reputable lithium batteries firmly; video draws power quickly, and weak voltage can delay triggers or cut recordings short.
- Decide whether overwriting suits your goal: enable it for continuous coverage, or disable it to protect earlier clips.
- Before leaving, record a test clip and confirm it saves and runs through your selected duration.
Check the display afterward: available space, battery level, and clip playback should all look normal before deployment.
Step 1: Clear Branches From Detection Zone
Clear branches, tall grass, and other moving vegetation from the camera’s PIR detection zone before you rely on video mode.
Small twigs can sway in a light wind and repeatedly trigger empty clips, so trim them back. Remove branches that may cross the lens from different angles; they can partly obscure an animal or create a useless recording. Keep the view level and mount the camera about three to four feet high for deer and other larger wildlife. Then aim it toward an open travel path roughly 25 to 35 inches ahead of the lens. After clearing, walk through the area once and watch for reliable activation. You want video to start when an animal enters the open zone, not whenever grass shifts nearby.
Step 2: Set Date, Time, and Location
With the detection zone cleared, power on your WOSPORTS G600 and enter the correct date and time before placing it in service. Accurate timestamps let you compare activity at dawn, midday, and dusk.
Treat the mounted location as your scene: choose an edge of a field or forest opening, a water source, or a deer trail where animals travel consistently. Mount the camera about 3–4 feet above ground for deer and larger wildlife, aiming it into the main movement lane so animals enter the frame.
Point it away from direct sun, sunrise, and sunset; a north-facing position helps preserve detail in low-angle light. Finally, walk through the lane during that window. Confirm that the PIR detects movement and records long enough for a usable clip.
Step 3: Open the Settings Menu
Press the Menu button on your WOSPORTS G600 and navigate to Mode, then change the setting from Photo to Video so each PIR trigger records a clip rather than a still image. Use the arrow keys to highlight Video and confirm it with OK. Pause long enough to verify that the mode indicator now shows Video before you leave this screen.
This small change tells the camera to save moving footage whenever its passive infrared sensor detects an animal, instead of creating a single photograph. As you move through the menu, note where the video-specific controls appear, including clip length, PIR delay, trigger timing, and SD-card management. You don’t need to finalize every choice at once, but identifying these items prevents overlooked settings later.
Step 4: Select 1080p Video Recording
Navigate to the Video Resolution setting and select 1080p, which gives you useful wildlife detail without consuming SD-card space as quickly as higher-resolution options. This setting usually shows enough fur texture, antler shape, and movement to identify what passed through your frame while preserving room for more recordings.
Before you close the menu, choose a practical clip length, often 10 to 30 seconds. That window can capture an animal’s approach and exit without creating excessive fragmented files. Check that your camera’s trigger response is fast enough for brief crossings, so recording begins near the animal’s entry. Then review the PIR shooting delay; five seconds to 60 minutes can limit repeat clips from one lingering subject.
Check daytime and nighttime 1080p samples for exposure, IR/flash.
Step 5: Set Motion Trigger Sensitivity
Set the PIR motion sensitivity to match the amount of movement around your camera. Higher settings catch deer, birds, and fast wildlife before they leave the frame, but they can also record wind-blown branches, insects, and drifting debris.
In open, active places, such as deer trails or food-plot edges, choose higher sensitivity because an animal may appear for only seconds. In dense brush, lower it to limit clips triggered by leaves, grass, and shifting shadows. Then set the PIR delay to control repeats: use five to ten-second intervals in busy areas and thirty-second to sixty-minute intervals where activity is sparse. Before leaving, walk through the camera angle and distance. Adjust sensitivity until it reliably catches your pass without filling the card with empty videos.
Step 6: Latch Housing and Remove Footprints
Once sensitivity and interval settings look right, close the camera housing and engage every latch firmly. Press around the case edges, checking that the seal sits evenly and nothing pinches. A fully secured housing keeps out weather, resists bumps from curious animals, and helps prevent recording interruptions.
Before you leave, study the ground around the mount. Brush away loose dirt or mud you carried in, and gently restore leaves, grass, or bedding you disturbed. Keep your route out deliberate, using the same light path when possible.
Then make a quick walk-through across the detection zone to confirm that motion starts video and that framing covers the trail. Adjust the aim if needed, keeping the lens toward the target rather than direct sun, which can create glare.
Verify Infrared LEDs Activate
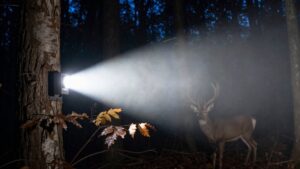
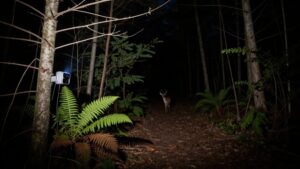
As dusk falls, verify that the WOSPORTS G600’s infrared system supports the Video mode you selected. Position yourself along the intended animal path, about 3–4 ft above ground, and walk through the PIR detection zone. Watch for the camera to begin recording.
Once darkness settles, inspect the unit from a safe viewing distance for subtle IR LED activity. Depending on the setup, you’ll notice a faint glow or see clearly exposed black-and-white footage when you review the test clip. Aim the camera away from direct sunrise or sunset light, which can interfere with exposure and LED activation. If results seem inconsistent, clear nearby brush from around the lens. Then repeat your dusk walk-through, watching for reliable recording and illumination across the actual travel route.
Fix Heat-Triggered Empty Clips
Empty video clips in hot weather usually point to the PIR sensor reacting to rapid temperature shifts rather than an animal. First, lower PIR sensitivity, or move the camera farther from sun-baked soil. Keep its lens out of direct sun, sunrise, and sunset; steady shade reduces shimmer and overexposure. Mount it 3–4 feet high, aimed 25–35 inches ahead at chest-height trails. Carefully trim grass, leaves, and twigs that warm and sway. Then lengthen the PIR interval; you’ll avoid repeated heat-only recordings while preserving animal movement.
| Check | Adjustment |
|---|---|
| Sun | Shift toward consistent shade, away from bright horizons. |
| Heat | Lower sensitivity or increase distance from hot ground. |
| Height | Set 3–4 feet; cover chest-height paths rather than background heat. |
| Plants | Remove moving grass, leaves, and small branches. |
Review Footage Every Two Weeks
Every two weeks, review your video clips to see whether animals are crossing within the camera’s effective range and the PIR is triggering on real movement. Note empty clips caused by brush or insects, then lower sensitivity if false triggers persist. Check quick crossings: motion should reach capture fast enough, often around 0.1 second. Inspect night footage for washed-out images and confirm framing remains clear.
If sunrise, sunset, or another strong light creates glare, re-aim the camera before the next run. Verify that your fixed 10- or 30-second clip length and 5- to 10-second interval suit activity at the site.
Finally, check battery level, SD-card space, and overwrite settings. Video files accumulate quickly; you don’t want a full card to silently stop recording unnoticed.
Conclusion
With your trail camera set to video mode, you’ll collect short, useful glimpses instead of guesswork. Keep the card formatted, batteries fresh, and the detection zone clear, then confirm the date, time, location, and infrared response before you leave.
Close the housing securely and remove your traces. When you review clips every two weeks, note empty triggers, weather, and animal movement. Small adjustments help you capture cleaner, more natural wildlife behavior without disturbing their routines.