How to Monitor Remote Property With Trail Cameras and Get Instant Alerts
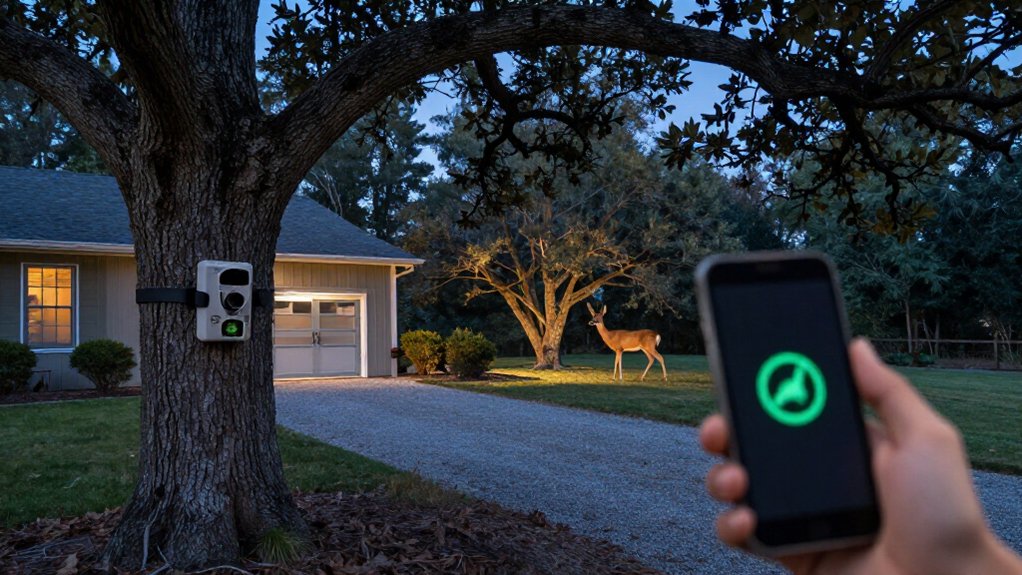
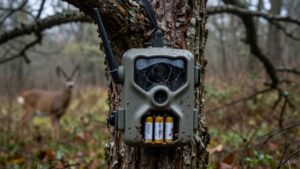
Mount a cellular trail camera several feet above ground, aimed tightly across your gate and approach path. Clear brush, activate a compatible data plan, and enable motion detection, push alerts, and a 30-second delay in UCon. Test signal strength at the mount, then trigger the camera and confirm the image reaches your phone.
Lock the housing, reseat the SIM if uploads fail, and check battery voltage monthly. Keep going for checks that prevent missed events.
Remote Gate Alert Expectations
For dependable remote gate alerts, aim your cellular trail camera tightly at the gate and approach path so it reacts to people and vehicles, not passing wildlife, roadside traffic, or moving trees. After motion triggers, expect a UCon app notification soon, then assess the image or clip as a gate event, not automatic proof of trouble. Enable infrared or color night vision, so you can identify vehicles and people after dark.
If your model offers live view, open it immediately to distinguish a visitor from wildlife or a trespasser. Because motion-triggered cameras don’t record continuously, mount the unit at a useful height, frame the entrance precisely, and tune sensitivity to limit false alerts while preserving real activity at the gate during changing weather and light.
Verify Cellular Signal Strength
Verify cellular signal at the exact camera mount, not merely somewhere nearby, before you install it. Coverage that looks solid in the nearest town can collapse behind terrain, buildings, or trees. Hold your phone at the camera’s planned height and angle, then run a live bar-count check and test an actual alert trigger. A camera may record locally on a weak connection yet fail to upload images or clips to the UCon app.
- Test AT&T, Verizon, and T-Mobile paths when your multi-carrier camera supports them, such as the Campark TC27.
- Choose the strongest practical 4G signal, not the first signal you find.
- Retest uploads during your normal monitoring hours.
Build in a signal margin now. Weather can shift reception, turning today’s borderline connection into blind spot.
Step 1: Clear Brush Near Lens
Clear brush, tall grass, and loose branches from roughly 3 to 10 feet in front of and beside the lens before mounting the camera. Wind-driven leaves and stems can trip motion detection repeatedly, burying useful driveway or gate alerts in noise. Frame a tight view of the approach instead of aiming toward dense vegetation.
Also trim low growth and dead limbs that may swing into view during rain, fog, or nighttime infrared operation. If you can’t clear every plant, tilt or shift the camera so its detection zone doesn’t cover brush near the mounting point. Mount it high enough, using an angled bracket if needed, to keep the lens above normal shrub sway, often 6 to 10 feet or more, depending on terrain. Then test trigger range before leaving.
Step 2: Activate the Camera Data Plan
Activate the TC27’s built-in SIM and enable its cellular data plan before you mount the camera, so it can send 4G LTE motion alerts through the UCon app instead of only saving footage locally. Confirm that your plan is active with the carrier that has coverage at the property: AT&T, Verizon, or T-Mobile. In UCon, select the correct camera account and region, then confirm the device appears online.
Run a communications check: trigger the camera and make sure the notification and photo reach your phone. If they don’t, troubleshoot coverage, account settings, and plan status immediately. Keep the plan funded and renew it before expiration. An expired plan prevents remote alerts, even though the TC27 may continue recording motion to its SD card locally.
Step 3: Mount Camera Facing Gate Entrance
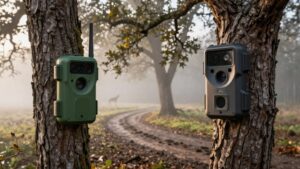
With the TC27 online and reporting through UCon, mount it several feet above ground with a clear, angled view across the gate entrance. Aim slightly downward and across approaching traffic, not directly at the road beyond your property line. This tighter footprint helps capture faces and license plates while limiting irrelevant movement.
Choose the clearest line of sight and clear branches, fencing glare, and other obstructions that compromise the sensor or nighttime coverage. Select invisible IR for discreet, black-and-white surveillance, or use visible white illumination when clearer color identification matters. Position the TC27’s solar panel for dependable sun, keep the lens weather-protected, and fasten the camera securely against wind and tampering. Check the framing before you leave the property for reliable gate coverage daily.
Step 4: Enable Instant Motion Alerts
Your alert chain starts in the cellular trail camera app: enable motion detection and instant push notifications so each capture uploads and reaches your phone without delay. In UCon, used with cameras such as the Campark TC27, switch on motion detection so movement automatically creates a photo event and sends it through the cellular network.
Before leaving the property, confirm the camera has signal and that its SIM and data plan are active. Aim the camera tightly at the gate or driveway, not open brush or tree limbs, to keep alerts focused on meaningful activity. Configure local storage, cloud storage, or both, and install a MicroSD card if supported, TC27 models accept up to 128GB. When an alert arrives, you’ll have the media to review.
Step 5: Set 30-Second Detection Delay
Set the camera’s detection delay to 30 seconds in UCon to create a cooldown after each motion event. Once it records movement, it won’t trigger again for 30 seconds, preventing duplicate clips when one vehicle or person passes through your gate or driveway. This setting usually delivers the best balance: you’ll get an immediate alert without flooding UCon with repeated notifications from the same event.
The cooldown also limits LTE uploads, conserving cellular data and protecting battery or solar reserves. Aim the camera toward the approach path so it captures the entry moment before the delay begins. If repeated alerts persist, leave the delay at 30 seconds. If brief re-entries are slipping through, shorten it, but expect more alerts and increased data and power use.
Step 6: Lock Housing, Remove Packaging
Once the 30-second delay is configured, secure the camera in a tamper-resistant housing or lockable security box attached to a tree or post. Choose a model that matches your trail camera’s mounting holes or strap path, then fasten it tightly to deter theft and vandalism.
Before closing it, seat every cable, close the SD-card slot and battery or solar compartment, and inspect each seal. Remove all shipping material, lens caps, and protective film from the lens, IR LEDs, and sensor. Otherwise, nighttime detection can fail.
Aim the camera at the gate or driveway and verify its trigger zone before locking the housing; you’ll have fewer adjustment options afterward. Finally, walk through the zone and verify it records reliably to the microSD card inside securely.
Confirm Alert Receipt on Phone
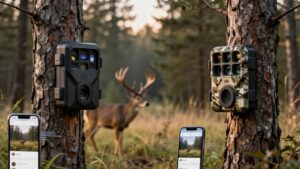
With the camera armed, trigger it by walking through the monitored zone, then open the UCon app on a phone with an active internet or data connection. Watch for the motion alert to appear immediately. Open it and confirm that the captured photo or video loads fully, proving the camera delivered usable evidence through the 4G network without relying on home Wi-Fi.
Tap the alert to check its timestamp, camera name, and event details. Review the image or clip for accurate framing and detection; if your model supports it, launch live view to verify the camera’s current scene.
No alert? First confirm your phone’s data connection. Then check camera signal and active data plan in UCon. Run a second walk test before you depart.
Fix Failed Uploads: Reseat SIM
Rule out a loose or misaligned SIM first: power the cellular trail camera down, remove the SIM card, and reseat it firmly until it clicks into the labeled slot. Check its size and orientation against the slot label; a partial fit can block data transmission. Reboot, wait several minutes for LTE registration, then trigger motion.
| Check | Action |
|---|---|
| SIM format | Match size and orientation |
| Plan status | Confirm active, compatible carrier service |
| Signal | Seek clearer tower path or window placement |
If the test still fails, confirm your data plan supports your camera’s carrier. Weak LTE at the mount can also stop uploads, so relocate toward a window or clearer tower path before escalating support. Document the result, time, and signal reading to spot repeat failures quickly.
Check Battery Voltage Monthly
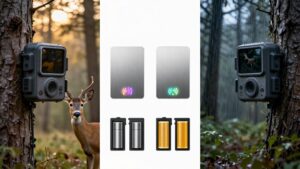
Check your trail camera’s battery voltage in the app at least monthly to verify it can still power motion alerts and cellular uploads. Use UCon or your camera’s companion app, and log the reading so you learn the normal range at your property. Cold winter temperatures and prolonged cloudy weeks can drain voltage faster, even when the camera appears functional.
If you run a solar model, such as the Campark TC27 with its 10,400mAh battery and 6W panel, compare monthly readings to confirm sunlight is recharging it between low-sun periods. Check again after a long trip or extended overcast weather. Cellular transmissions consume power every time alerts upload.
When voltage falls below the manufacturer’s recommended threshold, recharge or replace the power source right away.
Conclusion
With the right setup, you can turn a trail camera into a reliable remote gate monitor. Check signal, clear the view, secure the housing, and test alerts before you leave the property. Keep your data plan active, inspect battery voltage monthly, and reseat the SIM if uploads fail.
You’ll get faster notice of visitors, deliveries, or suspicious activity; and you can respond before a small issue becomes a costly problem.