How to Mount a Trail Camera High and Angle It Down Out of Reach
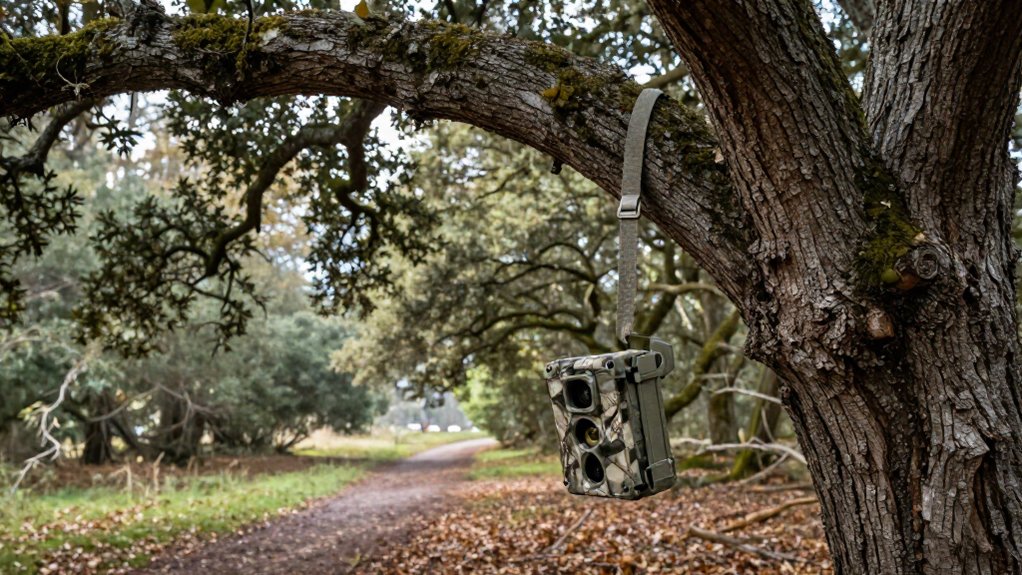
Mount the camera on a sound tree or post using a bracket, placing it high enough to discourage interference while keeping target visible.
From firm, level ladder footing, tilt it 20° downward for a high mount and aim along travel route.
Keep full bodies in frame, clear minimal vegetation, and walk-test the detection zone.
Secure the housing with a lock, follow public-land rules, and test LTE service.
Further steps cover battery care and signal adjustments.
High-Mounted Downward Camera Coverage
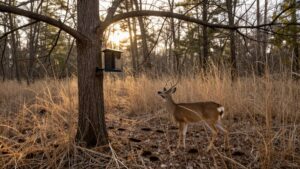
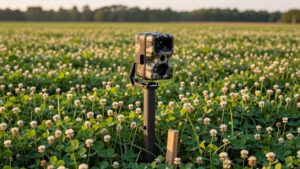
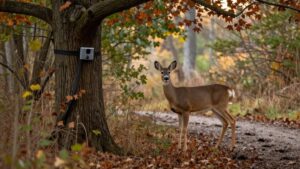
Mount a trail camera about 4 to 6 feet above the ground and tilt it downward roughly 5 to 10° to monitor a trail while making the unit less accessible to animals and passersby. This elevated orientation broadens your view of movement and reduces the chance that curious wildlife will disturb it. On a descending slope, place the unit higher, then aim it toward the travel line so subjects remain centered. In vegetation, a position around 3.5 to 4 feet can keep grass and branches outside the detection zone, limiting triggers and blocked images.
Before you leave, walk the route and capture a test image. Confirm that it records the subject’s full body without framing excessive sky or ground. On public land, follow rules, respect privacy, and avoid obstructing access.
Inspect Ladder Footing First
Before you climb, inspect the ladder’s feet and place them on firm, level, nonslip ground. Stable footing reduces the chance that force, vibration, or a small body shift will move the ladder while you work. Don’t set its feet on loose soil, rocks, wet leaves, or sloped terrain. These surfaces can compress, slide, or roll without warning.
- You protect yourself from a preventable fall and the lasting consequences it can bring.
- You respect anyone assisting you by asking them to steady the ladder whenever possible.
- You preserve confidence in each careful adjustment rather than gambling on unstable ground.
If terrain is uneven, reposition the ladder rather than compensate during ascent. Test for movement before climbing. A small stool also requires secure footing before use.
Step 1: Clear Branches From Camera Sightline
Clear leaves and small branches from the camera’s field of view, because moving vegetation can obscure animal activity and trigger false captures. Study the sightline from the planned mounting position, not only from ground level. Trim only the minimal vegetation needed to reveal the trail, feeding area, or crossing, and avoid damaging healthy limbs, nests, or habitat.
In dense woods, place the camera slightly higher if it’ll keep nearby foliage below its view. Then angle it approximately 5 to 10° downward and confirm that the target area fills the frame without including unnecessary sky. Take a test photograph before you leave. Review it for twigs, leaves, and thin stems that may enter the image when wind shifts them. Remove or reposition only obstructions, then retest camera’s view.
Step 2: Format Card Before Mounting
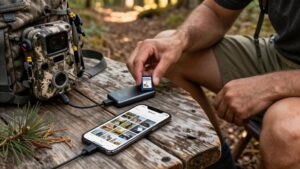
Format the SD card while the camera is still within reach, so you can verify that it’s ready to record. First, review the manufacturer’s manual to identify the supported card type and its specified formatting procedure. Formatting within the camera creates a compatible file structure and reduces the chance of recording errors at the site.
Because this process permanently erases existing files, transfer any images or video you need before proceeding. Then run the format command and wait for the camera to indicate successful completion. Don’t rely on an assumed reset or a partially completed operation. Take one test photograph afterward, review it on the camera or another compatible device, and confirm that the file saves correctly. This check confirms operation before you leave.
Step 3: Secure Camera Above Ten Feet
Mount the camera more than 10 feet above the ground when added height can reduce access by people or animals, while still preserving a useful view of the target area.
Choose a sturdy tree or post that shows no obvious rot, cracks, or instability. Use a secure mounting bracket and tighten its hardware so the camera resists wobble and remains in position during wind or animal contact. Install it with a stable small ladder or stool, following the equipment’s safety guidance and avoiding work alone where a fall risk exists. On public land, add a lock box if permitted and avoid black straps. After mounting, take a test image from the target’s typical path. Check that terrain and foliage don’t obstruct the subject.
Step 4: Tilt Lens 20° Downward
Tilt the lens about 20° downward so it frames the trail or expected activity beneath a high-mounted camera. This angle compensates for the camera’s elevation and directs the detection zone toward the animals’ path. Aim at a section of trail where you can capture a subject’s full body rather than only its back or head. Observe the ground profile before tightening the mount: a rising trail may require less downward tilt, while a dip may require more.
Make small adjustments and confirm that the target area remains centered. Before you leave, take a test photo to verify coverage without disturbing habitat. Secure the housing firmly to a tree or post. A stable mount prevents wind, weather, and vibration from changing the angle over time during storms.
Step 5: Review Test Images at Dusk
At dusk, review the test images before leaving to confirm that the camera clearly captures the intended section of trail. Walk through the target zone at a normal pace and inspect each image for usable framing. Your downward angle should include a subject’s full body, not just its head, back, or feet.
Examine exposure carefully: low-angle sunlight can create glare, while deepening shadows can hide movement or reduce detail. Note whether branches, leaves, grasses, or nearby objects intrude into the frame. Vegetation that shifts in wind may obscure animals and produce false triggers, wasting power and storage.
If you find incomplete coverage, blocked sightlines, or uneven illumination, adjust the camera’s height or tilt. Then repeat the walk-through and review another image. Confirm the setup.
Step 6: Lock Housing, Pack Trimmings
Once the dusk test confirms proper coverage, secure the camera in a lock box or robust mounting bracket on a sturdy tree or post. A rigid support limits vibration, helping the unit retain its selected framing and downward angle. Tighten hardware without crushing bark or damaging the post, and use a lock or security cable compatible with the housing. These measures discourage opportunistic theft while allowing you to service the camera safely.
On public land, mount near seven feet to reduce visibility and interference; avoid conspicuous black straps when alternatives blend responsibly. Respect regulations; don’t cut live vegetation unnecessarily. If you cleared twigs or branches, collect every trimming and pack it out. Leaving cut material can reveal your setup, alter habitat, and create avoidable litter.
Verify Detection Zone With Walk-Test
Walk through the trail or activity area after mounting the camera to confirm its detection zone triggers at the intended distance. Move at a normal pace along likely travel lines, including the near and far edges of coverage. Then review the test image. You should appear centered, with your whole body visible rather than cropped by the frame.
If the camera misses you or captures only part of you, adjust its angle or tilt, then repeat the walk-test. A downward aim of about 5–10° often produces a clearer frame, but terrain, foliage, and mounting height alter coverage. Test before leaving, document observations, and minimize repeated disturbance to wildlife and habitat. Check slopes carefully, because they can shift the effective detection area unexpectedly during testing.
No Uploads? Reposition for LTE
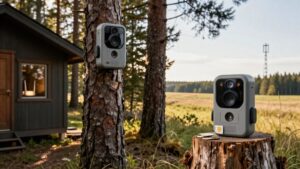
If your LTE trail camera stops uploading, move it higher or to a location with a clearer view of the sky and fewer trees or dense foliage blocking the signal. Observe whether limbs, leaves, or terrain interrupt its cellular path, then select a stable, lawful mounting point. On public land, mount it about seven feet high with a bracket and lock box to discourage theft without damaging trees or obstructing other users.
| Observation | Adjustment |
|---|---|
| Weak service | Raise or relocate |
| Clear service, poor framing | Tilt downward 5–10° |
Before you leave, test the new placement: confirm cellular service and send an image. Check that branches cannot cover the lens or activate the trigger. The downward angle should record an animal’s full body, not only its head.
Replace Batteries Before Winter
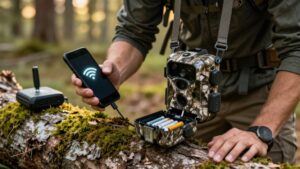
Cold weather lowers battery output, so replace your trail camera’s batteries before winter to prevent unexpected shutdowns. Before you climb to service a high-mounted unit, check its battery indicator and examine the compartment for moisture, corrosion, or damaged contacts. Install fresh batteries of the chemistry and size specified by the manufacturer; mixed brands or old cells can produce uneven voltage.
Carry sealed spares and use stable access equipment so you don’t rush or drop waste near wildlife habitat. Close the compartment firmly to preserve its weather seal. Then take a test photo and verify that the camera powers on and records correctly. Record the replacement date in your maintenance log. This observation helps you estimate cold-weather runtime and schedule the next inspection before power declines.
Conclusion
By mounting your trail camera high and angling it downward, you reduce tampering while preserving a useful view of animal movement. You improve results when you inspect footing, clear the sightline, format the card, secure and lock the unit, and walk-test detection. If cellular uploads fail, adjust placement for signal rather than forcing repeated transmissions. Before winter, install fresh batteries. Respect property boundaries, wildlife, and local regulations, and avoid disturbing nests or den sites during sensitive breeding periods.