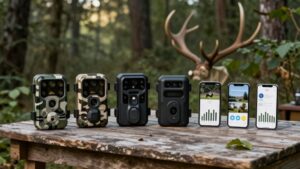
Cellular Trail Camera Not Sending Pictures? Fixes for Signal, Plan and Settings
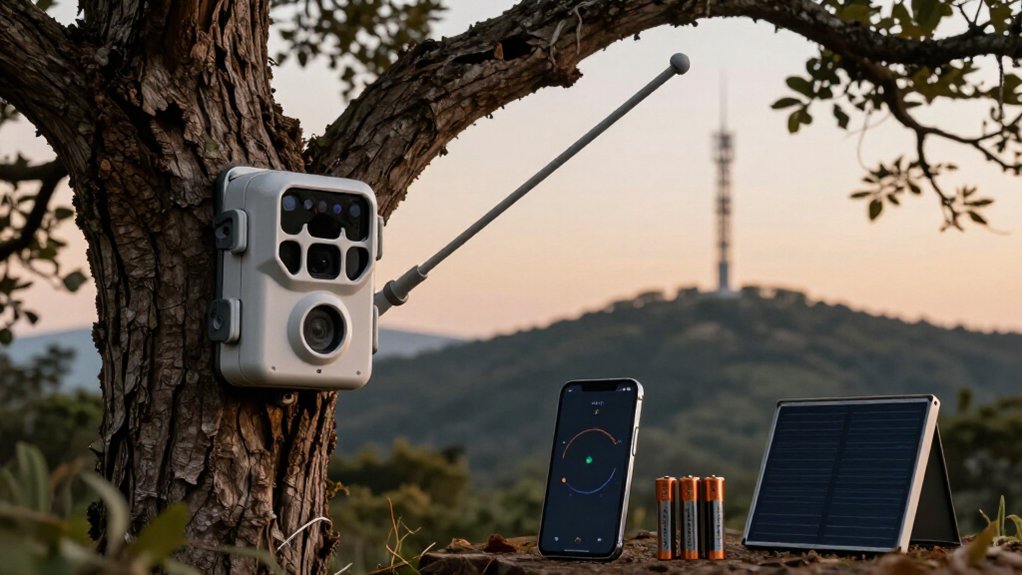
Restore your cellular trail camera by confirming usable signal, an active data plan, and photo transmission settings rather than SD-only or Wi-Fi mode. Photograph current schedules, quiet windows, limits, and errors before changes. Record the IMEI, verify the carrier and outages, then power off and reseat the SIM, SD card, batteries, and housing. Inspect antenna connectors for moisture or corrosion, restart, and send one test photo. The steps below help isolate persistent delivery failures quickly.
Photos Restored | Easy | 15 Min
If your camera still saves photos to the SD card but they’ve stopped showing up in the app, first verify that it has usable cellular signal and an active data plan. In the camera settings, select photo sending instead of SD-card-only storage or Wi-Fi-only downloads. Enable auto-download when your app supports it.
Review the send schedule and daily image limit; either setting can hold deliveries while the camera continues capturing images. Also check burst and trigger behavior. A three-photo burst paired with a 30-second trigger interval can make the camera finish uploading one set before it sends the next. After correcting settings, restart the camera, trigger a test photo, and wait for the upload cycle to complete. Confirm the image appears in the app, then resume normal operation.
Gather SIM Eject Tool
Before opening the camera’s SIM compartment, gather the SIM eject tool supplied with the unit or a straightened paper clip that fits the eject hole. Choose a tool with a narrow, blunt tip; oversized pins can damage the tray-release mechanism. Keep it clean and dry so grit doesn’t enter the compartment. Avoid needles, thumbtacks, or thick wire, which can bend, snap, or enlarge the eject port.
Place the tool and a clean, lint-free surface beside the camera. This preparation lets you inspect the nano-SIM efficiently when you reach the service step and reduces the chance of losing it in grass, dirt, or snow.
- Verify the tip fits first without resistance.
- Keep a spare clip nearby.
- Use bright light nearby.
- Set aside a small container.
Step 1: Power Off Camera Before Handling
Power the camera completely off before you remove, inspect, or reseat its nano-SIM. Don’t open the SIM compartment while the unit is powered, because the camera may fail to detect the card correctly after handling. Use the normal power control and wait until the camera has shut down fully.
With power off, check that the removable SIM sits flat in its tray and isn’t bent, cracked, dirty, or loose. Confirm its orientation matches the tray diagram, and verify that the SIM isn’t PIN-locked. Avoid touching the metal contacts. Reseat the card carefully, close the compartment, then power the camera back on. Give it time to initialize and reconnect to the cellular network before testing photo transmission. This controlled restart helps isolate SIM detection faults.
Step 2: Record Camera IMEI Number
Once the camera restarts, record its IMEI—the unique cellular-device identifier support or your carrier may need to diagnose registration and connectivity issues. This number lets the carrier or manufacturer identify the modem tied to your camera for troubleshooting. Check the label on the camera body, battery compartment, or packaging first.
If your model supports it, open its network or device-information menu and locate the IMEI there. Copy each digit exactly, including any leading zeroes, and verify the sequence against the camera app when it displays one. Store the IMEI alongside the camera model, purchase date, and receipt details in a secure record. Don’t post this identifier online or send it to unverified contacts. Give it only to your carrier or camera manufacturer when support requests it.
Step 3: Photograph Current Transmission Settings
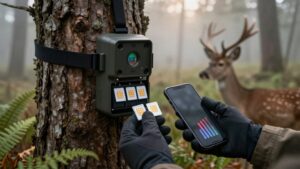
Why photograph the current transmission settings? You need a reliable baseline before changing options that may be blocking delivery. Use your phone to capture every screen showing the upload mode: instant sending, scheduled reports, or SD-card-only/local-only recording.
Record upload schedules, quiet windows, and daily image limits. These controls can postpone transmissions, suppress them during selected hours, or stop uploads after the camera reaches its allowance.
Also photograph photo and video transmission options. Full-resolution images and videos consume more data and often require longer upload times than compressed photos.
Capture recipient phone numbers, email addresses, app-link or account settings, plus any on-screen error messages. Make each image sharp enough to read values and toggles. Save the photos somewhere accessible before you alter anything. They let you restore the original configuration and compare it with later changes.
Step 4: Trigger a Test Photo
After you reposition the camera or change its transmission settings, trigger a test photo and give it enough time to upload. Use the camera’s built-in test-photo command when available; otherwise, walk through its detection zone to create a normal trigger. Then open the app or web portal and confirm that the image appears there. A picture recorded only on the SD card proves the camera detected motion, but it hasn’t completed remote delivery.
If your camera captures three photos per event, wait until all three images finish transmitting before you expect another batch. Don’t repeatedly trigger the unit while uploads remain pending, since that can complicate diagnosis. Record the exact test time, upload status, and any displayed error code or message. Those details let
Step 5: Check Carrier Outage Map
Rule out a network disruption before changing camera settings: check the outage map for the carrier assigned to your trail camera and search using its exact mounting location. Use the carrier listed in the camera app or SIM. Don’t assume your phone’s carrier matches it. Review reported incidents, affected-area boundaries, and estimated restoration times.
If the map lists an outage covering the camera, wait until service returns. Then restart the camera and send a test photo to confirm uploads resume. If no outage appears, measure signal strength at the mounting point and verify that the SIM is active and the data plan has available service.
For unresolved failures, record the outage area’s boundaries, status, and time shown. Give those details to carrier support so they can investigate the connection with location-specific information.
Step 6: Reinstall and Latch Housing
Power the camera off, then open the housing and reseat the nano-SIM in its correct orientation. Before you close it, remove and reinstall the SD card and batteries so each component sits fully in its slot. Inspect the housing seam for pinched wires, displaced seals, dirt, or other obstructions that could prevent a complete closure.
Align the cover, close it evenly, and engage every latch until it locks securely. A fully latched housing protects the contacts from moisture and maintains weather resistance. Restart the camera after reassembly, allow it to reconnect, and send one test picture. Confirm that the image uploads successfully before returning the unit to service. If it doesn’t, power it down and inspect the card, SIM, battery seating, and latch alignment.
Verify Latest Photo Timestamp
Check the app or camera portal for the timestamp of the newest received photo, then compare it with the timestamp of the latest image on the SD card. If the card contains newer photos, the camera is still capturing images, but transmission is delayed or failing.
Record the newest delivered photo’s time and the time of a test photo. This comparison shows whether the delay is ongoing. Don’t assume a 30-second trigger interval means each three-photo burst uploads immediately. The camera may hold files for scheduled reports or queued transmission. Watch for delivery resuming in batches; for example, uploads can restart around 4:13 AM and deliver roughly 40 photos together. Use those records to distinguish a brief queue from a continuing upload fault clearly.
Inspect Antenna Connector Corrosion
A corroded or loose antenna connection can weaken cellular service and prevent timely photo uploads. Power off your camera before inspecting the antenna. Inspect the connector and antenna base for green or white deposits, rust, dirt, or moisture.
| Finding | Action |
|---|---|
| Deposits or moisture | Follow manufacturer-approved cleaning instructions; let it dry completely. |
| Bent pin or threads | Don’t force connector; consult manufacturer for replacement. |
Don’t scrape corrosion or force the connector. Once dry, reconnect the antenna firmly, but don’t overtighten it. Verify that the pin and threads seat straight and remain undamaged. Power the camera on, then send a test photo. If uploads resume or signal readings improve, the connector likely caused the failure; if not, continue diagnosing signal, plan, and camera settings through standard checks.
Schedule Monthly Lens Cleaning
Set a monthly reminder to inspect and clean the lens, since dust, water spots, and debris can reduce image clarity and trigger quality.
Use a clean microfiber cloth to lift loose dust and wipe away dirt or water spots without pressing hard. Don’t use paper towels, abrasive pads, solvents, or harsh cleaners; they can scratch coatings, haze the lens, or damage seals. Examine the lens, checking for residue around the edge.
Before you return the camera to service, confirm the glass is dry, clear, and free of streaks. If your camera operates near mud, heavy pollen, or frequent rain, shorten the interval and clean it. A clear lens helps the camera capture images and reduces troubleshooting results when photos appear dark, blurred, or poorly triggered.
Conclusion
Most cellular trail camera failures come from weak signal, inactive data plans, incorrect transmission settings, or poor physical connections. You can restore photo delivery by checking power, SIM activation, APN details, antenna condition, and the camera’s latest test image. Record the IMEI and settings before changing anything, then reinstall the SIM and latch the housing securely. If photos still won’t send, compare timestamps and contact your carrier with the IMEI for account and service verification.
Game Camera Range & Detail Calculator
Turn a game camera's MP, horizontal FOV and distance into frame width, pixels on the animal and the max range for your own detail minimum.
Solar Trail Camera Battery & Panel Sizer
Estimate how long a trail camera battery lasts and the minimum solar panel watts it needs, from your own battery, current draw and sun-hour figures.
Cellular Trail Camera True Cost Calculator
Add plan fees, overage and activation to the camera price to see the true total cost, cost per camera-year and break-even of a cellular trail camera.
Which Trail Camera Do I Need? Use-Case Quiz
Five-question quiz that matches your use, signal, power and visits to a cellular, Wi-Fi or SD-card trail camera, with shelf matches.
Trail Camera Flash Type Selector
Answer three questions to rank no glow, low glow, infrared, white flash and color night vision trail cameras for your use.
Trail Camera Mount Height & Tilt Calculator
Turn your camera's mount height, aim-point height and distance into a tilt angle, line-of-sight distance and a printable setup card.
Trail Camera SD Card Size Calculator
Estimate how many days your trail camera SD card lasts and the smallest card size that covers the time between your camera visits.
Free Browser Trail Camera Photo Viewer
View SD card trail camera photos in your browser, sorted by EXIF capture time and grouped into events. Nothing is uploaded.
Trail Camera App & Firmware Finder
Find the official phone app for your trail camera brand, filter by connection and platform, and see how that brand updates firmware.