How to Monitor a Cabin Without WiFi Using Cellular Cameras
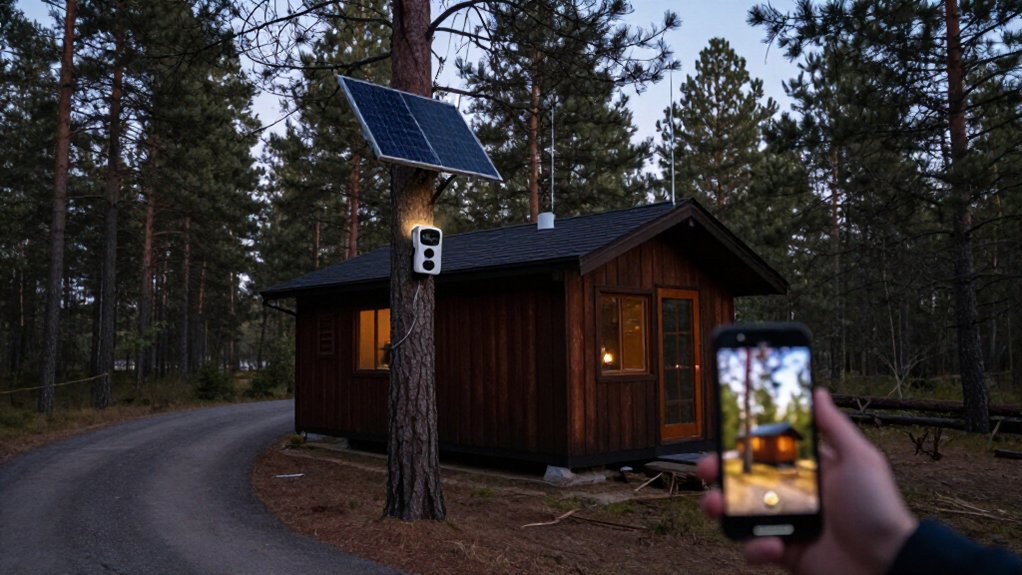
You can monitor an off-grid cabin without Wi-Fi by installing a 4G LTE camera where AT&T, Verizon, or T-Mobile signal is strongest. Test coverage at the mount height, activate a compatible Nano SIM plan, and format a high-endurance microSD card.
Mount it about eight feet high, clear branches, seal cable entries, and test motion alerts and night vision.
Use solar power: brush off snow and confirm charging after storms. The steps below help keep coverage reliable year-round.
Cellular Coverage and SIM Check
Start by testing cellular coverage at the exact camera mounting point. Check AT&T, Verizon, and T-Mobile reception where camera will operate, not merely near the cabin. Trees, hills, terrain, metal siding, and deep shade can weaken or block service. Test at the intended antenna height, because a usable ground-level signal may fail higher up.
Confirm your camera’s supported carriers, required SIM format, often Nano SIM, and compatible data plan before purchase. An installed SIM doesn’t guarantee security alerts or live video: the camera must consistently reach its provider’s network. Record signal readings across several times and weather conditions. If coverage remains unreliable, choose local-only recording rather than depending on delayed or missing remote alerts during critical security incidents around the cabin after dark.
Bring Ladder, Drill, and Anchors
Once you’ve confirmed usable cellular service, bring a stable ladder, drill, and surface-specific anchors to mount the camera high enough to identify faces, vehicles, and approach routes. Match fasteners to the structure, then mark holes before drilling. A secure mount preserves alignment, pan/tilt coverage, and night-vision performance during wind.
- Use lag screws in wood studs.
- Use masonry anchors for brick or concrete.
- Select eave-rated hardware that resists vibration.
- Confirm solar-panel cable reach and winter sun exposure before mounting.
- Mount first, then insert the Nano SIM and activate service under cover.
At the final height, test LTE signal where the camera sits; terrain and metal can degrade it. Retighten every anchor and verify the housing can’t shift or loosen after repeated weather exposure over time outside.
Step 1: Clear Branches Blocking View
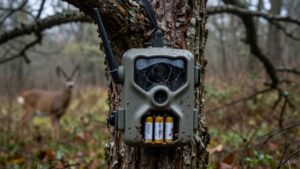
Clear branches and tall vegetation from the camera’s line of sight before finalizing its aim. Even small limbs can cross motion-detection zones, hide an approach route, and trigger false alerts as they sway. Check the app’s live view from the exact mounting height and angle, not from ground level. Confirm that the cabin approach remains visible during summer leaf growth and when snow or ice weighs down branches.
If possible, mount the camera higher or choose a wider-lens or dual-lens pan-tilt model to reduce seasonal obstruction. Recheck the view after windstorms, since broken or shifted limbs can compromise coverage. When you can’t remove vegetation, configure motion zones to ignore trees and cover the approach path. This cuts recordings, preserves battery, and limits data use.
Step 2: Format the microSD Card
Use a high-endurance, surveillance-rated microSD card, then format it through the cellular camera’s app or onboard interface after installation. This lets the camera apply its required file system and establishes reliable overwrite behavior. Choose capacity for your recording plan: continuous video consumes space faster than motion-triggered clips, and frequent events increase write cycles and card wear. If available, enable loop recording so the camera replaces the oldest footage once storage fills.
After formatting, trigger motion, wait for a clip, and play it back in the app or supported player. Confirm timestamps, footage quality, and successful writes before relying on the camera for cabin security. Don’t ignore storage warnings: periodically inspect recorded clips, because missing files or write errors can signal a failing card promptly.
Step 3: Mount Camera Eight Feet High
Mount the cellular camera about 8 feet (2.4 m) above ground, aiming it at the front door and approach walkway. This height captures faces and upper bodies along normal approach paths while keeping the entry area in frame. It also reduces nuisance motion triggers from grass, small animals, and other low-ground movement, making detection zones easier to tune.
Angle the lens to cover where a visitor first becomes visible, rather than recording only the instant they reach the door. If your model has pan and tilt, use them to refine that coverage without creating blind edges. Secure the mount to solid framing and route the camera so its view isn’t blocked by eaves or branches. Test image and motion alerts during daylight and after dark. Night-vision range, reflections, and recognition detail can change at this mounting height.
Step 4: Activate Cellular Plan in App
With the required 4G LTE Nano SIM installed and the camera powered on, open the manufacturer’s app, select the cellular/LTE setup option, and follow its activation prompts. Choose the supported carrier in settings; some models, including Arlo Go 2, work with Verizon, AT&T, or T-Mobile. Confirm the displayed plan, monthly cost, and data allowance before approving enrollment.
Most cameras require a separate, ongoing data plan, typically about $10 to $40/month, so enable account alerts for renewal or usage changes. After activation, check the cellular signal and connection status in the app. Test live view and trigger an alert while your phone uses its normal connection; both functions require active camera data service. Secure the app account with a unique password and multi-factor authentication, and restrict shared access.
Step 5: Aim Sensor Across Driveway
After confirming cellular connectivity, aim the camera across the full driveway approach, including the point where vehicles first enter view. Mount it on a stable post or wall high enough to discourage tampering but low enough to identify approaching people and vehicles. Center the sensor on the travel lane, not the driveway edges, so cars, trucks, and pedestrians produce consistent motion triggers.
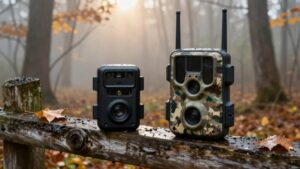
If your cellular model has pan-and-tilt or dual lenses, use them to cover curves, turnarounds, and other blind spots without sacrificing the primary approach. Enable motion detection and draw a tight driveway-specific detection zone. This prevents swaying vegetation and traffic on distant roads from generating unnecessary alerts or consuming cellular data. Angle camera forward to preserve face and plate detail at view.
Step 6: Seal Exposed Cable Entry
Seal every exposed cable entry to keep rain, condensation, and freeze-thaw damage from disabling your cellular camera. Run the cable through weatherproof conduit, then seal both ends with silicone or gel so water can’t wick into the housing. Form a drip loop below the entry point; rain follows the loop and falls clear of the camera and wall.
If you pass cable through wood, drill a slightly angled hole and pack the gap tightly with exterior-grade sealant. Protect each exterior penetration with UV-rated electrical tape, then cover it with an adhesive-lined heat-shrink sleeve or waterproof wrap. This layered barrier resists ultraviolet exposure, ice, and repeated movement. Finally, lightly spray water around the entry for several minutes. Watch the camera’s connection for resets or faults.
Verify Night Vision at Dusk
Once the cable path is weatherproof, test the camera at dusk to confirm its infrared mode switches reliably from color to black-and-white. Walk the property as darkness falls, then review clips for facial detail at entrances, driveways, and approach paths.
Trees, hills, and long distances can weaken infrared illumination, so measure usable identification range in the camera’s installed position. If you use dual lenses or pan-and-tilt coverage, trigger motion in each view and confirm both produce clear footage after sunset.
Adjust motion sensitivity and detection zones to exclude windblown branches and reflective surfaces, which can create false events or washed-out images. Check whether the scene has even coverage; infrared video usually shows less detail than daylight. Where critical areas remain dim, add a properly aimed motion-activated white light.
Delayed Alerts: Reposition for LTE
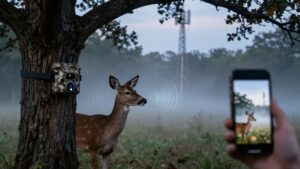
Start by checking the camera’s exact mounting location when push alerts arrive late. Trees, hills, and metal siding can weaken LTE, leaving you anxious while a real intrusion waits. Raise the camera and aim it toward the nearest cell tower, away from dense foliage. Then test live view and app-alert speed.
| Check | Risk | Action |
|---|---|---|
| Shielded corner | Uneasy delays | Change angle |
| Elevated wall | Reassuring response | Retest alerts |
Tighten motion zones and sensitivity so you send fewer irrelevant events and reduce cellular airtime. If lag persists, move the unit to a known signal spot, often an elevated exterior wall. Confirm its supported AT&T, Verizon, or T-Mobile bands match the carrier that performs best there. This placement check protects your cabin when every second matters most outside.
Brush Snow Off Solar Panel
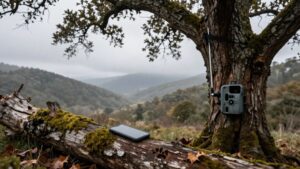
After every snowstorm, brush accumulated snow from the solar panel before it compacts into ice. A covered panel produces no charging power, so your cellular camera’s rechargeable battery can drain quickly. During heavy snowfall, clear the surface early, before frozen layers interrupt charging long enough to take the camera offline. For a 4G LTE solar camera with a 7,800mAh battery, repeated snow cover can cause missed detections and lost cellular live alerts.
Check the panel’s direct-sun hours throughout winter. Lower sun angles, changing shadows, and nearby trees may prevent a recharge even when the panel looks clear. Reposition or remount it for maximum winter exposure, but keep it reachable. Always verify charging status after storms to correct power problems before cabin security coverage fails.
Conclusion
With solid LTE coverage, correct SIM setup, and a clear mounting plan, you can keep your cabin watched without Wi-Fi. Mount each cellular camera high, protect cable entries, and aim it away from branches and false triggers.
Test night vision, alerts, and signal strength before leaving. Maintain solar panels and storage during winter visits. If alerts lag, reposition the camera for stronger LTE. You’ll gain reliable evidence, faster response, and better off-grid security year-round protection.