How to Stop a Trail Camera Lens From Fogging in Cold, Wet Weather
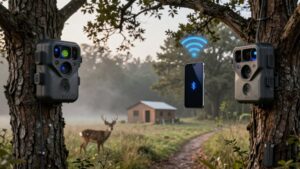
To stop a trail-camera lens from fogging, keep moisture out: mount it beneath a roof, tilt it downward, and clear ice from vents and debris from drain holes.
Power it down before opening it, inspect and clean the door gasket, and dry the housing before resealing it. Wipe exterior glass with a dry microfiber cloth.
Use silica gel near hinge and seal cameras in a bag indoors. Timestamped tests reveal patterns and guide your next checks.
Clear Lenses Through Freezing Rain
After freezing rain, wipe moisture from the trail camera’s exterior lens with a clean, dry microfiber cloth, using light pressure to avoid scratching the glass. Do not add water; it can refreeze and create another fogging cycle.
If haze remains behind the lens glass, treat it as internal moisture. Dry the camera promptly, then inspect the door and antenna gaskets for grit, deformation, cracks, or incomplete seating. Clear debris and reseat each gasket before returning the unit outdoors.
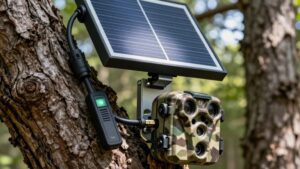
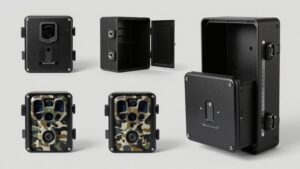
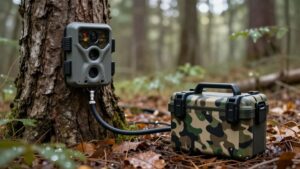
Mount a camera roof or metal security box to limit direct precipitation. Don’t wrap the housing tightly in plastic or cloth; trapped moisture worsens condensation.
When bringing a frozen camera indoors, seal it in a Ziploc bag. Let it acclimate for one to two hours before opening it.
Stage Silica Packs, Microfiber Cloth
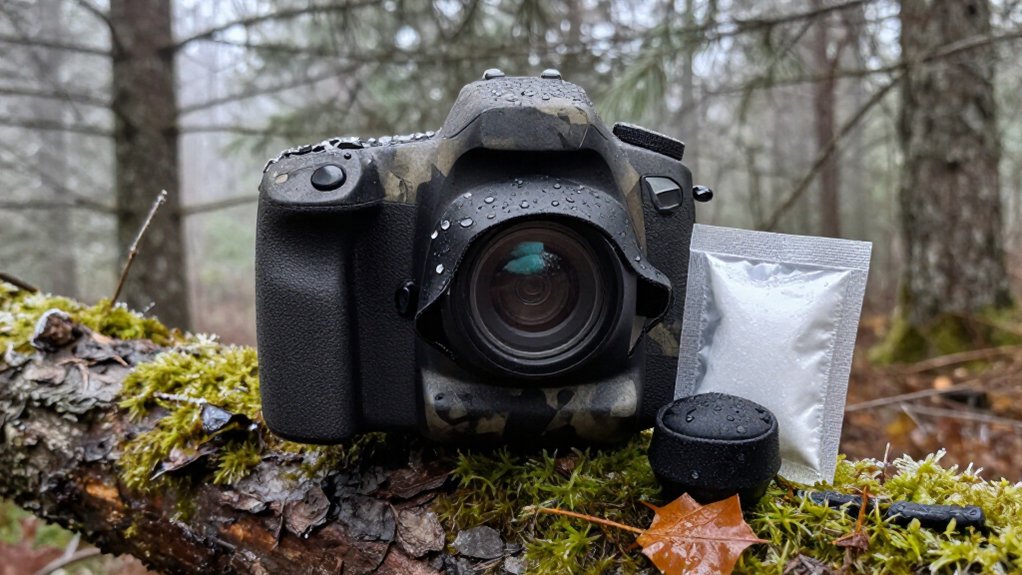
Stage a 1–2 g silica gel packet inside the camera housing near the hinge, SD-card slot, or battery latch to absorb residual moisture. Keep clearance so the door closes freely, and keep the packet off battery contacts. Use a clean, dry microfiber cloth on the lens exterior:
- Wipe gently from center outward.
- Never breathe on a cold lens.
- Don’t add water to remove ice.
- Dry the camera promptly after exposure.
- Keep a spare cloth in a sealed pouch.
Added moisture can freeze into a stubborn film, making cleaning harder and increasing scratch risk. Silica reduces humidity after you open the housing, but it can’t correct internal fog. If fog remains beneath lens glass after prompt drying, suspect seal failure and discontinue wet-weather use.
Step 1: Inspect the Door Gasket
Inspect the door gasket before returning the camera to damp or freezing conditions, because even a small defect can admit humid air and cause internal fog. Examine the entire gasket for cracks, splits, dry rot, embedded dirt, or debris. Verify that it sits evenly in its channel around the door, without pinches, twists, or displaced sections.
Clean the gasket and its mating sealing surface with a lint-free cloth, removing anything that could interrupt contact. Then close the door on a paper bill and pull steadily. Consistent resistance around multiple positions indicates adequate compression; little or no resistance suggests leakage. After cleaning, repeat the test to confirm the result. If fog persists inside the housing while the exterior lens stays clear, treat the door seal as compromised.
Step 2: Power Down Before Opening
Switch the trail camera off before opening the housing, especially when condensation or moisture may be present. This prevents the unit from powering sensors, writing files, or carrying current while you handle damp components. Remove power before inspecting the door gasket, antenna seal, battery compartment, or SD card.
If you find internal fogging, keep the camera off while you place a small silica-gel packet inside. Position it so it can’t touch battery contacts, terminals, lens, or moving parts. Check that the compartment is dry and that every seal sits flat in its channel. Then close the housing evenly, latch it fully, and confirm the gasket hasn’t pinched. Only restore power after you’ve resealed the camera securely and verified its controls and ports are dry.
Step 3: Warm Camera in Sealed Bag
Before moving a trail camera from −10°C outdoor conditions into a +20°C home, seal it in a Ziploc bag to isolate its cold surfaces from humid indoor air. Keep the bag fully closed while the camera acclimates. Leave it sealed for 1 to 2 hours, allowing the housing, lens, battery compartment, and internal components to rise toward room temperature gradually.
This controlled warm-up keeps moisture-laden indoor air away from surfaces that remain below the dew point. Don’t unzip or inspect the camera early; even brief exposure can let warm, moist air condense on the lens or inside the housing. After the camera has warmed, open the bag and remove it for routine inspection or service. Begin any service only after this acclimation period has fully ended.
Step 4: Apply Anti-Fog Lens Coating
Once the camera has fully acclimated, apply a small amount of reputable eyeglass or automotive-mirror anti-fog treatment to the exterior lens to help condensation disperse faster. Use only a product labeled safe for coated optical surfaces, and test it on an inconspicuous edge before treating the full lens. Follow the manufacturer’s cleaning, application, and buffing instructions; excess liquid or abrasive wiping can damage lens coatings.
Rain-X Anti-Fog and Nikon anti-fog products are commonly suggested options, but performance varies with your camera, site humidity, and season. Expect the coating to improve droplet clearing, not eliminate condensation formation. Reapply only as directed after cleaning the exterior glass. If fog persists behind the lens, don’t add more coating: internal moisture usually signals a housing leak or failed seal.
Step 5: Reposition Away From Dripping Branches
Relocate the camera if rainwater or thaw runoff drips from overhead branches onto the lens or housing, as repeated wetting can leave droplets that fog the view or seep toward seals. Choose a mounting tree or post outside the drip line, and check conditions after rainfall or thaw to identify runoff. Don’t mount directly beneath limbs or bark pockets that collect water and release intermittent drops.
Where you can’t avoid an exposed location, fit a rigid roof above the unit; half a plastic coffee can works if it extends beyond the housing without blocking the lens, infrared LEDs, or sensor. Tilt the camera slightly downward so water sheds from the face instead of pooling on the lens cover. Confirm the angle frames the trail.
Step 6: Clear Drain Holes of Debris
Inspect the camera housing’s drain holes during routine cleaning, especially after wet or muddy weather. Locate each drainage opening along the lower housing and check it for packed mud, leaf fragments, insect nests, and other debris. Use a soft brush, wooden pick, or low-pressure air to remove obstructions without forcing material farther inside.
Your goal is to restore a clear path so rainwater and condensation can exit instead of pooling within the housing and raising internal humidity. Don’t fill these openings with sealant or cover them with tape, even if you’re trying to block splashes; doing so traps moisture. After cleaning, confirm the holes remain unobstructed before remounting the camera. If lens fogging continues despite open drains, examine the door and antenna gaskets for dirt.
Review Timestamped Test Photos
With the drain holes clear, review your camera’s timestamped test photos to pinpoint when lens fogging develops. Sort images by time and compare clear frames with hazy ones. If fogging clusters near sunrise or after a cool night warms, temperature change likely drives condensation.
Note whether haze affects one image or repeats through a sequence; a single frame can reflect brief weather, while repeated haze suggests persistent moisture. Compare cameras placed in sunny fields against units in shade or just inside the woods to isolate site conditions. After adjusting mounting height or angle, capture another timestamped series. Confirm each frame’s lens area remains clear and that the revised framing still records passing motion at expected distances and positions throughout changing morning conditions as well.
IR Halo: Remove Nearby Twigs
Clear or trim any twigs and small branches near the camera, especially those within the infrared flash’s field of view. Nearby vegetation reflects IR illumination into the lens, producing a bright halo that makes nighttime photos look hazy or washed out. Keep the camera aimed at the target while you work; tilting it heavily can weaken motion-sensor coverage.
| Check | Corrective action | Result |
|---|---|---|
| Flash-lit foreground | Cut or move close twigs outside frame | Reduces reflected IR |
| Night test photo | Inspect after clearing | Confirms a clean scene |
Review new growth and wind-blown branches during each routine visit. If a halo returns, inspect the immediate foreground first, then retest at night from the camera’s normal position. This preserves target framing and verifies vegetation no longer enters illuminated zone.
Check Housing Vents for Ice
Check the housing vents for ice, which can block airflow and trap humid air inside the camera. Inspect vents after freezing rain, wet snow, or a sharp temperature drop.
Use a brush or wooden pick to lift away ice gently; don’t force tools into openings or scrape the housing to deform it. Also open the battery compartment and look for droplets, damp contacts, or condensation after heavy rain followed by a temperature drop. Let the camera dry in a sheltered, ventilated location before reinstalling batteries. Don’t wrap the unit in plastic or cloth because either cover restricts ventilation and may interfere with its humidity sensor. If lens fogging persists after you clear vents, inspect door and antenna gaskets for dirt, cracks, or a poor seal.
Conclusion
To keep your trail camera clear in cold, wet weather, control moisture before it reaches the lens. Stage fresh silica packs, clean the gasket and drain holes, and remove ice from housing vents. Power the unit down before opening it, then warm it inside a sealed bag to prevent condensation. Verify results with timestamped test photos. If you’ve got an IR halo, trim nearby twigs. Repeat these checks after freezing rain and extended wet periods.