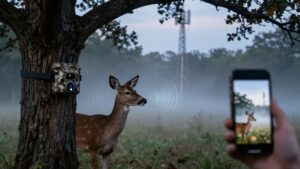
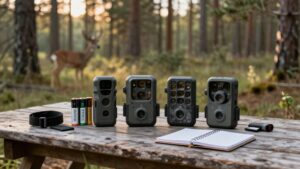
Why Does My Trail Camera Have Weak Signal? Causes and Quick Fixes
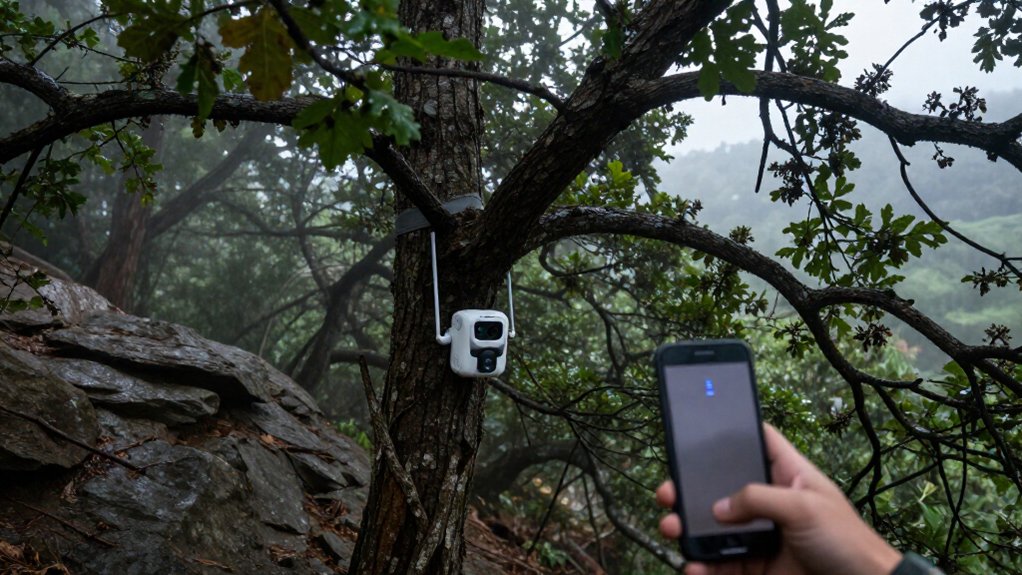
Your trail camera may have weak signal because local carrier coverage is marginal, hills, wet foliage, or metal block the path, the antenna is damaged or poorly placed, or a tower is down.
Test RSSI at the exact mounting height with the stock antenna, then compare nearby clearer or higher spots. Confirm SIM activation, bands, and antenna connections, and retest after storms. Don’t update firmware mid-power loss.
Next steps isolate the cause and fix it.
Check Carrier Coverage First
Start by checking your carrier’s coverage map for the camera’s exact location, but treat the result as an estimate rather than proof of reliable service. Maps model outdoor coverage, not the actual radio path at your setup. Confirm the camera’s SIM is activated, provisioned for that carrier, and compatible with the network bands deployed locally.
Then test connectivity at the mounting spot, not from your truck or a nearby road. Terrain, low valleys, ridges, dense trees, and seasonal leaf growth can block or weaken service. Use the camera’s stock antenna for this baseline test. If performance is marginal, relocate the unit higher or toward a clearer exposure before buying accessories. Sudden persistent loss can reflect tower changes; recheck coverage and contact the carrier directly.
Interpret Camera RSSI Readings
Once you’ve confirmed local carrier coverage, check the camera’s RSSI or cellular signal reading at its installed location, using the stock antenna as your baseline. Don’t rely on a reading beside your truck or at another nearby spot; small placement changes can produce results. Treat RSSI as a snapshot, not a guarantee, because cellular strength fluctuates and may fall below the test value.
If your camera reports RSRP, a result better than roughly −100 dBm indicates that the stock antenna may be adequate, provided the reading remains stable. Weak RSSI can explain upload failures, repeated connection attempts, and battery drain, but it doesn’t identify the cause alone. When you move the camera or change antennas, retest at same site and compare readings under similar conditions.
Test Signal After Rainfall
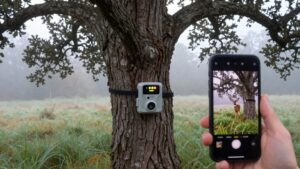
After rainfall, check the camera’s signal reading at its mounted location, as wet weather and heavy cloud cover can temporarily reduce cellular coverage. Record the RSSI or signal bars using the same in-camera test or app procedure you used previously. Keep the camera fixed in the same position, orientation, and height so you’re measuring weather-related variation, not a changed setup.
Compare the result with a fair-weather reading taken under identical conditions. If the value drops during or immediately after a storm, don’t relocate the unit yet. Wait until skies clear and the site dries, then repeat the check. A recovered reading indicates temporary atmospheric attenuation; a consistently weak result points to another coverage or installation issue requiring further diagnosis. Document date and conditions carefully.
External vs. Internal Antennas
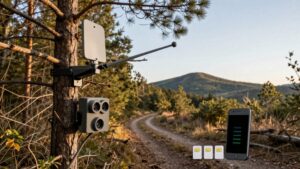
If your camera has an external antenna port, you can replace or upgrade the antenna to better match a difficult site; an internal antenna stays fixed inside the housing. Don’t judge the design by antenna count—one antenna may be internal or external. Choose an omnidirectional or directional external model only after confirming compatible bands, connector, and impedance, and keep its cable short.
External Antenna Advantages
External antennas give you a practical upgrade path when your trail camera has weak but usable cellular service: unlike a fixed internal antenna, you can select an antenna better suited to the installation site.
Test signal at the exact mounted position; readings elsewhere won’t predict reception there. Choose an omnidirectional model when tower direction is uncertain and you need 360-degree horizontal coverage. Choose a directional model when you know the tower location and can aim it accurately, because it focuses reception toward that source.
Before installation, confirm supported cellular bands, connector type, and impedance. Use the shortest practical low-loss cable; mismatch or excess cable length can erase gain. These changes improve existing signal reception reliably, but they can’t create coverage in a dead zone.
Internal Antenna Limitations
An internal antenna sits inside the camera housing, so the enclosure and your mounting location can weaken its ability to capture an already marginal cellular signal. Because it is fixed, you can’t raise it above brush or move it beyond a terrain shadow. Test the camera at its installed location with the stock antenna and review the dBm reading. If it is better than about −100 dBm, the internal antenna probably isn’t your limiting factor.
An external antenna connects through a dedicated port, letting you replace or upgrade it and place it higher or in a clearer location. It may improve marginal reception, but it can’t create signal where none exists. One suffices; terrain shadows or heavy canopy may benefit from compatible dual antennas.
Choosing The Right Setup
Choose the antenna setup based on measured signal at the camera’s installed location, not on whether the antenna sits inside or outside the housing. Test the stock antenna where you mount the camera. If RSRP is better than about −100 dBm, don’t upgrade yet. “Single” describes antenna count, not placement; it can be an external unit on a port. External models let you swap or reposition them, while internal antennas remain fixed.
| Condition | Setup |
|---|---|
| Reliable RSRP | Stock antenna |
| Unknown tower | Omnidirectional external |
| Known tower | Directional antenna |
| Severe shadowing | Supported dual/multi-element |
Use dual or multi-element antennas only when your camera supports them and coverage is genuinely difficult, such as deep terrain shadowing, heavy canopy, or very weak edge coverage. Verify connector compatibility before you buy.
Terrain and Vegetation Effects
Hills and valleys can obstruct cellular paths, so you’ll often get better reception on an open ridge than in a low basin. Trees, brush, and dense summer foliage can further attenuate the signal; test the camera at its exact mounting point, not from your vehicle. If vegetation causes weak reception, move it to a field edge or another elevated, open location with stronger coverage.
Hills, Valleys, And Ridges
Terrain can create sharp signal differences over surprisingly short distances: a camera in a valley may struggle while a nearby ridge or open-field edge connects reliably.
Hills and mountains can obstruct the radio path between your camera and a cellular site, producing weak or intermittent service in low ground. Don’t assume a reading from your vehicle represents the mounting location. Test the camera at its exact height and position, then compare several nearby sites. Move it uphill, toward a ridge, or to an open-field edge and check the reported signal again. Even a small relocation can improve line-of-sight conditions and transmission reliability. If no nearby placement improves service, verify coverage with the carrier map and select a location with known usable service before deployment.
Trees, Brush, And Foliage
Trees, brush, and dense foliage can attenuate the cellular path around a trail camera, especially when the antenna sits beneath a canopy or behind leaf-covered branches. Don’t judge coverage from a truck, road, or nearby clearing; test the camera at its exact location. Leaves, trunks, and wet brush absorb, scatter, or obstruct the radio path, turning a marginal connection into intermittent uploads or failed check-ins.
In wooded, hilly areas, compare readings at the planned site with an open field edge or another strong-signal point. If the alternate location performs better, vegetation or the obstructed path is likely the cause. Move the camera toward a clearer opening, away from branches in front of the antenna. After relocating it, allow time to verify signal and transmissions.
Seasonal Vegetation Changes
Seasonal growth can turn a reliable winter camera location into a weak-signal summer site, as dense leaves and brush absorb and obstruct the cellular path. You should test reception at its exact mount point, not from your truck or a clearer spot nearby. In hilly or mountainous country, seasonal cover can compound terrain shielding: a ridge may retain usable service while a valley loses its tower path.
Move the camera to an open-field edge or a nearby stronger-signal site. Recheck after relocating, because a few yards, elevation changes, or a clearer direction can matter. If moving isn’t practical, reassess performance after leaf drop. Comparing seasonal readings helps you separate foliage loss from carrier outages, antenna faults, or battery problems and plan a reliable deployment schedule.
Scout Before Mounting Permanently
Before you mount the camera permanently, test cellular signal at the exact installation point rather than from your truck or a nearby open area. Terrain creates micro-coverage differences: valleys, hills, dense trees, and heavy foliage can reduce reception sharply. Compare several nearby positions before drilling or strapping the unit.
| Test location | Reading | Action |
|---|---|---|
| Valley tree | Weak | Move higher |
| Ridge or field edge | Stronger | Retest there |
At a weak site, move to a higher, clearer location and rerun the camera’s signal test. In hilly country, a ridgetop or open-field edge may deliver a usable connection. Don’t select the first spot that barely works. Choose a location with signal margin, because reception fluctuates and can fall below your initial reading after you install the camera permanently.
Carrier Tower Outages Happen
Even a well-chosen mounting spot can lose connectivity when your carrier’s nearby tower goes down or enters maintenance. An outage can abruptly reduce signal or stop transmissions, even when your camera previously worked reliably.
Before moving equipment, check your carrier’s outage page or contact support and ask whether the serving tower is offline or being serviced. If the outage is temporary, leave the camera in place and wait for service to return; changing the antenna or location won’t correct a network-side failure.
After the carrier confirms normal operation, retest signal at the mounting spot. Persistent weakness may indicate that tower relocation or antenna adjustments changed local coverage. Compare readings at points, because terrain, foliage, and tower distance can affect reception. Select the best location.
Avoid Mounting Against Metal
Metal near a cellular trail camera can block, reflect, or distort the antenna’s signal, causing weak or inconsistent connections. Avoid placing your camera directly on steel poles, fence panels, metal tree guards, or other conductive surfaces. These materials can interfere with the antenna’s path to the tower.
- Mount the camera on a wooden post or tree when possible.
- Use a nonmetallic spacer to create separation from nearby metal.
- If metal is unavoidable, shift the camera farther away and orient it at its final location.
- Check the signal indicator there, then confirm the antenna is tight and free of cracks or bends before retesting connectivity.
If not, compare readings nearby to identify the clearest point for a reliable cellular link at your site during setup.
Install the Latest Firmware
Outdated firmware can cause software-related cellular connection issues, so check the manufacturer’s support page or camera app for the latest version made for your exact camera model. Download only the file specified for that model, then follow the update procedure exactly; installation methods, memory-card requirements, and file names vary by manufacturer. Before starting, install fresh batteries or connect a stable external power source.
Don’t power off, open the battery compartment, or disconnect the camera while it writes firmware, because interruption can corrupt the update. When installation finishes, restart the camera and test its cellular connection and signal reading at its installed location. If signal remains weak, firmware isn’t the underlying cause: updates can’t correct limited carrier coverage, terrain blockage, poor antenna placement, or a damaged antenna.
Conclusion
Start by checking carrier coverage and your camera’s RSSI, then retest after rain or during suspected tower outages. You’ll get more reliable uploads when you scout the location, avoid metal surfaces, and account for hills, trees, and seasonal vegetation. If signal remains weak, reposition the unit, choose an external-antenna model where appropriate, and update firmware. These steps isolate whether the fault comes from coverage, placement, hardware, or network conditions. You can then make a targeted correction.