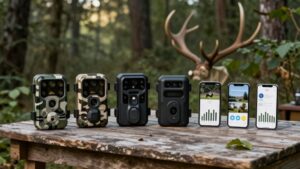
How to Boost Signal on a Trail Camera: Antennas, Placement and Carrier Tricks
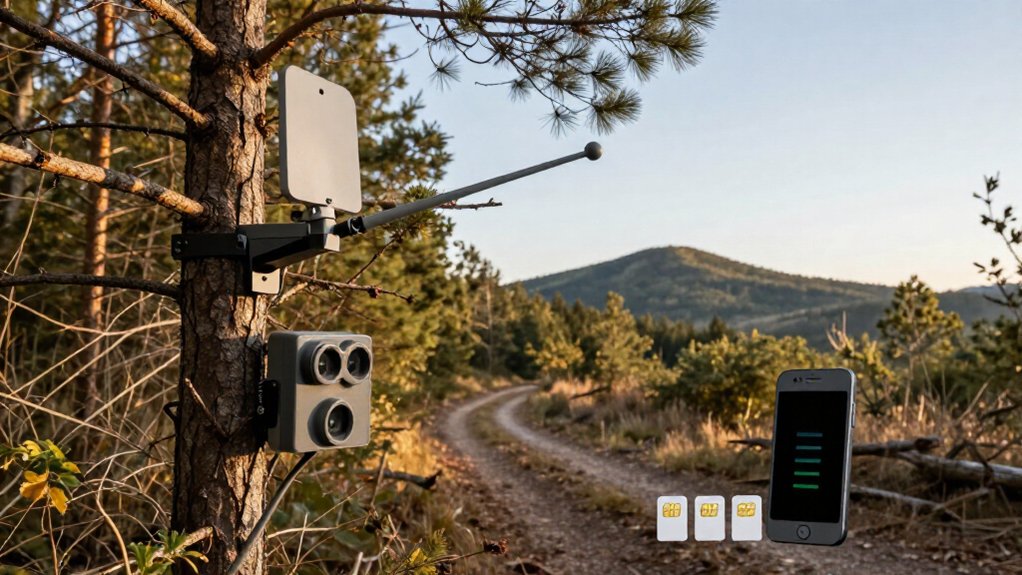
You can improve a one-bar trail camera by installing a matched, carrier-band-compatible directional antenna, aiming it toward the serving tower, and testing uploads at the mount point.
Verify the camera’s SMA/RP-SMA or other connector before ordering, then power it off before attachment.
Choose an open edge or ridge, secure and weather-seal the coax, and judge results by test photos, not bars.
If uploads fail, inspect SIM contacts and provisioning. Further guidance refines your setup.
Expected One-Bar Signal Gain
A high-gain antenna can make a one-bar trail camera connection more usable, but it may not increase the bar display. Bars summarize radio measurements and don’t reliably represent upload quality. You may see better photo delivery, faster check-ins, or fewer failed uploads while the indicator remains at one bar.
A directional antenna concentrates energy toward the serving tower, typically providing roughly 8 to 20+ dBi depending on frequency and design. You must aim it accurately; an omnidirectional model, usually about 2 to 9 dBi, requires no aiming but offers less focused gain. First, test at the camera location and measure actual upload results. An antenna can improve weak, existing signal, but it can’t create coverage where no signal reaches the camera. Repeat tests across weather, times, and camera orientations.
Verify SMA Connector Polarity
Before ordering an external antenna, verify whether your trail camera uses SMA or RP-SMA connectors. They appear nearly identical, but their center-contact polarity differs, so visual similarity isn’t sufficient.
- Inspect the camera’s external antenna jack and the antenna plug under good light.
- Identify SMA by its male plug center pin and female jack socket; RP-SMA reverses those contacts.
- Confirm the model’s specification in its manual or directly with the manufacturer.
- Buy the antenna and cable specified for that connector type; avoid adapters when possible.
Don’t force threads that don’t mate smoothly. A polarity mismatch can damage the port or connector. Although an adapter may solve fitment, it introduces insertion loss, which can offset part of the potential gain you expect from an upgraded antenna.
Step 1: Clear Antenna Mounting Location
Choose the mounting location based on the antenna’s actual radio path, not convenience. Mount the camera where its antenna has the clearest possible view beyond nearby terrain and vegetation. Hills, dense foliage, and large trees absorb, scatter, or block the signal before it reaches the antenna.
In hilly country, test a ridgetop before settling for a valley; surrounding slopes can screen the camera from service. In wooded areas, move toward an open-field edge or another location with reliably strong reception.
Keep a detachable antenna firmly screwed into the camera, and orient EDGE-series antennas upright. Finally, measure signal at the exact mounting point. A reading from your truck or a nearby spot can misrepresent the antenna’s performance at the installation site under real-world local obstruction conditions.
Step 2: Confirm Carrier Band Coverage
Confirm that the antenna supports the cellular frequency bands your camera’s carrier uses at the installation site. Antenna efficiency can differ sharply across bands, so a model that performs well on one frequency may add little on another. Check carrier-specific coverage for the exact camera location, not merely general service maps. Nearby sites can serve different carriers, sectors, and band combinations.
Don’t use a phone app as sole proof of the serving tower or frequency. Your phone can attach to another tower or carrier and report conditions irrelevant to the camera. Evaluate advertised gain by band; a prominent peak-gain number may not apply to your carrier’s active frequencies. When selecting a directional antenna, confirm its band range first, then aim it after confirming coverage.
Step 3: Power Off Camera Before Connecting
Once you’ve selected an antenna that covers the camera’s active carrier bands, power the camera off before connecting or removing it. This isolates the cellular radio and reduces the chance that you’ll damage the radio circuitry or external connector while handling the attachment. Before installation, verify that the antenna’s connector type matches the camera’s external port, whether it’s SMA, RP-SMA, TS9, or C.
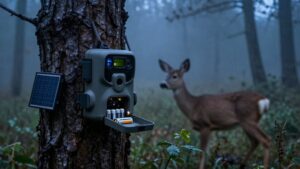
With the camera off, thread the detachable antenna into the port by hand and tighten it until it’s firmly seated; don’t force the threads. Set the antenna in its specified operating position, such as keeping an EDGE-series model upright. Then power the camera back on only after the connection is secure. This sequence preserves reliable contact through startup and normal operation.
Step 4: Aim Antenna Toward Tower
Aim a directional antenna at the cell tower serving the camera to concentrate its gain along the active signal path. Directional models commonly provide a 30 to 120° horizontal beam, so small aiming errors can materially reduce performance. Near the beam’s edges, received signal may fall by 15 to 20 dB, erasing much of the antenna’s benefit.
Don’t treat a phone app as definitive tower mapping: the phone and camera can register on different sites, and 5G coverage can point the app toward a tower the camera won’t use. At the installed camera location, evaluate likely directions, accounting for terrain and foliage. Then lock the mount firmly; wind, vibration, or a loose clamp can move the antenna outside its useful alignment over time and degrade link margin.
Step 5: Log RSSI Per Change
Establish a baseline by recording the camera’s RSSI at its installed location before changing its placement or antenna setup. Read the value in the camera’s diagnostics, not from a phone or truck, because the camera’s modem may experience different propagation and network conditions. Then alter one variable only: rotate the antenna, raise the camera, shift it laterally, or change its mounting height.
Record the resulting RSSI, timestamp, location, antenna position, weather, foliage condition, and any visible terrain obstruction. Repeat each configuration at several intervals or on different days. Cellular RSSI varies with tower traffic, weather, and seasonal vegetation, so one favorable reading doesn’t prove an improvement. Compare the repeated results against your baseline, emphasizing the typical and worst readings rather than the best single measurement.
Step 6: Seal Coax Entry With Tape
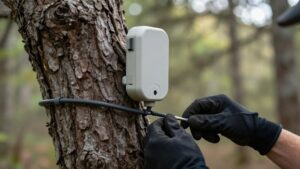
Protect the coax connection from moisture and contamination by sealing the cable entry with weather-resistant tape after attaching the external antenna. Start at the connector, then wrap snugly around both the connector body and the cable entry. Overlap every turn so adjacent layers create one continuous barrier rather than separate bands that admit water or grit.
Apply tension to conform tape, but don’t pull coax or force sharp bends. Excess strain can damage the cable or its termination, increasing loss and reducing received signal strength. Keep cable’s natural bend radius and enough slack to prevent movement loosening the seal. During routine site visits, inspect the taped area for lifting edges, cracks, peeling, or contamination. Remove compromised material, dry the area, and retape it promptly.
Send a Test Photo
Send a test photo from the camera’s actual mounting location to verify that it can connect to the cellular network and upload reliably. This measures the camera’s radio path, not the reception shown by your phone or truck, which may use a different tower, band, antenna height, or location.
If transmission fails, confirm that the external antenna is fully threaded on and positioned upright when its design requires it, then repeat the test. Next, relocate the camera temporarily to a stronger-signal position, such as a nearby ridge or open-field edge, and send another image. A successful upload verifies operation only at that time. Weather, foliage, moisture, and tower traffic can change signal quality and capacity, so compare tests before selecting a mounting point.
Uploads Fail: Clean SIM Contacts
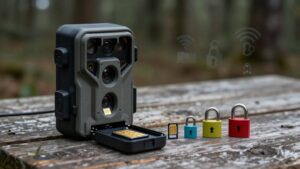
If a test photo still won’t upload, inspect the SIM connection after powering off the camera. Remove the card and examine its metal pads for dust or residue. Wipe them gently with a clean, dry, lint-free cloth. Don’t use liquid cleaners or touch the contacts; moisture and skin oils can raise contact resistance.
| Check | Correct action |
|---|---|
| Power state | Turn camera off |
| Contacts | Dry-wipe only |
| Reinstallation | Match orientation; seat fully |
Reinsert the SIM in its orientation and confirm it locks or rests securely in the tray. Restart the camera, then send a test photo. A boot doesn’t prove authentication, so use the upload result as the diagnostic. If transmission still fails, contact the camera manufacturer or carrier before replacing the SIM; they can verify provisioning, account status, and network-side faults.
Inspect Antenna O-Ring Quarterly
Every three months, inspect the detachable antenna’s O-ring for cracks, flattening, dirt, or other damage. Remove the antenna before examining the seal, since contamination can prevent proper seating and create a path for moisture. Check that the O-ring sits evenly in its groove, without twists, gaps, embedded grit, or hardened residue. A flattened, brittle, stretched, or nicked ring may no longer maintain compression when you install the antenna.
Replace it with the correct size and material specified for your camera model; don’t reuse a questionable seal. Wipe the groove and mating threads with a clean, dry lint-free cloth. Then screw the detachable antenna on tightly by hand. A sealed, mechanically secure connection reduces moisture intrusion and supports reliable cellular signal transfer during unattended operation.
Conclusion
Boost your trail camera’s signal by combining correct hardware, disciplined installation, and carrier verification. You’ll typically gain about one bar when you use a properly matched external antenna, mount it clear of obstructions, and confirm SMA polarity and supported LTE bands. Power the camera off before connecting coax, seal the entry point, and send a test photo. If uploads fail, clean SIM contacts. Inspect the antenna O-ring quarterly to maintain weatherproof performance.