How to Activate a SIM Card for a Trail Camera (and Fix Activation Errors)
First, confirm your SIM, plan, carrier, and camera region are compatible, then record the module suffix and software version.
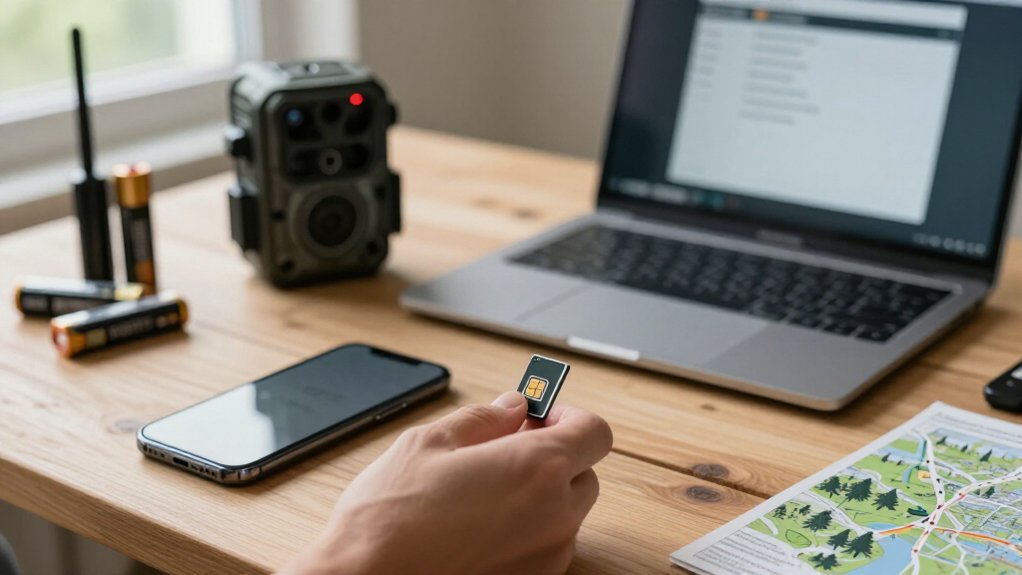
Install fresh batteries, power the camera off, insert the SIM correctly, and seal the tray.
Download the required carrier or camera app, enter the camera’s IMEI—not the ICCID—and wait for provisioning confirmation.
If activation fails, check the APN, restart, and verify signal bars.
Next, you’ll see module-specific fixes and data-use checks for reliable operation each month.
Camera Registers on Cellular Network
Start by confirming that your SIM card is active with a carrier that supports both your camera model and your region, as a carrier mismatch will prevent the camera from registering on the cellular network. Power off the camera, remove the SIM, inspect contacts for dirt or damage, and reinsert it securely. Restart the camera.
Open Cellular Info in the camera menu. Verify that it detects the SIM and displays network details. If registration fails, confirm your plan permits trail-camera data use and the APN matches your provider’s settings.
A retail AT&T SIM, for example, won’t work with a Spartan plan requiring a Spartan SIM. After saving any APN changes, reboot and check registration again. If absent, contact your carrier for provisioning support directly.
Record Camera Module Suffix
- USA/Canada: 004 modules can’t switch carriers in-camera.
- For 004, move the SIM to a phone to change its carrier.
- USA/Canada: 009 may switch in-camera with software above V6.2.97.
- Europe/Australia: EG915UEABR 02 requires phone-based carrier switching.
- EG915UEABR 03 may switch in-camera above V6.2.95.
Save the module number, region, and software version in your activation notes. Always compare all three before changing on-camera carrier settings manually.
Step 1: Charge Batteries Before Activation
Before activating the SIM, install fresh batteries or connect a fully charged external power supply so the camera remains powered during setup and network registration. This prevents voltage drops that can interrupt activation, reset the camera, or cause network connection failures.
Open the battery compartment and inspect each contact for dirt or corrosion. Clean dirty contacts, then insert batteries according to the polarity markings. Confirm that every battery is seated and that the compartment door closes securely. If you use an external supply, verify its charge level and cable connection before switching on the camera.
Keep the camera powered on throughout registration. If it shuts down, restarts, or displays a low-battery warning, stop the process. Recharge or replace batteries, recheck contacts, and restart the process.
Step 2: Download the Activation App
Download the activation app specified by your trail camera brand or cellular-plan provider from the Apple App Store or Google Play. Check your provider’s activation page before installing it. The correct app depends on your camera brand and service plan, so don’t substitute another app.
Confirm the model’s regional version matches the app instructions. GardePro DUS and DXA models support the USA and Canada; DEU and DXE models are for Europe and Australia. A region mismatch can block setup or show unavailable plans.
If the app flags the SIM or device as invalid, verify plan compatibility. Spartan plans require a Spartan SIM, not an AT&T retail SIM. On applicable GardePro units, open SIM Applications or SIM Services, choose Multi IMSI, and select carrier manually.
Step 3: Enter Camera IMEI Number
Enter the camera’s IMEI exactly as it appears in the camera menu or on its label. Before submitting, compare every digit with the displayed number and correct any mismatch. Don’t use the ICCID printed on the SIM card or an IMEI from another camera.
In the activation app, place the IMEI in the device identifier field. Keep the new SIM’s details available, because some providers request both values. If the app rejects the IMEI, recheck the entry and verify that your selected carrier and plan support this camera model.
If the number is correct but activation still fails, contact the plan provider for device eligibility review. For example, AT&T stopped activating devices on Buy-A-Session in April; affected users must select another service option.
Step 4: Scan QR Activation Code
Scan the QR activation code supplied by your trail-camera service to open the correct activation page or app. Use your phone’s camera or the provider’s scanner, then follow each on-screen prompt. Enter the IMEI and SIM number exactly as shown on the camera label or SIM card.
Before submitting, confirm that the SIM matches both your camera and selected plan. For example, a Spartan plan needs a Spartan SIM, not an AT&T retail SIM.
If the portal flags the device or SIM as invalid, recheck every digit and contact the provider; some plans don’t accept new activations. If activation completes but the camera remains offline, verify its carrier settings and network compatibility. A QR code can’t correct carrier or network mismatch on its own.
Step 5: Allow Carrier Provisioning Time
After you submit the IMEI and SIM details, give the carrier time to provision the SIM before changing camera settings or retrying activation. Wait for the carrier’s confirmation or for the plan to show active. During this period, don’t repeatedly rescan the code or alter APN settings, because incomplete provisioning can produce misleading failures.
If activation displays “invalid,” confirm that your carrier supports both the camera model and SIM type. For example, Spartan plans require a Spartan SIM, not an AT&T retail SIM. AT&T stopped activating devices on Buy-A-Session in April, so use a phone account or Spartan plan instead. If registration still fails after provisioning, restart the camera. Then check whether it reports “Register Network Failed, Please check SimCard and Restart.” Record it.
Step 6: Seal the SIM Tray
With the camera powered off, place the SIM in the tray exactly as the orientation diagram shows, ensuring it lies flat and seats securely. Inspect the card’s metal contacts and the tray for dust, moisture, fingerprints, or other debris. If either surface is dirty or wet, clean it gently with a dry, lint-free cloth and let it dry completely.
Then close the tray or cover fully before you restart the camera. Press the latch until it engages firmly, following the camera’s normal closing motion. Don’t force the cover if it won’t close; remove the tray and check for a misaligned SIM, trapped debris, or an incorrect orientation.
Refit the card, then close the tray. A sealed tray keeps moisture and dirt away.
Verify Signal Bars in App
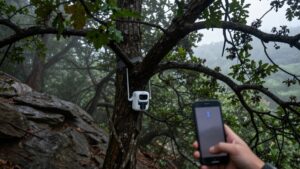
Once the SIM tray is sealed and the camera has restarted, open the camera’s app and check its cellular signal-bar indicator. Three or more bars generally suggest a usable connection. Few or no bars can mean weak coverage, which may delay activation, interrupt communication, or cause disconnections.
For a quick comparison, check your phone’s signal at the camera’s exact location. This isn’t a perfect carrier-to-carrier test, but it helps identify a poor coverage area.
If the camera shows weak signal, raise it and keep it clear of metal objects. Refresh the app and read the bars again. Then rotate the camera 90° or move it a few feet. After each adjustment, wait for the reading to update and compare the results before selecting placement.
Fix Module 004 Activation Errors
If a USA or Canada camera uses a cellular module ending in 004, you can’t switch carriers in the camera itself. Remove the SIM and use a phone to change its carrier profile. On iPhone, open Settings > Cellular > SIM Applications > Multi IMSI. On Android, open SIM Services > Multi IMSI.
| Device | Path |
|---|---|
| iPhone | Settings > Cellular > SIM Applications > Multi IMSI |
| Android | SIM Services > Multi IMSI |
In Multi IMSI, choose Select Mode > Manual, then select the carrier matching your camera location and SIM plan. Reinstall the SIM, restart the camera, and check network registration. If activation still fails, verify SIM and plan compatibility, then contact your camera or SIM provider for help after confirming the phone saved the manual selection before securely returning the card to camera.
Monitor Monthly Data Usage
After the camera registers on the network, check your carrier’s app or account dashboard to establish your monthly data baseline. Review the total at least weekly and compare it with your plan allowance and billing-cycle reset date. Enable usage alerts at 75, 90, and 100 percent, if your carrier supports custom thresholds. Standard recordings and occasional live views usually consume 5–20 GB monthly. Frequent live viewing, HD video, or streaming can push usage far higher.
If consumption climbs unexpectedly, first inspect camera settings: lower video resolution, reduce frame rate, shorten clip length, and limit live sessions. Confirm that scheduled uploads aren’t sending more media than intended. When usage approaches the cap, move to a larger or unlimited IoT/M2M plan. Exceeding the allowance can trigger throttling or suspension until the next billing cycle, depending on your carrier’s terms. Check the dashboard after configuration changes to verify that adjustments actually reduce consumption.
Conclusion
To finish activation, confirm your camera registers, record the module suffix, and fully charge its batteries. Install the app, enter the correct IMEI, then reseal the SIM tray securely. Check the app for signal bars and test a photo upload.
If Module 004 appears, verify the suffix, IMEI, app account, and network coverage before retrying. Finally, review monthly data use so you don’t exceed your plan or lose remote access unexpectedly during critical field checks.