Are Solar Trail Cameras Worth It? Shade, Winter and Battery Life Tested
Solar trail cameras are worth it if you give the panel several hours of direct sun and keep lithium reserve for cold days.
Under dense canopy or in winter, charging may only slow battery drain, so photo bursts, video, night flash, and cellular uploads must stay within the energy budget.
External panels outperform integrated units in shade because you can aim them at open sky. The field checks below show what to test before choosing.
Shade and Winter Test Results
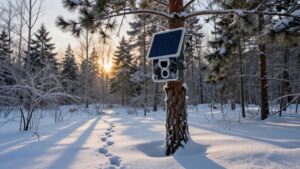
Field testing shows solar trail cameras perform best when their panels get several hours of direct light, not merely daylight under a canopy.
In heavy shade, charging slows enough that battery capacity and panel exposure matter more than advertised solar claims. Winter compounds the problem: cold cuts rechargeable-battery efficiency, while shorter, weaker recharge windows leave less energy available between triggers. You’ll still capture images after cloudy days because the camera runs overnight from stored power, but consecutive low-charge days can drain it earlier than expected. Compare sun-hours reaching the panel with your camera’s draw from photo bursts, video length, night illumination, and reporting intervals.
For reliable winter results, keep the panel clean, prevent branch blockage, and give it the clearest possible view of daylight.
Tree Canopy at Site
Under a dense tree canopy, a solar trail camera’s panel may receive enough daylight to look active but not enough direct sun to restore the battery fully. In field use, overhead branches can cut recharge sharply, even when the site appears bright at midday. You should mount the panel where it gets the longest unobstructed window of daylight, not simply where the camera has the best tree or trail angle.
Check the site across several days, especially after leaf-out. A panel that receives broken, filtered light can support operation, but your battery must cover the difference between reduced daytime input and nighttime demand. Small daily deficits accumulate over weeks. If charging can’t meet site demand, relocate it, reduce power draw, or use larger battery.
Expected Daily Photo Count
Expect daily photo counts to track your site’s energy balance, not the camera’s advertised maximum capacity. In field use, triggers stay dependable only when daylight replaces what each capture consumes.
| Site condition | Practical expectation |
|---|---|
| Clear daylight | Higher sustained counts |
| Dense canopy | Counts decline |
| Winter overcast | Fewer reliable triggers |
| High-output settings | Fewer captures |
Animal traffic determines opportunity; energy determines the ceiling. High sensitivity, repeated shots, and longer videos drain battery, processing, and flash power quickly.
Place your camera for maximum daylight, keep branches from blocking exposure, and clean the panel. Review output over several days. Stable counts mean charging keeps pace; a gradual decline shows the battery is covering an energy deficit. In deep shade, winter, rain, or prolonged overcast, plan for fewer captures.
Integrated vs. External Solar Panels
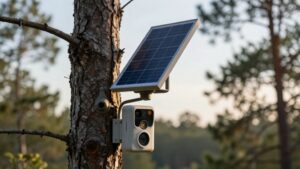
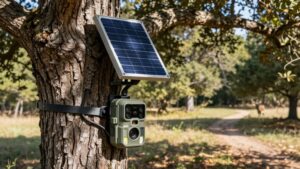
An integrated panel gives you a clean, cable-free setup, but it charges only where you mount the camera. In shade, winter’s low sun, snow, and wet foliage can sharply reduce output, while an external panel lets you aim for clearer daily light and protect battery capacity. You’ll need to route and secure a cable, but proper panel placement can greatly reduce dead-battery risk on long deployments.
Integrated Panel Advantages
Integrated solar trail cameras simplify remote setups: daylight recharges the built-in battery without a separate panel, cable, or additional mount. You install one unit, reduce connection points, and eliminate another bracket that can loosen or shift over months in the field.
That simplicity helps long-term remote monitoring. Fewer cables and mounts mean fewer weather-exposed parts to inspect, while the camera’s internal battery captures daylight energy automatically. Choose the location carefully. A partly shaded canopy can cut charging enough to matter, especially during short winter days. The panel produces nothing overnight, so the camera runs on stored energy after dark. In field use, cloudy or snowy days extend recharge time. Put the camera where it receives daylight, then check battery trends through a winter cycle.
External Panel Flexibility
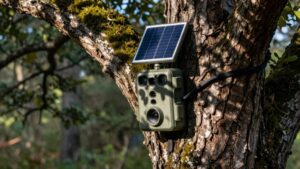
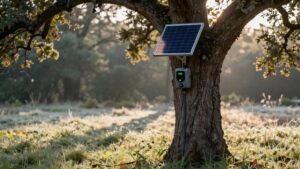
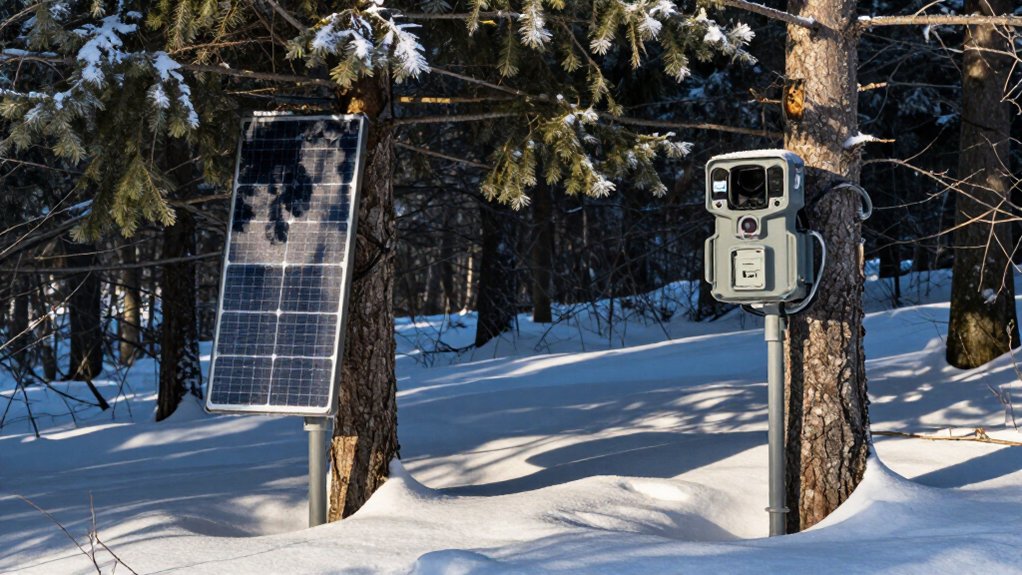
With an external solar panel, you can place the camera on an active trail and mount the panel several feet away in stronger daylight. That separation lets you aim the panel at the clearest available opening while keeping the camera at the best animal crossing. In field setups, moving the panel even a short distance can eliminate overhead branches or trunk shadow that an integrated design can’t escape.
You’ll get the best recharge margin when you mount the panel securely, route the cable neatly, and keep its face clean and unobstructed. Integrated units are compact, but their panel must accept the camera’s mounting angle and cover. An external setup gives you control over orientation and exposure, helping the battery recover more consistently between captures.
Shade And Winter Performance
Shade and winter conditions expose the main advantage of an external solar panel: you can move it into direct light while leaving the camera on the trail. That separation matters when canopy shade or low winter sun limits charging. An integrated panel must accept whatever light reaches the camera, so its battery recovers more slowly during short, cold days.
With an external panel, you can prioritize the camera’s detection position and capture more unobstructed daylight for recharging. Neither design stops working after sunset; stored battery power carries nighttime operation and cloudy periods. But heavy clouds, snow, rain, or dense shade slow replenishment.
In winter, use larger battery capacity and keep the panel clean, because every available daylight hour affects runtime and battery recovery rates.
Installation And Cable Considerations
Installation determines whether a solar setup actually maintains the battery through short winter days and stormy stretches. Integrated solar panels simplify mounting, but they’re limited to the camera’s location. If you aim the camera beneath dense canopy, its panel may not collect enough light.
An external panel lets you keep the camera on the animal path while placing the collector in unobstructed daylight, away from branch shade. Route the cable deliberately: secure it against movement, and avoid pinch points, fraying, and standing water. Cable damage commonly causes no-charging failures in the field. Before you leave, confirm the indicator or app reports active charging. Then monitor battery level across several full day/night cycles; it shouldn’t decline. That verifies daylight gaps can replenish winter energy reliably.
Remote Food Plot Picks
For remote food plots, you’ll get the best results by placing the solar panel where it receives unobstructed daylight and confirming cellular signal before deployment. Plan for winter’s shorter days, cloud cover, and higher night-trigger demand by choosing enough battery capacity to keep the camera running 24 hours.
This setup cuts battery-change trips and disposable-battery waste while maintaining reliable nighttime coverage from stored power.
Choosing Remote Food Plots
Choose remote food-plot camera sites that funnel deer through a clean detection zone, such as an access lane between bedding cover and feed, rather than aiming through brush that creates inconsistent triggers. At shade-heavy plots, choose a solar model with enough rechargeable battery reserve to bridge several cloudy or rainy days when canopy reduces charging.
Match settings to traffic: reduce upload frequency and limit cellular transmissions so high-volume feeding periods don’t empty the battery. Before you commit, run walk-by tests from your planned mounting angle at 10, 50, and 100 feet in daylight and after dark.
Check whether triggers fire reliably and whether night images identify deer at each distance. That field check helps you avoid blind spots, wasted uploads, and disappointing gaps between scouting trips.
Solar Exposure Assessment
A camera can pass every trigger-distance test and still fail at a remote food plot if its panel doesn’t receive enough daylight to replace what frequent photos and infrared night shots consume. Before you lock in a tree or post, run the camera for several days and compare battery level to triggers. You want charging to keep pace, not merely slow drain.
Place the panel where open sky delivers daylight, rather than beneath a canopy or along a shaded tree line. Clouds, rain, snow, and branches all reduce output, so a spot that looks acceptable at noon may underperform across a week. Keep panel face clear of limbs, leaves, dust, and mud. If recharge falls behind, move it to an exposed outer plot edge.
Winter Battery Planning
Winter exposes weak power margins, so size your battery plan around the worst recharge stretch: short days, low sun angles, overcast skies, and cold nights with steady activity.
At a remote food plot, treat the panel as a daytime top-up, not the primary power source. If tree-line shade or frequent cloud cover cuts output, choose a higher-capacity rechargeable battery than your summer setup. Match stored capacity to expected triggers and IR flash demand across longest cloudy stretch.
Mount the panel where winter daylight reaches it directly, and wipe off dust, snow, and debris. Then cut photo bursts, video length, and check frequency to reduce overnight draw. Field rule: plan for the shortest days and busiest nights; solar must be a bonus, not a guarantee.
Cellular Signal Considerations
Before you buy a cellular solar trail camera for a remote food plot, test signal at the exact mounting height and location. Valleys and woodline pockets can show enough bars yet fail to send photos reliably, causing delayed uploads or missed shots. Cameras with preinstalled AT&T or Verizon SIMs may select the stronger network, but carrier performance remains site-specific.
To protect power, set scheduled uploads or fewer daily check-ins instead of frequent transmissions; cellular radio use drains batteries faster than capture alone. Where service is dependable, solar charging and battery power can keep nighttime operation running and cut your visits. With no usable coverage, the camera becomes local-only. Move it to an RF-strong edge, choose a location, or select a non-cellular or long-range system.
Mounting Thread and Bracket Fit
Mounting compatibility can determine whether a solar trail camera stays aimed correctly through wind, rain, and repeated battery checks. Cameras use a 1/4-inch-20 thread, but you should verify that your tree bracket’s stud matches before deployment. A poor fit can wobble tightening, shifting the detection zone and increasing missed triggers.
Test-fit the camera and panel brackets on your tree, pole, or plate first. Some kits need straps, while others require bolts or mounting plates. If your camera uses separate panel, inspect its arm, tilt range, and screw-hole pattern. You need adjustment to face the panel sky without placing it behind bark, leaves, or camera body. Fully seat each bracket and lock camera down. Even misalignment can obstruct light, lower charging output, and compromise coverage.
Lithium Battery Cycle Lifespan
A solar trail camera’s long-term value depends on its lithium battery’s cycle life, not just its panel output. Most rechargeable lithium packs support about 2,000 charge cycles before capacity loss becomes noticeable. In field use, you’ll reach that limit faster when the camera triggers often, records long night sequences, or repeatedly drains deeply between sunny periods. Light-duty setups consume fewer cycles and usually last longer.
Lithium also holds usable capacity better than alkaline AAs in cold conditions, which helps when winter charging is weak. Still, solar doesn’t stop battery aging; it simply restores energy after each event. Size your battery and panel for your location so the pack stays above deep-discharge territory. Shallower cycle swings preserve practical runtime and make long-term solar operation realistic.
Skipping IP66 Weather Ratings
Why skip an IP66-rated solar trail camera when rain, snow, and months of wet exposure can quickly expose weak seams? You can save upfront, but you accept fewer out-of-box durability guarantees. In field conditions, inspect seals around the battery door, charging port, and panel junction; a small leak can disrupt charging, corrode contacts, and make nighttime captures unreliable. Shade already reduces photovoltaic output, while winter cold cuts usable battery runtime. Add persistent moisture, and the power margin can disappear fast.
- You’ll dread opening a damp battery compartment.
- You may miss the buck that finally crossed at midnight.
- You’ll question solar when gray weeks leave the camera dead.
- You can lose confidence after one soaked, silent reset.
Choose sealed seams, covered ports, and drainage paths.
Verify Cellular Carrier Coverage
Check each carrier’s coverage map at the exact camera site, not just your mailing address, because signal can change sharply across ridges, timber, and low ground. Walk the property with your phone, testing likely mounting trees at several times of day. A bar on a map isn’t proof; a reliable upload is.
- Weak service can leave you staring at an empty app after a perfect buck passes.
- Dual AT&T/Verizon SIM models may select the stronger network, reducing that gut-punch.
- Frequent photo sends drain batteries; schedule transmissions and limit bursts.
- Local game rules may prohibit cellular scouting, turning excitement into a costly mistake.
If you can’t get usable service at the camera, choose a non-cellular model and retrieve its card yourself before season starts in earnest.
Conclusion
Your results will depend less on the solar label than on sunlight, photo volume, and site setup. In open plots, a matched panel and lithium pack can keep a camera running through long checks. Under canopy or during short winter days, expect charging to lag and plan battery swaps. Confirm carrier signal, use weather-rated gear, and test bracket fit before deployment. You’ll save time when you match the camera to conditions, not marketing claims.
Solar Trail Camera Battery & Panel Sizer
Estimate how long a trail camera battery lasts and the minimum solar panel watts it needs, from your own battery, current draw and sun-hour figures.
Trail Camera Mount Height & Tilt Calculator
Turn your camera's mount height, aim-point height and distance into a tilt angle, line-of-sight distance and a printable setup card.
Deer Feeder Timer & Hopper Runtime Calculator
Enter your feeder timer settings and your own measured feed rate to get lb per feeding, lb per day, days between refills and a printable schedule.