How to Install an External Antenna on a Trail Camera for Better Signal
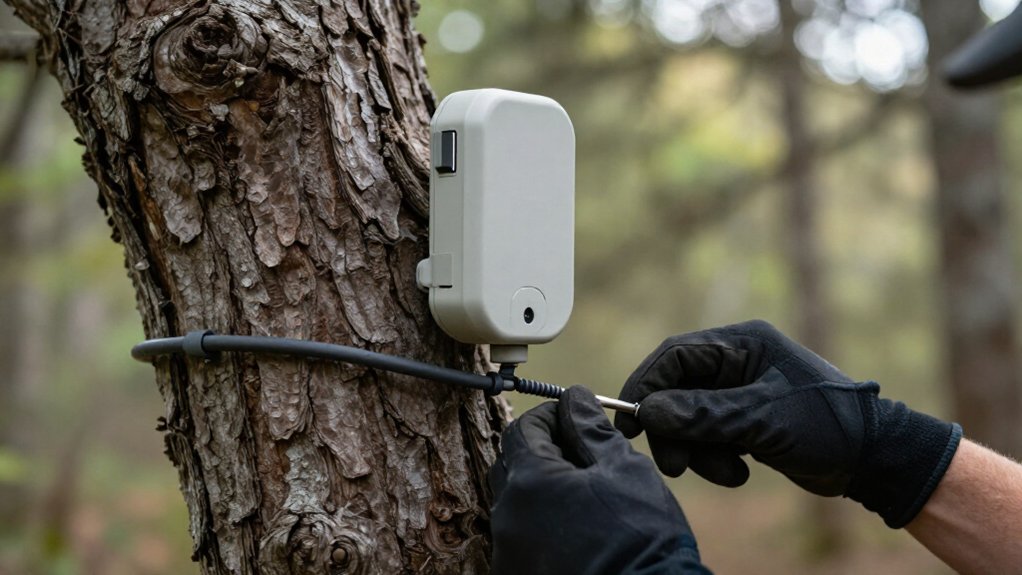
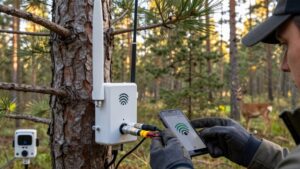
At the camera’s intended mounting spot, confirm you have a marginal usable signal and match the external antenna connector exactly: SMA, RP-SMA, or TS9.
Clean and dry a nonmetal mounting surface, then power the camera off and remove its batteries.
Unscrew the factory antenna, hand-tighten the replacement, route the cable without sharp bends, and weather-seal the connector.
Reinstall batteries and send a test photo.
If service remains unstable, verify carrier-band compatibility and inspect for moisture after rain.
The steps below.
2–4 Bars; Easy; 30 Minutes
With 2 to 4 bars, an external antenna can improve a marginal cellular link, but it won’t create service in a true dead zone. Plan on easy 30-minute install when your camera shows a usable connection.
First, confirm that the camera provides an external antenna port. Attach antenna, then route its cable with the shortest, straightest path; excess length and tight bends add loss that can erase gain. For a directional model, point it toward nearest cell tower. Its beam is narrow, so an off-angle position can reduce received signal by 15 to 20 dB near its edges. After installation, test uploads and notifications at the camera’s mounted location, not beside a truck. If RSRP is stronger than roughly −100 dBm, you probably don’t need the upgrade.
Verify SMA Connector Compatibility
Verify the camera’s antenna port before you order anything: SMA, RP-SMA, TS9, and similar connectors aren’t interchangeable. A mismatched plug may seem to engage yet won’t seat correctly or pass RF reliably. Confirm the interface from the manual and port marking, not product photos.
- Identify whether the port is SMA, RP-SMA, TS9, or another specified type.
- Check center-contact polarity: RP-SMA reverses the pin-and-socket arrangement, so standard SMA and RP-SMA don’t mate correctly.
- For a Willfine cellular camera, first confirm it actually has an external antenna port, then match the antenna cable connector exactly.
- Thread or snap the connector fully home without forcing it, then field-check link performance; even slight looseness adds loss and can erase antenna gain at the camera’s intended cellular frequency band.
Step 1: Clear a Dry Mounting Surface
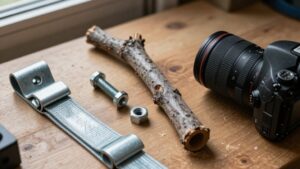
Start by wiping the antenna mounting area clean and drying it completely; dew, rain residue, sap, and dirt can undermine adhesive grip or let clamps shift over time. Choose a solid, non-metal section for the base. Metal can detune the antenna, reducing effective signal performance regardless of advertised gain.
Avoid low spots and heavily shaded tree areas, where rainwater lingers and gradually weakens the attachment. Inspect bark or coating closely: remove loose bark and avoid cracked or peeling material. Prepare only firm, dry substrate so wind and long-term vibration can’t loosen the mount or alter its aiming angle.
Clear nearby foliage from the antenna’s expected signal path, including growth that could block it later. After mounting, recheck that the base remains tight and dry.
Step 2: Remove Batteries Before Installation
Once the mounting area is dry and clear, power the trail camera off and remove its batteries before connecting or reseating the external antenna. This prevents arcing at the antenna port and avoids modem resets while you handle the cable and its SMA, RP-SMA, or TS9 connector. With the modem unpowered, you can align and secure the connection without loading or stressing the port.
Don’t work while the camera is attempting a cellular connection: transmit bursts can pull battery voltage down, particularly in cold conditions or with alkaline cells, causing retries or failed handshakes. After securing the cable, reinstall the batteries. Then confirm the antenna connection is fully tightened before operation. If signal remains weak, suspect battery voltage even when cells appear charged initially.
Step 3: Unscrew the Factory Antenna
Locate the camera’s external cellular antenna port and confirm its connector type—SMA, RP-SMA, TS9, or C—before you remove the factory antenna or buy a replacement.
With batteries removed, inspect the port and antenna base for grit, moisture, or corrosion. Grip the factory antenna at its base, not the camera housing, and turn it counterclockwise. Maintain light axial alignment as the threads disengage. If you feel binding, stop immediately; don’t force plastic or metal threads. Re-seat the antenna squarely, then try again with minimal pressure.
Once it comes free, place it on a clean, dry surface. Protect the exposed port from dust and water while you work. Keep the removed antenna for a site-level stock-signal comparison, if practical, before evaluating whether an upgrade improves reception.
Step 4: Hand-Tighten the External Antenna
Align the external antenna connector squarely with the camera’s port, then turn it by hand until it seats snugly; don’t use pliers, wrenches, or other tools that can damage or cross-thread SMA, RP-SMA, or TS9 connections. Keep it straight as threads engage; resistance on the first turn means misalignment, so stop and reseat it rather than force it.
A fully seated connection minimizes contact loss and prevents intermittent uploads when cellular signal is marginal. Once tightened, gently tug antenna housing, not cable, to verify no movement at port. After you mount the camera, inspect the fitting again for looseness caused by vibration, cable strain, or twisting. If transmissions repeatedly fail despite good RSRP, check this connection before replacing the antenna or changing camera settings.
Step 5: Aim Antenna Toward Nearest Tower
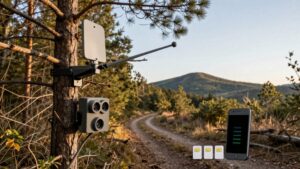
With the connector secure, point a directional cellular antenna toward the nearest likely tower and keep it within that antenna’s horizontal beamwidth, often about 30 to 120°. Use your phone’s tower map or signal app only as an initial bearing. Your camera may register on a different tower or band, so verify its actual signal reading after each small adjustment.
First, confirm the antenna supports your carrier’s active frequencies; gain helps only on bands the serving tower uses. Rotate the antenna in small increments, pause for the camera to update, and record the strongest stable reading. Then tighten the mount so wind, vibration, or branch movement can’t shift its aim. Near a directional antenna’s beam edges, a slight error can cost 15 to 20 dB. Omni antennas need less aiming.
Step 6: Seal Connector With Weatherproof Tape
After you’ve tightened the external antenna fully, seal the connector junction immediately with weatherproof tape to prevent moisture from entering and degrading the RF connection. Start at the camera-side connector base, then wrap outward onto the cable for at least 1 to 2 inches. Use butyl self-fusing tape or high-quality rubberized electrical tape, overlapping each pass by roughly half the tape width. Apply moderate tension for several wraps so the material conforms tightly without gaps.
Keep the cable steady through its bend change, and smooth each layer to eliminate wrinkles or folded air pockets that can wick water toward the threads. When using two tape types, apply self-bonding butyl first. Cover it with a vinyl or rubber outer layer to resist abrasion and preserve the connection.
Send a Test Photo
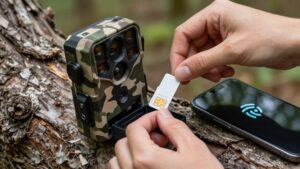
Now verify the installation under real operating conditions: place the camera at its intended site, confirm the SIM is active, and trigger one test photo to initiate an upload. Before testing, check that the antenna connector is fully tightened on the correct SMA, RP-SMA, or TS9 port. Keep the cable relaxed; don’t coil it tightly or pull it beyond its bend range.
Watch the app during transfer until it completes. Note retries and prolonged radio-on time; either indicates marginal signal. If available, record RSRP and SINR and compare them with pre-installation readings. When RSRP already exceeds about -100 dBm, the antenna probably won’t produce an improvement. If uploading fails, raise or reposition the camera 10 to 20 feet, re-aim any directional antenna, then repeat the test.
No Signal: Check Carrier Bands
Verify band compatibility before blaming the external antenna. Confirm your camera’s cellular model supports the LTE/5G bands your carrier uses at this site. A strong signal on an unsupported frequency still produces failed service.
| Check | Why it matters |
|---|---|
| Supported LTE/NR band | Enables attachment |
| Network and frequency layer | Confirms usable service |
Use your camera’s diagnostic screen to verify the network and frequency layer; registration alone doesn’t prove data capability. Bars can combine RSRP and SINR, so don’t treat them as throughput evidence. If available, switch carrier selection from Auto to Manual, choose a compatible network, then return to Auto. This forces a search and attach attempt.
If connection remains unstable after antenna seating and tightening, compare the device’s supported bands with the tower’s deployed bands.
Inspect Connector After Heavy Rain
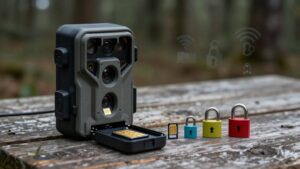
Heavy rain can undermine an otherwise sound antenna connection, therefore power the camera off and inspect the cable, antenna port, and metal contacts before reconnecting anything. Check for moisture, corrosion, or green/white residue on the contacts. With the camera still off, gently test the connector; rain can wick into imperfect threads and cause intermittent loss.
Dry the area completely using compressed air or a dry cloth without soaking the port. For SMA/RP-SMA/TS9 connections, ensure your lock fully engages: tighten it finger-tight, then add a small tight turn. Don’t restart the camera until the connection looks and feels fully dry.
If water sits beneath heat-shrink, grommets, or strain relief, replace or reseal that protection. Ongoing ingress causes upload retries and drains batteries quickly during deployment.
Conclusion
Installing an external antenna can improve your trail camera’s signal when you match the SMA connector, mount the antenna in a clear, dry location, and protect every connection from moisture. You’ll get the best results by removing power before installation, tightening the connector carefully, and sealing it with weatherproof tape.
After setup, send a test photo and confirm carrier-band compatibility. If signal drops after rain, inspect the connector seal and antenna cable for water intrusion.