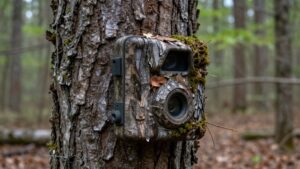
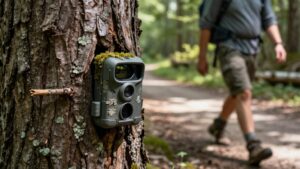
How to Keep Bears From Destroying Trail Cameras: Boxes, Height and Scent Control
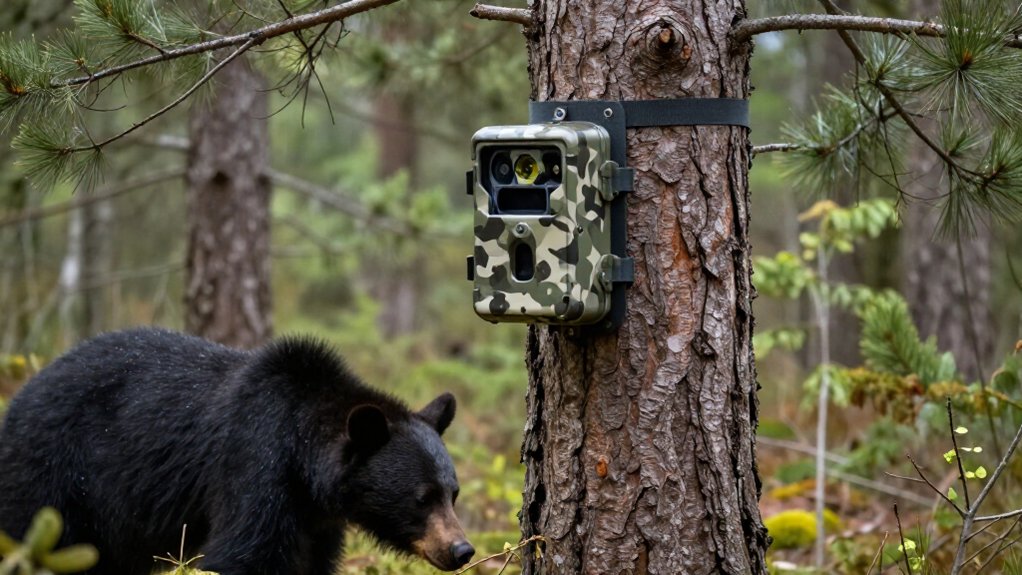
Protect trail cameras from bears by mounting each unit in a close-fitting steel security box, secured with stainless lag bolts or a tight locking cable.
Place it 8 to 10 feet high and aim downward, after clearing only loose bark so hardware sits flush.
Wear odor-free gloves throughout installation to reduce novel human scents.
Test the latch, shake resistance, framing, motion detection, and infrared capture before leaving.
Steps below cover inspections and cable damage checks.
Bear-Resistant Setup: Easy, 30 Minutes
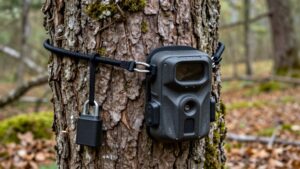
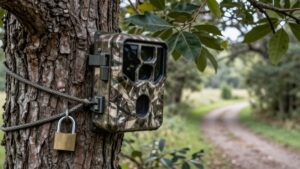
A bear-resistant setup starts with a heavy steel security box, not a plastic case, secured to the tree with solid hardware such as a locking cable. Steel resists crushing and twisting than plastic, while a locked anchor prevents a bear from pawing at straps or pulling the camera sideways. Mount the unit 8 to 10 feet (2.4 to 3 m) high, then aim it downward at the bait.
This placement reduces reach, keeps the housing in shade, and limits daytime inspection. Secure or screen exposed accessories, including antennas, external batteries, solar panels, and cables; otherwise, chewing can disable a camera. You can complete this enclosure, anchor, high-mount, and angle system in about 30 minutes. It reduces equipment loss and avoids repeated disturbance at monitoring sites, supporting reliable wildlife data and lower-impact bear research.
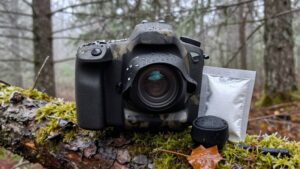
Pack Odor-Free Mounting Gloves
Even a steel box and high mount can attract attention if you leave fresh human scent on the camera or its hardware. Bears use olfaction to investigate novel odors, so reduce scent transfer during every contact point. Pack clean, odor-free mounting gloves and wear them from setup through departure.
- Keep gloves on as you open the box, mount it, and tighten straps or cable locks. This prevents tools, sleeves, or bare hands from recontaminating hardware.
- Touch the housing rather than exposed lenses or LED windows. Odor near these features may focus repeated inspection on the camera’s exact location.
- Use the same odor-controlled gloves when moving between sites. Don’t switch to bare hands or handle bait, antennas, battery covers, or cables after installation.
Then depart.
Step 1: Clear Loose Bark From Tree
Before mounting the camera, clear loose bark, hanging flakes, and protruding slivers from the contact area until the hardware rests against firm, solid bark. This limits features a bear can paw, grab, or peel to reach the housing.
Remove only detached material; don’t cut into living bark, because unnecessary injury can stress the tree and create entry points for pathogens. Brush or scrape where straps, cable, and the bear box meet the trunk so components sit flush. Uneven surfaces can let the box rotate or straps slacken when an animal pushes or bites. Wipe the area afterward, removing bait residue and metal filings that may prompt investigation. Reinspect after first storm or site visit. Loose bark can create handholds, increasing repeated pawing and damage.
Step 2: Mark Mounting Height
Mark the camera’s mounting height at roughly 8 to 10 feet (2.4 to 3 m) above ground, where most bears can’t readily grab the housing, chew the straps, or begin shaking the setup. That elevation interrupts the pawing, biting, and pulling that can turn curiosity into damage. Don’t use deer height, about 4 to 5 feet, because bears can inspect it easily and may return repeatedly.
Aim the camera downward toward the runway or site, confirming its detection zone before you leave. A high angle tucks portions of the housing among shadow and branches, reducing attention. On narrow, flexible trees, tighten the mounting straps and revisit them: a bear’s pushing can flex the trunk and loosen hardware. This distance-based approach helps equipment remain functional, limiting disturbance and supporting wildlife monitoring.
Step 3: Attach Steel Security Box
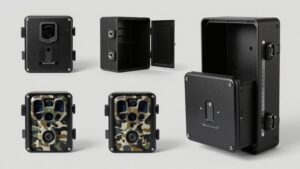
A heavy-gauge steel security box creates the primary physical barrier between a bear and your trail camera. Choose a model with a close-fitting door that prevents teeth or claws from reaching the plastic housing and stops prying forces from ejecting the unit. Secure the box directly to the tree with stainless-steel bolts, robust brackets, or welded steel mounting components rated for outdoor exposure.
The attachment should resist repeated pawing, pulling, and shaking without loosening, because bears can apply substantial force during investigation. Keep antennas, leads, and other vulnerable components protected within the enclosure whenever practical; exposed wires invite chewing and snagging. Use a matte, dark-coated box and minimize reflective hardware, which can attract repeated attention. During installation, wear gloves to limit human-scent transfer.
Step 4: Thread Cable Through Box
Route the security cable through a tight opening in the steel box rather than leaving it exposed where a bear can bite, pull, or twist it. A tight opening prevents purchase on the tether and reduces slack that can rotate the camera. Fit your opening with a grommet or hardened insert when possible, limiting abrasion and cable shifting.
Aim entry downward or shield it within the box, so paws can’t apply leverage at the junction. Route antenna and cellular leads through the opening, or mechanically block them; exposed components are vulnerable to grabbing and damage. Then tug camera and cable from each direction. Confirm the box cable assembly stays fixed if the strap fails. This approach reduces loss and minimizes disturbance at wildlife monitoring sites.
Step 5: Test Door Latch Engagement
Before leaving the site, push and pull the security-box door until the latch clicks fully into place and resists opening under a firm tug. A closed-looking door isn’t enough: latch geometry can misalign when you mount the box at its final height or angle, producing only partial engagement. Check that no cable or antenna hardware blocks the door; it must sit flush rather than rest on an obstruction.
Then perform a light shake test, wobbling the box by hand while watching the door edge. Any visible gap indicates a point bears may enlarge with claws or teeth. After tightening straps and locks, repeat these checks from the ground without repositioning the camera. This simple verification helps prevent equipment loss and supports lower-disturbance wildlife monitoring.
Step 6: Pack Out Debris, Conceal Cable
After any bear visit, remove every damaged or loose item from the camera site, including broken straps, chewed antenna caps, packaging, and splintered security-box pieces. Pack out foil-backed scraps and any fresh debris; residues can preserve odors or novelty cues that prompt renewed investigation. Wear gloves, minimize handling, and use scent-eliminated tools to limit human and bait contamination.
Route power leads and antenna cables tightly along the tree’s interior or within dark protective conduit, securing them with concealed fasteners. Place solar panels, battery wiring, and other external components above the camera or inside the security-box zone. Choose matte mounting hardware and hide cable runs to reduce reflective visual cues and accessible touch points. This lowers opportunities for bears to mouth, pull, or chew.
Verify Camera Captures Test Image
Verify the setup immediately by triggering the camera and reviewing a test image that centers the target area and keeps it in focus from its mounted height, ideally 6 to 10 feet in bear country.
Confirm that the photo displays correctly at your chosen distance and angle, including any downward tilt. A properly framed image reduces wasted effort and helps document wildlife without drawing bears to an unusual-looking device.
Review one infrared capture to verify illumination and motion detection during dusk and nighttime activity. Then inspect camera and accessories, perform a gentle fit check, and trigger it again; framing shouldn’t shift. If you used scent-control practices, complete this check promptly and open the unit only briefly. Limiting handling reduces human odor and supports less intrusive observation.
Loose Box: Tighten Lag Bolts
A loose security box gives a bear the leverage it needs to twist, pry, or bite at the camera housing. Secure it to solid wood with properly sized lag bolts, not strap tension alone. Drive bolts straight through multiple mounting holes, distributing pawing and biting forces rather than concentrating stress at one corner.
| Check | Action | Evidence |
|---|---|---|
| Wood | Seat bolts | Solid bite |
| Stability | Pull hard | No rocking |
| Timing | Re-torque | After week |
After installation, pull-test the box and camera hard from every side. If either moves, tighten or re-seat the bolts before deployment. Recheck them after the first week, when weather and tree movement can reduce tension. Periodically inspect and re-torque hardware, especially in wet conditions.
This simple maintenance limits repeated disturbance, preserves monitoring data, and reduces the chance that a bear learns to defeat the enclosure and damages equipment during repeated investigations.
Inspect Cable for Bear Damage
Even a firmly mounted security box can fail if a bear damages an exposed cable. After each bear visit, inspect the cord for chew marks, frayed insulation, and slack near entry points. Bears can grip loosened cable, then tug or worry it until the camera shifts, disconnects, or stops recording.
Check each segment touching bark, straps, and the box, especially loops, ties, and housing connections. Claws and teeth can lever exposed sections, causing progressive fatigue. Bent staples, displaced clamps, rubbed bark tracks, or missing ties help distinguish cable attacks from housing damage. If you find twisting, stretching, or intermittent triggers, treat the connection as unsafe, even when power remains. Reseat or repair it promptly and route it inside the box to prevent repeat contact.
Conclusion
By combining a steel box, elevated placement, clean handling, and concealed cables, you reduce the cues and leverage that attract bears to trail cameras. You’ll protect equipment while limiting disturbance, food-conditioning, and unnecessary wildlife contact.
Check mounts and cables after visits, repair damage promptly, and document bear activity for local managers. No setup guarantees protection, but these practical steps follow bear-behavior evidence: minimize odors, access, and rewards, then monitor results responsibly over time each season.