Are Trail Camera Solar Panels Universal? Plug Sizes and Voltage Compatibility
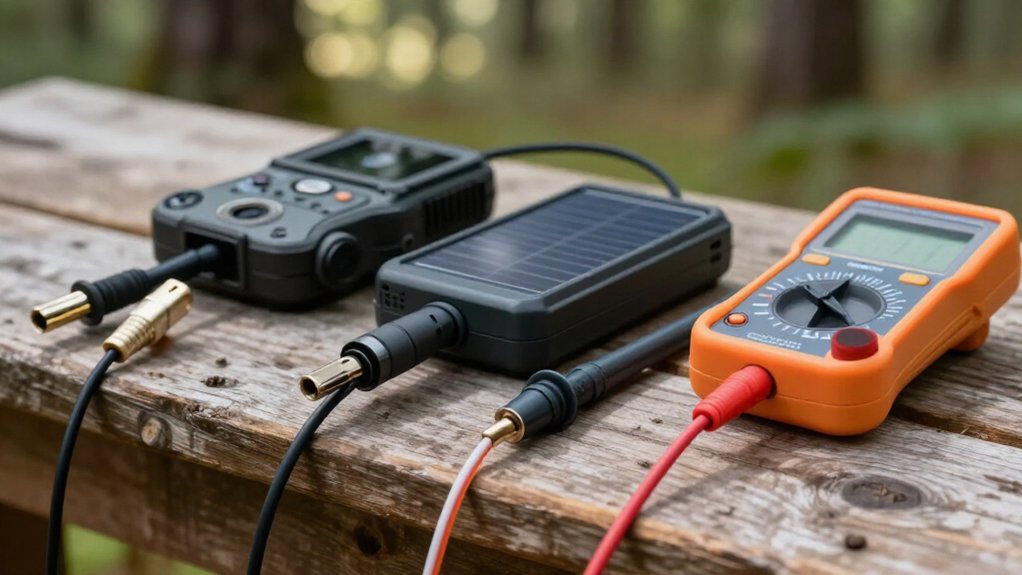
Trail camera solar panels aren’t universal. You must match the camera’s barrel plug dimensions, often 5.5×2.1 mm, plus seating depth, center-positive polarity, and regulated input voltage.
Don’t connect a 12V panel directly to a 6V camera or battery bank; it can damage charging circuitry.
Check the camera and panel labels for voltage and current ratings, then verify voltage at the camera on long cable runs.
The following checks also cover mounting and winter planning for reliable charging.
5.5×2.1 Mm Plug Compatibility
A 5.5×2.1 mm solar plug has a 5.5 mm outer barrel diameter and a 2.1 mm inner pin diameter, and both dimensions must match your trail camera’s power or battery jack. Don’t assume that a similar-looking barrel connector is compatible. A 5.5×2.5 mm plug, for example, has the same outer diameter but a larger inner opening; it may fit loosely, fail to seat securely, or create intermittent charging. Check your camera manual, jack labeling, or manufacturer specifications for the exact connector size. If the size isn’t stated, use the camera’s supplied cable or a manufacturer-approved adapter. Also verify voltage before connecting equipment: a 6V camera requires a compatible regulated supply, not a direct 12V panel connection. Such errors can stop charging or damage circuitry.
Center-Positive Polarity Is Critical
Connector dimensions alone don’t confirm safe compatibility: the solar lead must also match the camera’s DC polarity, typically center-positive for barrel-style jacks. In a center-positive connector, the inner pin carries positive DC and the outer sleeve carries negative. You should verify that arrangement on both the camera and solar kit before connecting them. Look for the polarity symbol in the manual, near the input port, or on the cable label: its diagram identifies which conductor connects to the center contact. Don’t assume an included adapter preserves the wiring; physically identical plugs can be wired in reverse.
If documentation is unclear, use a multimeter to test the lead before installation. Reversed polarity may stop charging, trigger protection circuitry, or damage unprotected charging electronics. Use matched leads.
Match 6V Output Labels
Match the solar kit’s labeled output voltage to your camera’s battery system: a 6V camera requires a regulated 6V source, not a 12V panel or charger. Check the complete electrical rating, not wattage alone. A label such as DC 9W, 6.0V/1.5A identifies voltage and maximum current your camera must accept. Similar-looking panels may deliver incompatible voltages, and connecting 12V to a 6V input can damage charging circuitry.
The Augstci kit is specified for 6V trail cameras at 6.0V/1.5A. Use its included cable only after confirming its connector fits your camera’s external-power port and wiring matches the required input. In full sun, it may charge in roughly one day, but correct voltage, current, and plug compatibility determine safe operation.
Integrated Battery Panel Designs
An integrated battery panel stores solar energy in its built-in power bank, helping your camera operate through low-light periods. You must match its regulated charging output, voltage, connector, and polarity to your camera’s charging circuit, because a 12V to 6V mismatch can damage power-management components. Check that the housing seals, cable gland, and connectors remain weatherproof before installation, especially in exposed or high-moisture locations.
Built-In Battery Functions
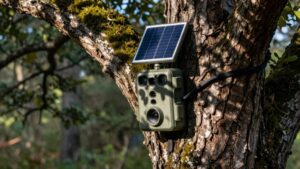
Integrated-battery solar panels combine a photovoltaic panel, charge controller, and internal power bank to reduce routine battery swaps while supplying your trail camera with regulated DC power.
They store sunlight-derived energy in a unit such as a 6V, 1700mAh bank, then deliver steadier power when light fades. You must still match the camera’s required voltage: a 6V camera needs a 6V system; 12V can damage it.
| Condition | What you gain | What you must watch |
|---|---|---|
| Sunlight | Fewer swaps | Shade cuts output |
| Correct rating | Confidence | Wrong voltage harms |
Many kits are optimized for specified models or 6V/12V setups, so a fitting plug doesn’t prove universal compatibility. A controller manages internal recharging before supplying stable DC. Expect “one-day” charging only in strong sun; canopy shade can reduce output.
Charging Circuit Compatibility
Charging-circuit compatibility depends on more than a plug: the solar kit must supply the voltage and regulated charging behavior your camera’s battery system expects. Match a 6V camera or battery pack only with a roughly 6V charging source; don’t connect a 12V panel merely because its connector fits. Excess voltage can permanently damage the camera’s charging circuit, especially when the panel lacks a controller or regulator.
Integrated battery-panel kits are generally safer because their built-in controller regulates input and reduces mismatch risk. Still, verify the complete specification. A kit rated DC 9W, 6.0V/1.5A, with a 6V/1700mAh internal battery, must match your camera’s required charging voltage. Check manufacturer support lists too: some panels work only with designated camera families. “Universal” means electrically compatible, not interchangeable.
Weatherproof Housing Considerations
Weatherproof housing protects an integrated solar-panel battery system from the moisture, dust, and temperature stress that can interrupt charging or damage its electronics. Choose an IP56 to IP66-rated enclosure for outdoor use; it resists dust and splashing water, but you shouldn’t expose it to direct, high-pressure spray. Verify its specified operating range, which may span -20°C to 60°C, before mounting it where seasonal extremes occur.
Integrated charge-management circuitry regulates roughly 1 to 2W solar input into stable DC power, helping prevent unsafe charging conditions at the camera. Inspect gaskets closely at cable pass-throughs and mounting points; these are common intrusion paths for rain, snow, and dust. Secure any included cable against movement, route it with drip loops, and keep connectors off the ground to preserve weather resistance long-term.
Cable Length Voltage Drop
Long solar-to-camera runs increase resistance and voltage drop, which can underpower a 6V camera and cause unstable charging or restarts. Keep the included lead as short as practical, or choose a properly rated, thicker-gauge extension to minimize power loss.
If charging becomes intermittent, measure voltage at the camera or power-bank input, not only at the panel, to verify it remains within the required range.
How Cable Length Affects Voltage
Cable length directly affects the voltage your trail camera or battery box receives: as the run gets longer, wire resistance causes voltage drop, so a labeled 6V panel may deliver less than the required 6V at the device. This loss can make a matched 6V/1.5A system deliver less than its 9W rating, reducing charging power. The effect matters more beneath canopy, where sunlight may provide two to three hours daily and panel output can already fall.
Verify voltage at the camera or battery-box input, not just at the panel, before blaming the connector. Cable-induced undervoltage can cause resets, weak nighttime operation, or a battery that doesn’t reach full charge after a day. Keep runs short where possible and use cable designed to limit resistance.
Choosing The Right Wire Gauge
Choose wire gauge according to the actual panel-to-camera or panel-to-battery distance: longer DC runs need thicker, lower-resistance conductors to keep voltage near the rated 6.0V/1.5A range. Use the manufacturer-recommended cable and mounting kit, including its matched connector, rather than substituting a lead that merely fits. Confirm that the entire charging path is designed for your system voltage: a 6V camera and battery require 6V-compatible equipment, not a 12V setup.
Select a larger conductor for extended tree-mounted installations, and inspect insulation for cuts, pinching, and weather exposure. Route and secure the cable to prevent strain at plugs. For an external battery or power bank, keep the panel-to-battery lead short. This 9W system operates at 6.0V/1.5A, while charging is about 1.5W, so cable selection requires verification.
Minimizing Power Loss
Keep the panel lead as short and direct as practical, because every added foot increases resistance and voltage drop, reducing the charging power that reaches a 6V camera or solar battery.
Use the supplied cable and route it straight to the camera, with only enough slack to prevent strain at connectors. Confirm that both plug dimensions match your 6V/1700mAh system; an incorrect connector, reported for some Spypoint units, can restrict or stop charging. If distance is unavoidable, install a heavier-gauge extension and weatherproof joints. This matters when panels produce about 1.5W or less under canopy.
Never feed 12V directly into a 6V camera or battery bank. Check voltage under load; a controller fault, loose plug, or excessive drop can impair charging or damage circuitry.
South-Facing Mounting for Winter Hunts
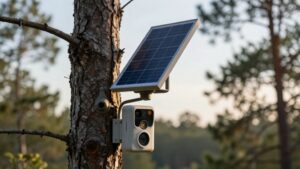
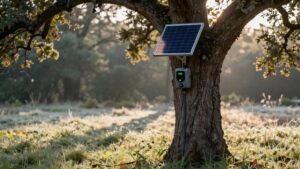
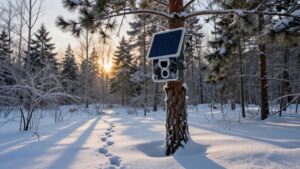
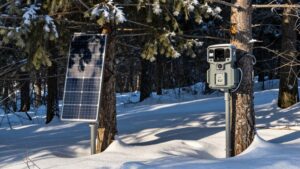
For winter hunts in the Northern Hemisphere, mount the trail-camera solar panel on the south side of the setup, where it can capture the lower-angle sun during short daylight hours. Choose a position with unobstructed exposure; tree canopy commonly reduces usable output to about 60 to 70% of rated capacity, and winter shade cuts it further.
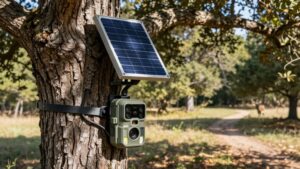
Use the kit’s 360° adjustable bracket to aim the panel toward the sun and inspect it after snow or ice accumulates. Plan for at least 2.5 usable sun hours daily under real conditions. Confirm your camera’s input matches the panel’s voltage and current rating, such as a 6V/1.5A-compatible system, before connecting; mismatches can damage its power circuit. Charging slows in winter, so check battery level after several clear days before extended hunts.
Third-Party Panels May Void Warranties
Even a well-aimed panel can create a warranty problem if it doesn’t meet the camera maker’s approved power and connector requirements. Before installation, verify the panel’s regulated output, current capacity, and cable wiring against your camera’s specifications. A 6V/1.5A charging circuit can’t safely accept a 12V panel, even if the setup initially appears to work. Excess voltage or inadequate charging protection can damage internal power components, creating a user-caused failure that warranty coverage may exclude.
Manufacturers often validate only specified solar models and cables; an unapproved “plug-and-play” option may therefore be nonconforming. A mismatched plug size or wiring can also cause intermittent contact or incorrect power delivery. Use the approved kit, or confirm 6.0V/1.5A, 9W maximum, and compatible battery support before connecting anything outdoors.
Assuming USB Ports Are Universal
Don’t assume a USB-style port makes a trail camera solar panel universally compatible: the connector may fit while the charging voltage, current limit, or wiring remains wrong. You must verify the camera’s specified input range and the panel’s regulated output before connecting anything. Plug shape identifies a physical interface, not a safe electrical standard.
- Match 6V cameras only to approved 6V outputs.
- Never feed a 6V camera from a 12V source.
- Confirm whether regulation is internal or requires a controller-equipped battery box.
- Check current capability: one kit lists 6V/1.5A, or 9W maximum.
- Account for shade; roughly 65% real output may not sustain demanding 4G photo or video transmissions.
Compare labels, manuals, and polarity specifications; don’t rely on appearance. Test with manufacturer-approved specifications in hand.
Measure Barrel Depth Before Ordering
After confirming voltage, current, and polarity, measure the DC barrel plug’s depth from the outside connector face to the end of its metal tip. Match this dimension to the camera’s internal socket length. A difference of only a few millimeters can prevent full seating, cause intermittent power, and leave you with missed photos or videos.
| Check | Why it matters |
|---|---|
| Plug depth | Must reach socket contacts |
| Voltage | Never connect 12V directly to 6V |
| Cable type | Verify kit compatibility rating |
| Test | Use correct-rated adapter first |
Check the seller’s diagram or specification before ordering. Also inspect the included cable type and its stated 12V/6V compatibility; some kits support 12V/1A and 6V/1.5A cameras. If possible, perform a small bench test with the correct-rated adapter before field deployment outdoors.
Conclusion
Trail camera solar panels aren’t universal, so you must verify connector diameter, barrel depth, center-positive polarity, and a regulated 6V output before connecting anything. Don’t assume USB ports or similarly sized 5.5×2.1 mm plugs match your camera. Check whether the panel includes an internal battery, account for voltage drop on long cables, and mount it south-facing for winter exposure.
Use manufacturer-approved accessories when possible, since third-party panels can damage equipment or void warranty coverage entirely.