Do Solar Trail Cameras Need Direct Sunlight to Stay Charged?
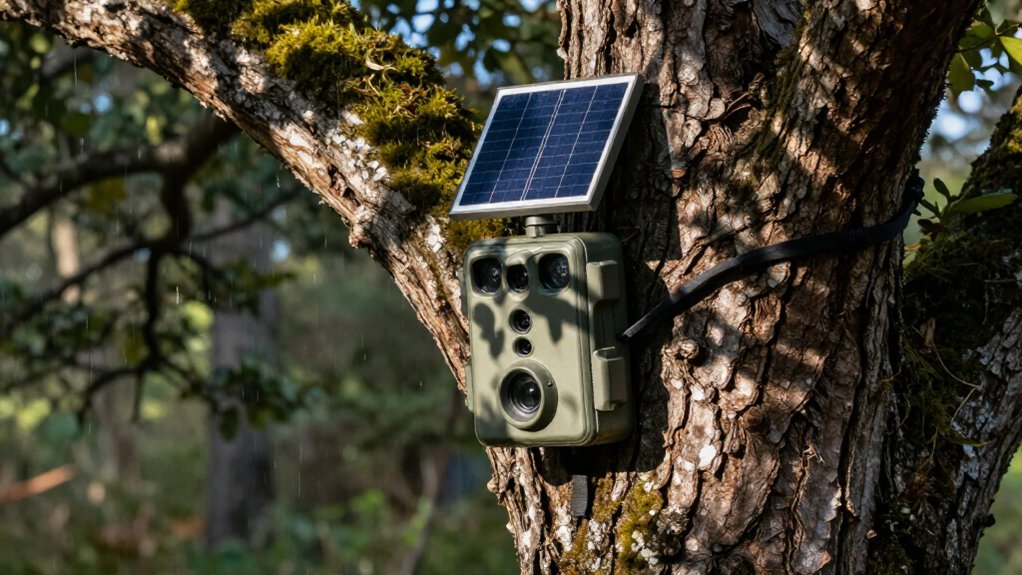
No, your trail camera doesn’t need direct sunlight to stay charged. Its panel converts ambient and overcast daylight, though output falls under dense clouds or shade.
You need daily panel production to exceed the camera’s average draw from triggers, night video, and cellular uploads.
A full battery bridges nights and clouds but can’t fix a persistent deficit. Keep panel clean, aim it at open sky, and monitor battery trends; the details below explain the rest.
Indirect Light Can Maintain Charge
Solar trail cameras don’t need uninterrupted direct sunlight to stay powered: their panels can convert indirect and ambient daylight into charging current whenever light reaches the surface. Cloud cover, reflected light, and open-sky illumination reduce charging speed, but they don’t stop photovoltaic conversion.
With consistent daylight across several hours, the panel may maintain stored energy or rebuild part of the rechargeable battery reserve, even in partial shade. That reserve supplies the camera when light is weak or absent, so one overcast day doesn’t automatically cause shutdown. Results depend on panel efficiency, orientation, cleanliness, tree cover, and seasonal day length.
Check the camera app to confirm real-world charging behavior; many models display a pulsing battery icon while charging. Position the panel for broad sky exposure rather than brief midday sun.
Panel Output vs. Camera Draw
What matters most isn’t constant direct sun but the daily energy balance: your panel’s output must exceed the camera’s average power draw. Indirect or partial light can still add charge, but it replenishes the battery more slowly than direct sun.
Your settings determine whether that input is enough: occasional still photos use relatively little energy, while long video, night vision, frequent triggers, and cellular uploads raise consumption sharply. Check the app’s battery and charging indicator after several days. A pulsing battery symbol typically shows that the panel is actively charging while the camera operates. If trigger volume and high-draw modes exceed daily solar production, battery reserves will decline despite some generation. Shorten video clips or reposition the panel when charge steadily declines over time.
Overcast Days at Deer Stands
Overcast skies don’t stop a deer-stand solar trail camera from charging: its panel still converts ambient daylight into electricity, although output falls below full-sun levels. You’ll see the best gray-sky performance when you keep the panel clean, unobstructed, and aimed at the brightest open portion of the sky. Cloud thickness matters: thin, bright overcast can support meaningful charging, while dense storm clouds may produce only a small offset against camera use. Check your app during brighter periods; a pulsing battery symbol usually confirms active charging.
The rechargeable battery carries the camera overnight and through multi-day cloud cover. If your stand produces frequent triggers, long video clips, or cellular uploads, daily consumption can exceed reduced solar input. In that case, battery percentage will decline slowly.
Integrated vs. External Solar Panels
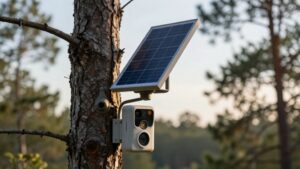
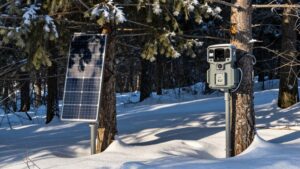
Built-in panels give you a compact, weatherproof setup, but their output depends on the camera’s fixed mounting position. An external panel lets you place the camera for detection and aim the panel separately, often at 30 to 45°, to capture more usable light and shed snow.
Choose integrated power for convenient, open-site deployments; choose an external panel when shade, long runtime, or seasonal sun angles limit charging.
Built-In Panel Advantages
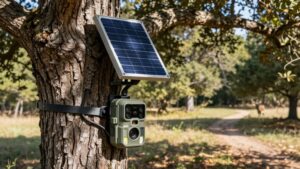
Integrated solar panels simplify trail-camera deployment because the manufacturer has already matched the panel to the camera’s mounting position, so you can install one unit and begin charging with fewer alignment steps. That matched design reduces wiring, separate mounts, and setup variables, helping you deploy repeatably.
For dependable energy, mount the camera where its panel receives unobstructed strong sunlight; a 30 to 45° angle commonly improves harvest and preserves battery reserve. Ambient light can trickle-charge, but it won’t replenish energy as reliably as direct sun, especially after cloudy days or nighttime activity.
Camera aim determines panel exposure. If shade or seasonal sun paths reduce illumination, the unit can run on stored battery power but may not stay charged over extended deployments without maintenance or battery replacement.
External Panel Placement Flexibility
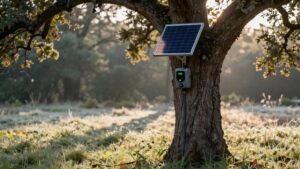
External solar panels give you independent control of panel aim, tilt, and location, unlike camera-mounted panels that must charge from the camera’s fixed orientation. You can mount the camera for coverage, then place its panel in unobstructed daylight.
This separation matters when the camera faces trail, feeder, or scrape but that direction doesn’t align with sun. Set external panel at a 30 to 45° tilt, adjust its compass direction, and keep it clear of branches, housing shadows, and overhangs. The angle also helps shed leaves and snow while improving seasonal exposure. An integrated panel remains tied to the camera’s mounting angle and can lose output when its face is shaded or poorly aligned. If charging is weak, repositioning its panel restores energy input without moving camera.
Choosing the Right Setup
Choose an integrated solar camera when its mounting location already receives reliable daylight; otherwise, use an external panel to separate charging from camera aim. Integrated units simplify installation, but their panel shares the camera’s fixed orientation and can under-charge beneath canopy or beside obstructions. Choose one only when its mounting angle and exposure remain consistently favorable.
An external panel lets you angle it about 30 to 45° toward the brightest sky while you keep the camera framed on the trail. Both designs collect ambient and partial light, but an external panel usually delivers steadier output because you can avoid shade. Newer models such as the S3 Pro may tolerate less direct exposure, yet verify results: deploy it for several days and check the app’s pulsing charging indicator.
Battery Capacity and Camera Settings
Battery capacity gives you a reserve for nights and extended cloudy periods, but it can’t offset a persistent energy deficit. You’ll drain power faster with frequent triggers, long video clips, IR recording, and cellular image transmission than with photo-first capture and longer motion delays.
Start at 100% charge and use your app’s charging status to verify that daily solar input exceeds your camera’s actual demand.
Battery Capacity Sets Reserve
Your rechargeable battery sets the camera’s energy reserve, carrying it through nights, overcast stretches, rain, and other periods when the solar panel produces little power. Capacity determines how many watt-hours you can bank after productive daylight and draw during low-input intervals. A larger battery gives you a wider operating buffer: it bridges several weak solar days, reduces shutdown risk, and accommodates normal variation in panel output.
It doesn’t create energy, however. For reliable operation, panel generation averaged across multiple days must at least match the camera’s average consumption; otherwise, the reserve steadily declines until the camera stops. Check capacity in watt-hours, not only milliamp-hours, because voltage matters. Plan extra winter reserve: cold cuts usable output. Verify reserve performance during the coldest expected conditions.
Power-Hungry Settings Matter
Camera settings often determine whether solar input can keep pace with daily power draw. A camera’s battery capacity provides the reserve, but its settings decide how quickly that reserve is used.
Still photos usually impose brief sensor, processor, and storage loads. Night imaging keeps more systems active, while long, high-quality video extends each event’s energy demand substantially. At busy sites, repeated triggers multiply those loads, so consumption can exceed the panel’s daily harvest despite available daylight.
Frequent wireless transmissions and overly sensitive triggering add further wake-ups and drain. If the battery level falls steadily across several days, your configured workload exceeds average charging input. Larger battery capacity delays shutdown during cloudy periods, but it can’t correct a persistent energy deficit created by high-demand operation.
Optimize Capture and Transmission
Start with a fully charged solar-battery pack so it can sustain capture activity through cloudy days while the panel replenishes the reserve gradually. Match capture and transmission to your energy budget. Choose still photos instead of long video clips; video keeps imaging, processing, and radio systems active longer and produces larger files.
Increase motion delay and limit burst counts to stop event floods from outpacing solar recharge. Install an SD card sized for months of local storage, especially when you schedule fewer uploads. After deployment, check the app’s battery and charging indicator, such as a pulsing battery icon. If charge input trails consumption, reposition the panel or reduce captures, video, or transmissions until daily charging reliably exceeds your average power draw in field conditions.
Monitoring Shaded Food Plots
In shaded food plots, a solar trail camera can remain operational if its panel harvests enough daylight to replace the energy used between charge cycles. Place the panel where it has an unobstructed view of the brightest sky, usually angled slightly south in the Northern Hemisphere, while keeping the camera body under cover. Don’t install it beneath heavy overhangs or thick branches; recurring cell shadows sharply reduce usable input and shift demand to the battery reserve.
During extended clouds or low-angle winter light, recovery may take several days, so check battery trends after setup. A pulsing battery icon in the app confirms active charging. If it never appears, move the panel to a clearer location before the reserve drains entirely during routine use.
Snow-Covered Panels Cannot Charge
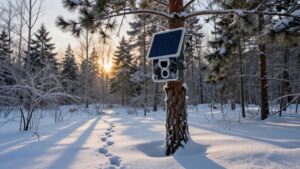
Clear snow from the solar panel promptly: a full snow blanket blocks light from the photovoltaic cells and reduces charging to near zero. While coverage remains flat across the panel, your camera receives virtually no solar input. It must run from its rechargeable battery reserve, so runtime depends on battery capacity, temperature, trigger activity, and transmission load. Charging resumes when snow melts, slides, blows away, or you remove it and expose the cells.
Mount the panel at a 30 to 45-degree angle; use a steeper setting in consistently snowy locations. This geometry improves shedding and shortens zero-charge periods. Prioritize heavy snow or ice directly on the panel: snow around the camera matters far less unless it blocks the panel’s face. Check it after storms when possible.
Dirty Panels Still Charge Fine
A dirty solar panel can still keep your trail camera charging because dust, pollen, and light surface grime usually block only part of the incoming light. The remaining irradiance reaches photovoltaic cells, so your panel usually continues topping up the battery, though at a lower charge rate. Charging becomes a balance: if daily solar input exceeds the camera’s consumption, you’ll maintain battery capacity.
- Check the camera or app battery indicator; a pulsing battery icon confirms active charging.
- Watch battery trend over several days. A stable or rising percentage shows dirty-panel output still meets demand.
- Wipe away dust, pollen, leaves, and film periodically. Grime rarely stops charging immediately, but accumulation can lower output enough to drain the battery during extended cloudy, low-light weather.
Clean regularly.
Use a South-Facing Mount
Mount the solar panel facing south to maximize daily sun exposure in the Northern Hemisphere, particularly during winter’s lower solar arc. This orientation improves the panel’s angle to incoming rays, raising usable output and helping your camera’s battery recover faster during short winter days. Position the panel so its surface sees open sky, not sideways or behind the camera housing.
Check the site at several times of day: trunks, branches, and overhangs can cast partial shade that sharply cuts charging. When uninterrupted sunlight isn’t possible, a south-facing mount still improves your odds of collecting enough energy on bright days to bridge cloudy stretches. Adjust tilt toward the seasonal sun path, and recheck shading as vegetation changes throughout the year near the monitored trail location.
Conclusion
Do you need constant direct sunlight to keep a solar trail camera running: indirect and overcast light still produces useful charging current. Match panel size to your camera’s daily draw, battery capacity, upload frequency, and night settings. You’ll get the best margin with a clean, south-facing panel that avoids deep shade.
External panels offer more placement flexibility. Check output during winter, because snow cover stops charging and shaded food plots can drain batteries faster quickly.