What to Look for in a Trail Camera: Specs That Matter (and Marketing That Doesn’t)
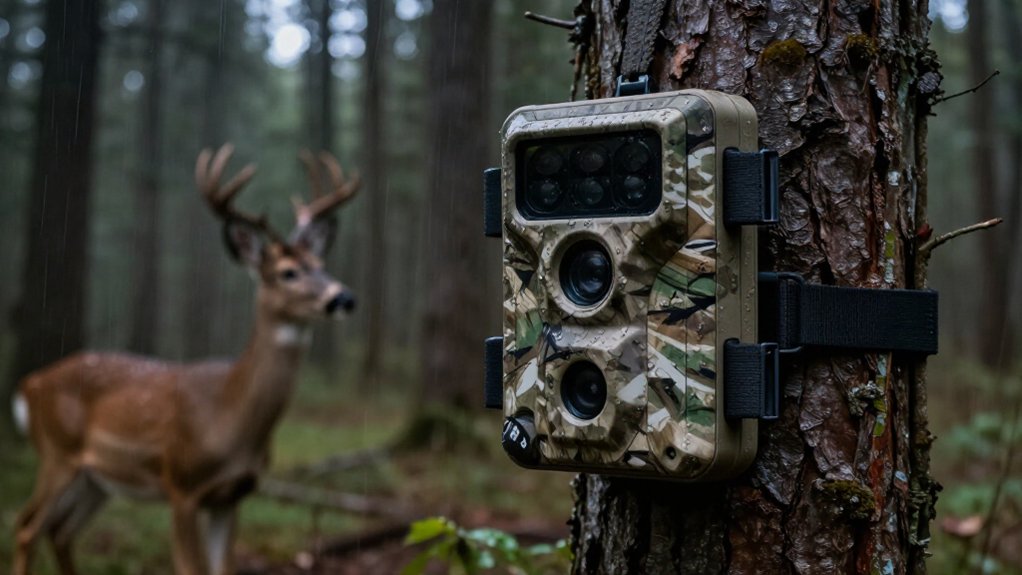
Choose a trail camera with a 0.5-second-or-faster trigger, one-to-two-second recovery, and multi-shot mode for moving game. Test cellular signal at each exact location, not just on coverage maps. Pick low-glow or no-glow IR for discreet night coverage, and judge images by usable detail rather than inflated megapixels.
Confirm SD-card limits, AA battery compatibility, weather sealing, temperature ratings, and warranty terms. You’ll also see how video, time-lapse, and placement sharpen your scouting plan in the field.
Quick Trigger-Speed Recommendation
For dependable wildlife coverage, choose a trail camera with a trigger speed of 0.5 seconds or less. That threshold catches deer, turkeys, and predators before they slip past the detection zone. In most woods setups, 0.3 to 0.5 seconds performs very well.
If you’re monitoring narrow trails, active scrapes during the rut, or fast game routes, look for under 0.3 seconds and enable multi-shot mode when available. You’ll have a better chance of recording several usable angles instead of one empty frame.
Don’t judge trigger speed alone. Check recovery time, too: a camera that resets in one or two seconds can record repeat movement reliably. Slower models can still work over bait piles, mineral licks, food plots, and waterholes, where animals linger in place.
Cellular Coverage at Your Property
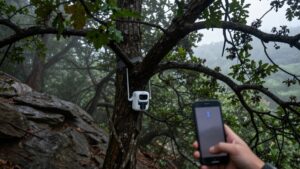
Cellular performance depends on the signal at the exact camera location, not the coverage shown for your general area. Test every proposed setup point, especially low draws, ridge backs, and timber pockets where terrain and dense cover weaken service. Before buying, verify the camera’s supported networks against your on-site results. A model with automatic carrier selection can scan available networks and choose the strongest option, instead of locking you into a carrier that works only near the road.
You don’t need an active plan: the camera still stores photos on its SD card. Activate transmission when scouting needs justify it. App access and image delivery can cut trips to remote sets and reduce disturbance near bedding cover, but timely uploads require usable on-site signal.
Flash Type and Nighttime Stealth
Night flash determines what you capture after dark, and how much the camera announces itself. Low-glow IR gives you a practical balance: enough illumination for most setups, with a faint visible emitter. No-glow, or black IR, stays more discreet and can reduce animal alarm. White flash delivers the brightest, most detailed night images, but its visible burst can alter behavior; reactions differ by species and site.
| Flash choice | Field implication |
|---|---|
| Low-glow IR | Balanced reach and discretion |
| No-glow IR | Best where stealth matters |
| White flash | Maximum detail; visible disturbance risk |
Don’t buy by label alone. Compare usable range and illumination evenness. Detection can exceed effective flash range, leaving animals dark, blurred, or blown out. With app-switchable modes, match stealth or brightness to each location you monitor.
Still Photos Versus Video
Choose still photos for high-traffic sites or long deployments, since they use less battery power and SD-card space; a three-image burst also gives you multiple angles. Use video when you need to see routes, feeding, and movement, then match 1080p, 2K, or 4K resolution and adjustable clip length to your goal. You’ll need efficient compression and a high-speed, high-capacity SD card to handle video’s larger files.
When Photos Work Best
Still photos work best when you need efficient coverage over days or weeks, especially at high-traffic sites where video would quickly drain batteries and fill an SD card. They let you monitor trails without frequent battery or card swaps. Set a burst of at least three images when fast-moving deer or turkeys cross the zone.
Consecutive frames often clearly reveal another angle or a buck trailing a doe. Where animals pause at bait, mineral sites, food plots, or waterholes, use one image every 15 or 30 seconds. That setting limits near-duplicate captures while documenting visits. Use shorter intervals at crowded sites and longer ones where animals linger. Check the card after your first deployment; adjust settings carefully to real traffic, not advertised trigger speed.
When Video Adds Value
Video earns its added battery and storage cost when you need to see behavior between still captures—how a deer approaches a scrape, which trail it uses, or how long it feeds at a mineral site. Use it to answer questions a sequence of photos leaves open: Does the buck pause downwind? Do does enter from the creek crossing? Is feeding brief or sustained? For useful footage, prioritize 2K or 4K resolution, smooth frame rates, clear audio, and adjustable clip length.
Set short clips for trail intersections, then extend them only when behavior matters. At bait or mineral sites, timed photos every 15 or 30 seconds often document each animal visit well enough. Reserve video for high-information setups such as scrapes, crossings, and bedding-edge travel.
Storage and Battery Tradeoffs
Once you decide which setups need video, match the capture mode to your storage and battery budget. Still photos usually consume less card space and power, so they’re the practical choice for feeders, trails, and high-traffic locations. Video shows behavior you might miss in a burst of images, but its larger files and greater power draw demand more maintenance.
At busy sites, you can collect thousands of captures quickly. Check the camera’s maximum SD-card capacity and loop-recording support before deployment. Use a high-speed, ample-capacity card so a full or slow card doesn’t cost you activity. Estimate battery needs from expected trigger volume and night use, then account for cellular uploads: frequent triggers, video, and transmissions run batteries down sooner than photos in the field.
Choosing Resolution and Length
Prioritize usable detail over headline megapixels: sensor quality, lens performance, processing, exposure, and low-light capability determine whether you can identify a deer and its features in daylight or after dark. Don’t let interpolated ratings fool you; a claimed 50 MP often adds file size, not meaningful detail. Choose still settings that show body shape, antlers, ear tags, or coat markings under your typical conditions. Use a burst of at least three photos to catch an animal at different angles.
Video earns its space when behavior matters: feeding, sparring, travel direction, or interactions. Look for 1080p FHD minimum, or 2K/4K if storage supports it, plus audio and smooth frame rates. Set adjustable clip length and efficient compression to preserve useful footage without filling cards overnight.
Time-Lapse for Food Plots
Time-lapse lets you monitor a food plot at set intervals, capturing deer activity and changing conditions that motion triggers can miss. Set shorter intervals for small plots or peak movement, but expect higher battery and storage use. For wide coverage, place the camera high enough to overlook the field and aim it away from direct sun to protect image quality.
Monitoring Plot Activity
For food plots, a camera’s time-lapse mode records images on a set schedule rather than waiting for heat or motion, giving you a broader view of deer activity. That matters when deer browse beyond a sensor’s detection zone or move too slowly to trigger it. On a small plot, you’ll see when deer enter, feed, and leave throughout the day. Across a larger field, the image sequence shows where distant animals cross, stage, or concentrate.
Before you buy, confirm the camera actually offers time-lapse; many models don’t. Treat the feature as a plot-monitoring tool, not a substitute for close-range triggered coverage. Mount it with a clear view of the whole plot and aim away from the sun when possible. That reduces washed-out frames and keeps detail.
Choosing Time-Lapse Intervals
Set the interval to match the plot’s size and the pace of deer movement: shorter settings capture more entries, crossings, and feeding activity, while longer settings conserve battery life and storage. Time-lapse photographs on a fixed schedule, so it doesn’t need a heat or motion trigger to document deer beyond normal detection range. On a small plot, use a shorter interval when you need a detailed record of feeding and crossings.
Across a large field, select an interval that still samples distant deer without filling the card with empty frames. Check the time stamps, then compare entry and exit times to identify daily use patterns. More frequent captures demand larger cards and shorten battery service; longer gaps lower that workload but can miss brief visits. This mode is especially valuable when deer move beyond the camera’s trigger range during normal plot visits and crossings.
Capturing Changing Conditions
Beyond recording deer visits, a time-lapse sequence shows how conditions change across a food plot throughout the day. Unlike a motion-triggered capture, it takes images on a schedule, so you can watch shade, crop use, and deer movement shift even when animals never cross a detection zone. That makes it valuable on small plots, where activity can be brief, and on fields, where distant deer may not trigger the sensor.
Review the sequence for patterns in feeding windows and changing plot conditions, not just sightings. Before you buy, confirm the camera offers time-lapse; it isn’t standard on every model. Aim it away from sun when possible. Backlighting and glare can wash out frames, reducing detail for judging forage, deer presence, and weather-driven changes.
Placement for Wide Coverage
Place the camera where it can watch the food plot’s main travel lanes, entry points, and feeding zones in one frame. Time-lapse is the better tool for this job: it records images at set intervals instead of waiting for a heat or motion trigger, so you’ll see deer moving across distant sections of the plot. Select a wider aspect ratio when left-to-right coverage matters more than extra sky or foreground. Don’t chase the longest advertised detection range.
A 50 to 100-foot-plus rating is useful only when it fits your plot’s depth, camera height, and angle. Aim the lens away from direct sun to limit washed-out frames. In many Midwest setups, facing north gives you cleaner light and more usable time-lapse coverage throughout the day.
SD Card Format Compatibility
Before buying a card, check your trail camera’s manual for its supported SD type, format, and maximum capacity. Limits range widely, from 32- to 64-GB ceilings on some cameras to 512 GB on others. A card above the stated limit can fail to format correctly or record unreliably.
At a busy mineral lick site or narrow game trail, thousands of images can often accumulate between checks, so size storage for expected traffic and your visit schedule. Choose a fast card when you’re shooting frequent bursts or video; it helps the camera keep writing files instead of missing activity. Confirm whether loop recording overwrites oldest captures after the card fills. Some cellular cameras store images internally and don’t need an SD card at all.
Warranty Length and Replacement Costs
Compare warranty length and coverage alongside the camera’s price, especially for units you’ll leave on remote trails or theft-prone property. A camera can become the costly choice if weather, bears, trespassers, or field failures force repeated replacements. Read the policy before you buy: defect coverage, normal wear, accidental damage, and theft are different claims categories, with limits and exclusions.
For context, the Exodus Render 4G LTE includes a five-year theft and accidental-damage warranty. That protection changes the real cost calculation for a camera strapped to a distant oak or monitoring a visited scrape. Check support terms and replacement pricing. If you can’t afford to replace a failed or stolen unit, a longer, broader warranty may matter more than a lower sticker price.
Avoid Proprietary Battery Packs
A strong warranty helps after a failure, but standard AA power helps you avoid one in the field. Proprietary packs can strand a camera when a pack fails, disappears from stock, or can’t be replaced during a check.
- Choose a model that accepts common AAs; you can carry spares and buy them locally.
- Confirm alkaline and lithium compatibility, then set the battery type correctly in its menu.
- Use lithium AAs for longer runs, but don’t trust a 50% reading; they may be nearly empty.
- Price replacements and availability against runtime, especially on cellular units uploading often. Compatible solar or external power can extend deployments.
Verify each accessory fits your camera before leaving it near a scrape, feeder, or remote travel corridor for weeks.
Operating-Temperature Rating Check
Check the manufacturer’s operating-temperature range against the coldest nights and hottest days on your site, not just typical forecast conditions. A camera that survives mild weather but quits during a hard freeze or heat wave won’t document wildlife when movement patterns matter most. Verify:
- The published low and high limits cover your actual microclimate, including exposed ridges, sun-baked edges, and shaded draws.
- Cold-rated battery performance, especially if you use cellular uploads, infrared night captures, or frequent trigger bursts.
- External or solar power only when each accessory carries an equal weather rating.
- Housing durability and weather sealing separately: IP65 or IP66 describes water resistance, not safe operating temperatures.
Match every component to seasonal extremes before you leave it unattended outside.
Conclusion
You’ll get better trail-camera results when you match the specs to your ground, not the box claims. Choose fast triggering for moving deer, dependable cellular coverage, and a flash that fits your theft and wildlife-pressure concerns. Decide whether photos, video, or time-lapse serves your scouting plan.
Confirm SD-card support, cold-weather limits, warranty terms, and replacement pricing before you buy. Skip proprietary batteries when possible. That checklist keeps your camera running—and your observations useful—through the season.