How to Set Up a Cellular Trail Camera: App Pairing, Settings and First Test
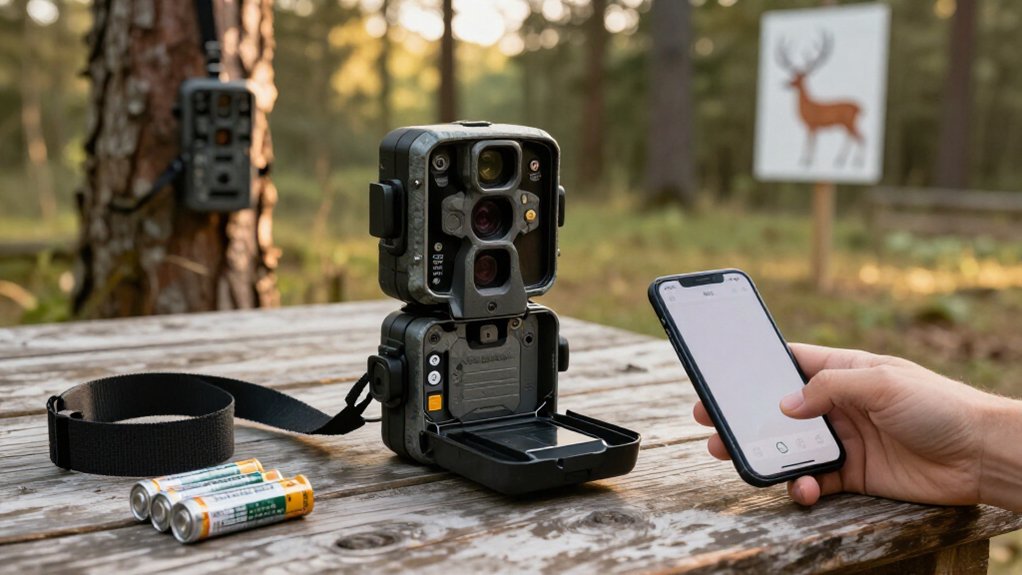
Insert a Class 10, 32 to 128 GB SD card, install fresh batteries, and format the card in the camera menu. Download the companion app, add the camera, scan its QR code, and activate a compatible data plan.
At the mounting site, confirm cellular signal, set time zone and uploads, then send a test photo and verify its timestamp and delivery. Secure it with a Python cable lock; reseat the SIM if uploads fail.
Next, you’ll cover upkeep and troubleshooting.
Beginner App Pairing in 15 Minutes
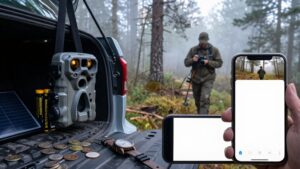
Set aside about 15 minutes to pair your cellular trail camera before mounting it in the field. First, install fresh batteries or connect a fully charged external power source. Insert a compatible SD card, generally 32 to 128 GB; choose Class 10 or faster if you’ll record video.
Next, download the manufacturer’s companion app and create an account or sign in. Select Add Camera, then follow the model-specific prompts. Turn on the camera and keep your phone nearby. Use the app to scan the camera’s QR code or complete its displayed pairing method. Wait until the app lists the unit as online.
Before installation, open camera settings in app. Confirm date and time are correct, then trigger a test photo. Verify delivery, then save profile for future use.
Verify On-Site Cellular Signal
With pairing complete, take the camera to its intended mounting spot and check cellular reception before securing it. Signal can change sharply within a few feet, so test where you’ll actually mount it. Follow the manual to open the signal display on the camera or app, then wait until the reading stabilizes.
- Record the signal strength and confirm the camera registers on the cellular network.
- If it’s weak, move the unit slightly, change its height or orientation, and recheck after each adjustment.
- Send a test image and verify that it arrives in the app.
Don’t rely only on bars or an icon: they show potential reception, not necessarily upload success. A confirmed network connection plus delivered test image proves the selected position supports operation.
Step 1: Format SD Card, Install Batteries
Before you power on the camera, insert a compatible SD card, typically 32 to 128 GB; choose Class 10 or faster if you’ll record video. Open the card compartment, align the card with the printed orientation, and press it in until it clicks. If the camera menu offers a Format command, switch unit on briefly, format card, then confirm the prompt. Formatting removes existing files, so save any needed footage first.
Next, install fresh AA batteries or fully charged rechargeables. Match each cell to plus and minus polarity symbols inside tray. Don’t mix old and new batteries or different battery types. For extended deployments, attach a compatible external power pack or solar panel when supported. Seat covers fully, check gaskets, and latch both compartments tightly securely.
Step 2: Scan the Camera QR Code
Open the camera’s setup menu or companion app to locate its pairing QR code. This code identifies the camera to the app, so use the label or on-screen code. On your phone, open the companion app, select Add Camera, then allow camera access if prompted. Choose Scan QR Code and center the code inside the on-screen frame. Hold the phone steady, keep the code visible, and wait for the app to confirm that it has read it.
If the scan doesn’t work, move to brighter light without glare. Wipe your phone’s camera lens, clean the QR-code surface if needed, and try again from a different distance. After a successful scan, follow the app prompts and verify that the camera appears in your account.
Step 3: Activate the Camera Data Plan
Choose a data plan that supports your camera model and cellular network, then activate it through the manufacturer’s app or website. Plan choices and monthly costs vary by model and carrier, so review the available photo or video allowances before continuing.
Keep the camera’s serial number or activation code nearby. Follow the account-creation and camera-registration prompts, entering the required details exactly. Select a tier based on how often you expect the camera to upload images or clips. A higher volume setting may suit frequent activity; a smaller plan can work for occasional checks.
Before you take the camera to its intended site, confirm that activation is complete and that your account lists the unit as connected or ready. Verify cellular coverage at that location.
Step 4: Link Camera to App
Turn on the camera and activate pairing mode according to its manual. Keep your phone close, with Bluetooth and mobile data enabled if the app requires them. At the intended mounting location, inspect the app’s cellular signal indicator before you depend on uploads. Reposition the camera if signal is weak.
Once connected, confirm the device shows online in the app. Open notification settings and enable push alerts if you want immediate activity notices. Save the device name and location details.
Step 5: Verify Photo Delivery Timing
Trigger a test photo after the camera shows online, then note how long it takes to appear in the app. Stand in front of the camera, trigger it, and record the capture time and app-arrival time. Delivery should be consistent under the current network conditions.
Check the signal indicator on the camera or in the app. Weak cellular coverage can slow transmission. Next, open the app’s upload or transmission settings and confirm photo delivery is enabled. Compare the timestamp on the received image with the camera’s date and time. Correct any mismatch before relying on records. If the image doesn’t arrive promptly, refresh the connection, verify signal strength and transmission settings, then trigger a second test. Record results to establish a realistic delivery baseline.
Step 6: Add a Python Cable Lock
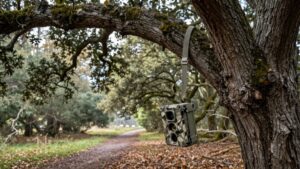
Once you’ve confirmed reliable photo delivery, secure the camera with a Python cable lock. Locate the camera’s built-in security loop, or use the mounting bracket if its design provides a stronger routing point. Wrap the cable around a sturdy tree or post, then pass it through the loop or bracket.
Pull the cable snug enough to minimize camera movement, but don’t pinch the housing or block the lens, infrared sensors, antenna, or latch. Position the lock body on the rear or side of the tree where it’s harder to reach and tamper with.
Close the lock following the manufacturer’s instructions and verify it’s fully engaged. Finally, unfasten the cable once to confirm the housing opens normally, then relock it. Check antenna clearance and cellular signal.
Confirm Timestamp Accuracy
Before running the first field test, set the camera’s date and time in its settings. Accurate timestamps let you identify exactly when wildlife, people, or vehicles triggered a photo or video. Select the time zone for the camera’s installed location, then confirm the daylight-saving option matches current local time. Save the settings and trigger a test photo.
Open the image on the camera or in its companion app, and compare the displayed timestamp with your phone’s clock. Allow only the small difference caused by checking the two devices. If the camera shows the wrong time, return to its settings, correct the clock, save changes, and take another test photo. Verify the new timestamp before deployment. Recheck after battery changes or resets; either alters time.
No Uploads: Reseat SIM Card
If the camera captures photos but doesn’t upload them, power it off and open the SIM-card compartment. Remove the SIM and inspect its contacts for dirt, damage, or wear. Confirm the card orientation matches the tray, then slide it in fully until it seats securely.
| Check | Action |
|---|---|
| Contacts | Clean, undamaged |
| Orientation | Match tray marking |
| Service | Confirm active plan |
Close and seal the compartment, then power the camera on. Wait for it to reconnect before checking the app. If uploads still fail, verify cellular and upload settings. Confirm the SIM is active and your location has adequate signal at your site. Consult the manufacturer’s instructions to confirm SIM compatibility and follow its troubleshooting steps before replacing the card or contacting support for further guidance.
Clear Spider Webs Monthly
Inspect the camera monthly for spider webs around the lens, motion sensor, and nearby branches. Webs can block the lens or trigger unreliable motion events. Power the unit off if its manual recommends it, then use a clean, soft brush or microfiber cloth to lift webs away. Work gently around the lens window and sensor face, and clear strands from branches within the detection zone. Don’t scrape with tools or press on either cover.
Don’t spray cleaner, insecticide, water, or other chemicals directly on the housing; they can damage seals or the finish. After cleaning, restore power and let the camera initialize.
Walk through the monitored area at range to verify detection. Finally, capture a test photo and review it for sharpness and framing.
Conclusion
You’ve now paired your cellular trail camera, confirmed signal, formatted storage, installed power, activated service, and tested uploads. Before leaving, lock the camera, verify the timestamp, and trigger one final photo. If images don’t arrive, reseat the SIM, restart the camera, and recheck plan status.
Return monthly to clear webs, inspect batteries, and confirm the lens stays aligned. These quick checks keep your camera reporting reliably and reduce missed captures year-round in changing weather and seasons alike.