Trail Camera Mistakes Beginners Make (and How to Avoid Empty SD Cards)
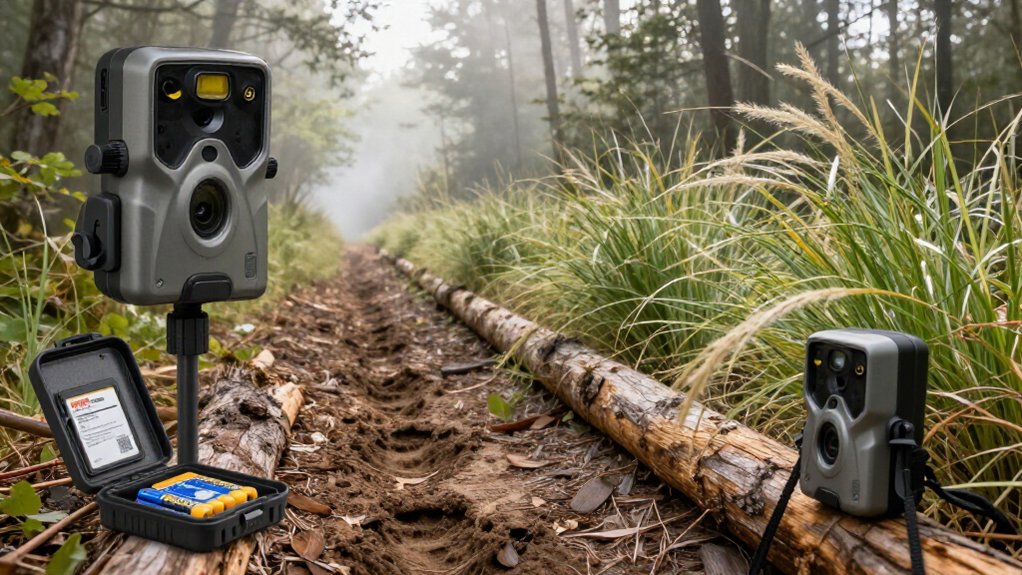
To avoid empty trail-camera cards, don’t face the lens east or west, where low sun washes out triggers. Mount it about waist high, aim across travel lanes or scrapes, and test its detection distance at dawn and dusk.
Clear grass, branches, and spiderwebs from the sensor zone. Format each SD card in the camera before deployment, or use cellular alerts for checks. Verify local rules, then use the setup checks below to improve every deployment.
Avoid Sun-Facing Camera Placement
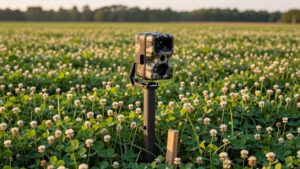
Avoid placing a trail camera due east or due west, because the rising and setting sun can shine directly into the lens and create washed-out or blank images. Position the unit to face north whenever the site allows; a south-facing setup also usually avoids the low-angle alignment created by east-west views.
If you must monitor an east- or west-facing opening, shift the camera sideways or alter its angle until direct light stays outside the lens’s field of view. Before leaving it for weeks, run test photos when sunlight reaches the location. Inspect the frames for glare-driven triggers, empty images, or lost detail. A small change in mounting position can protect usable coverage while preserving the travel route you’re trying to monitor in the field.
Prevent Dawn-and-Dusk Washout
North-facing placement does more than prevent direct sun in the lens: it helps preserve detail during the low-angle light of dawn and dusk. When possible, aim north; aim south only when you can’t. Low sun can saturate the sensor, turning animal movement into blank or washed-out frames. Clear legal foreground vegetation to bare dirt, reducing reflective flare. Position travel across the detection zone, not toward it, so exposure remains steadier.
| Check | Field action |
|---|---|
| Orientation | Face north; south if needed |
| Foreground | Clear grass legally |
| Travel | Favor crossing paths |
| Test | Trigger at dawn and dusk |
On your first check, trigger the camera at dawn and dusk. Review subject edges and highlights. If detail disappears, shift the aim a few degrees and retest before leaving it unattended.
Mount Cameras Over Active Scrapes
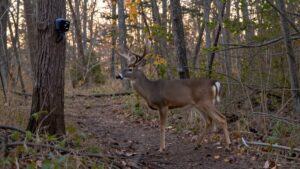
Mount your camera about waist high, roughly 36 inches on level ground, and tilt it slightly downward to cover the scrape and its full approach path. Position it to trigger as a deer enters the traffic lane, usually beside and downwind of the scrape, rather than aiming straight across from a wide angle. This captures its body, not ears or antlers. Clear or avoid limbs that sway in wind; repeated motion triggers can consume your card with empty or duplicates.
Before leaving, walk the route and review test photos using your burst and delay settings. Confirm that the sensor catches the approach cleanly. Finally, check orientation during visit times. Don’t face due east or west, because low sun can wash out morning and evening scrape activity.
Choose Cellular Versus SD Cameras
Choose a cellular camera when you can’t check a site often, because transmitted images reduce the uncertainty between visits. Choose an SD-only camera when dependable local capture and longer battery life matter most.
Match each camera to access, signal strength, battery capacity, and how quickly you need results.
Cellular Camera Advantages
A cellular trail camera sends captures to your phone or account soon after a trigger, letting you verify that it’s recording, powered, and configured correctly while deer are using the area. That feedback closes the gap between deployment and discovery.
If batteries weaken, recording fails, or photo/video mode, trigger sensitivity, and time/date settings are wrong, you can correct the problem during the fall interval window instead of finding an empty card months later. Cellular alerts reduce trips to reseat cards or reformat media, limiting effort and disturbance.
At setup, test transmissions, battery status, and signal strength. Weak service or low power can prevent delivery, but alerts narrow diagnosis. You’ll know whether to adjust placement, settings, power, or connectivity before activity is lost quickly.
SD Card Camera Benefits
SD card cameras offer a dependable, lower-cost option when you can check them often and manage media carefully. They keep your upfront and ongoing costs down while giving you direct control of files. Format each supported card in the camera before deployment; this resets its file system and reduces blank or unreadable captures. Use high-speed cards only when the manufacturer approves them, because some cameras write slowly and can behave unpredictably with incompatible media.
| Check cadence | Practical choice |
|---|---|
| Frequent visits | SD-only saves cost |
| Infrequent visits | Cellular reduces uncertainty |
| Short observation window | Cellular delivers alerts |
| SD workflow | Format cards in-camera |
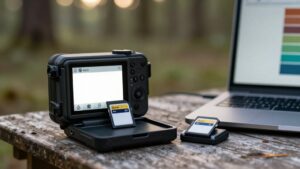
At each visit, inspect card capacity and battery condition. Rotate labeled cards, copy files promptly, and confirm the camera records a test image before leaving.
Match Cameras to Property
Match each camera to how often you can realistically reach it: SD-only models work well on accessible sites you can check regularly, while cellular cameras suit large properties and remote stands where card swaps waste time.
Cellular transmission lets you adjust quickly when movement shifts, but it doesn’t cure bad cards or weak batteries. Format every SD card in the camera, and use batteries with the voltage it requires. Set capture speed for the site: high burst and short delay on travel trails; lower burst and longer delay at mineral sites.
If cellular isn’t practical, schedule checks often enough to avoid weeks-long gaps. Regular retrieval verifies images, storage capacity, battery condition, and camera operation before a simple failure becomes an empty card.
Match Range to Trail
Match your camera’s detection distance to the actual trail, not its maximum advertised range. Aim it along the travel route so animals move through the effective trigger zone, and lower sensitivity near grass or brush to prevent empty captures.
Before leaving, walk the path and confirm you get a properly framed test photo.
Match Detection Distance
Trail-camera range ratings rarely equal dependable field performance: a deer must move close enough, long enough, and through the right part of the sensor’s field to trigger the camera. Treat advertised distance as an upper-limit estimate, not a setup distance. Infrared sensors respond best when a deer’s torso occupies a meaningful portion of detection zone; oblique crossings can evade them even within rated range.
Mount unit about waist high, four feet on level ground, then adjust its tilt until test images frame head and torso rather than sky, ground, or clipped flanks. Keep animal position close enough that it remains in usable zone for several steps. Test at dawn and dusk, review images, and correct misses before deployment under the light and vegetation conditions.
Aim Along Travel Routes
Aim your camera down the travel route rather than straight across it, so deer remain in the detection zone long enough to trigger reliable photos. Center the lens on the line deer actually use, whether it’s a game trail, creek crossing, or field edge. Keep expected body height within the camera’s effective sensor area; a high or low angle leaves animals partly outside it.
For a narrow route, frame the lane tightly. On a wider route, angle along the most-used section instead of covering the entire crossing. This alignment limits wasted triggers from nearby grass and branches. Recheck the setup each season, especially after mowing, wind damage, or vegetation growth. Clear new obstacles and confirm the travel line still falls inside the detection zone.
Avoid Overreaching Camera Range
Keep the camera’s reliable trigger range focused on the trail you expect deer to use, not every opening in the area. Overreaching the sensor produces partial hits, ears or antlers, instead of full-body images, so you can miss the deer you’re scouting. On level ground, start at roughly 36 inches high, then adjust if deer travel above or below the capture zone. Center a funnel, such as a scrape line, worn trail, or bedding edge, inside the detection area. Choose a field of view that fits the route: wider angles raise trigger opportunities but shrink detail, while tight framing misses offset approaches. Finally, walk the approach at your farthest distance. If edge-range images are empty or weak, shorten coverage by repositioning or narrowing the angle.
Monitor Acorn Drop Zones
During acorn fall, deer often concentrate on a remarkably small patch of bare ground beneath a productive oak limb, so identify that exact drop zone rather than covering the whole tree. Look for polished soil, fresh hulls, tracks, and feeding sign to confirm the hotspot.
Position your camera about waist-high, roughly 36 inches, on the travel lane entering that patch, not solely on the trunk. Use photo mode for frequent visits, then test its detection zone before hanging it. Clear or avoid branches and leaf litter that can fall or sway in front of the sensor, because false triggers fill cards quickly. When terrain allows, face the unit north or away from sunrise and sunset. That reduces glare and preserves frames when feeding activity increases.
Check Local Camera Regulations
Before you hang a trail camera, verify the rules for that specific property and jurisdiction. Regulations can differ between private parcels, public lands, states, and provinces. Read agency notices, ask the landowner, and follow posted access conditions before selecting a tree. Position the lens only within permitted ground; avoid neighboring parcels, roads, homes, and restricted areas. A wildlife objective doesn’t necessarily exempt a camera from privacy or surveillance laws.
Also check whether bait, mineral, feed, scent, or other attractants are prohibited near cameras. If you hunt there, confirm seasonal limits, permit requirements, and rules governing camera use during hunting periods. Document the guidance and adjust your placement accordingly. This pre-deployment check prevents removals, fines, confiscation, and disputes while protecting your site and equipment.
Reformat SD Cards Before Deployment
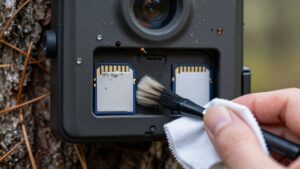
Format every SD card in the trail camera you’ll deploy, even if the card appears empty. Cards retain file systems and data structures from other devices; those mismatches can stop recording or leave images unreadable. Treat formatting as a pre-deployment control, not a repair after weeks of silence.
Before heading to the site:
- Copy any photos you need to keep.
- Insert each card into its assigned trail camera and use that camera’s Format command.
- Confirm the camera recognizes the card, then capture a test image.
Don’t delete old files in another digital camera, since that can alter the card’s structure. A computer format is a fallback only, after backup; format again in the trail camera when possible. Put this step on every deployment checklist.
Clear Spiderwebs From Lenses
Spiderwebs can ruin otherwise sound camera setups: even a thin strand across the lens or IR window may produce blank, hazy, or washed-out images, especially at dawn and dusk. Before every deployment, wipe the lens with a clean microfiber cloth or lens-cleaning wipe, then inspect the field of view. Hold the camera at an angle in daylight; reflected light reveals strands you’ll miss straight-on.
If webbing is forming, clear a small cone-shaped space directly ahead of the lens and along the housing sides, where spiders find easy anchors. Don’t touch cleaned glass with bare fingers; oil films reduce sharpness. Recheck each time you visit, especially after wind or rain, because new webs can bridge the lens cover or flash window edges without your notice.
Conclusion
You’ll avoid most empty-card problems when you treat each camera site like a small field experiment. Keep lenses out of direct sun, aim for stable dawn-and-dusk light, and place units where deer already concentrate: scrapes, trails, and acorn drop zones.
Match detection range and camera type to the location, follow local rules, and reformat cards before deployment. Then inspect lenses for webs and review results regularly. Small setup corrections produce cleaner data and more useful images.