How Far From a Trail Should a Trail Camera Be? The Sweet-Spot Distance
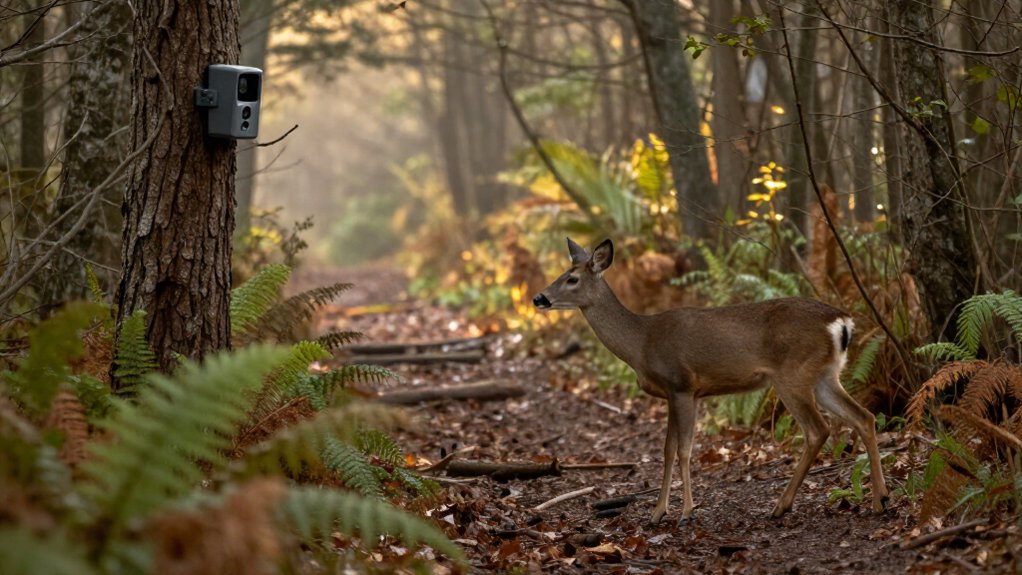
Start by placing your trail camera 10 to 15 feet from the trail for deer-sized game, then angle it about 45 degrees down the travel route. This keeps animals in the detection zone longer and improves framing.
Use 8 to 15 yards when site layout or wider coverage requires it. Match trigger speed to movement, clear brush that causes false photos, and run a 24-hour test.
Continue for setup adjustments covering flash, species size, food plots, and concealment strategies.
Start 10–15 Feet From Trails
Start 10 to 15 Feet From Trails
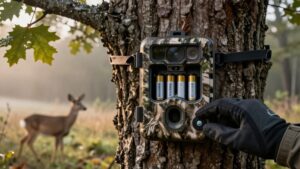
Start by placing your trail camera 10 to 15 feet from the trail, which typically provides enough field of view to capture an animal’s full body without making it too small in the frame. This baseline distance suits trails and lets you fine-tune framing. You’ll mount the unit securely, then take test photos at points along the travel route. Confirm that trail occupies intended portion of the image and that animals would remain unobstructed.
Aim the camera across, rather than directly down, the trail at approximately 45 degrees; this orientation documents a section of travel. Remove nearby grass, branches, and leaves from the detection area and lens view. They can obscure images or cause unwanted activations. Use test results to adjust placement or angle as needed.
Account for Trigger Speed
Trigger speed affects how reliably your camera captures an animal before it leaves the frame: faster-moving animals require faster response times. A camera’s trigger interval begins when its sensor detects motion; shorter intervals reduce the distance an animal travels before exposure. At a 10 to 15-foot placement, match trigger performance to expected travel speed and test it under actual conditions.
| Movement | Recommended trigger | Field implication |
|---|---|---|
| Slow walking | ≤0.5 second | Usually adequate |
| Moderate travel | ≤0.2 second | Reduces missed frames |
| Fast crossing | 0.1 second | Prioritize rapid capture |
The WOSPORTS G600PRO, rated at 0.1 second, provides a relevant benchmark for trail crossings. Walk through the detection zone at several distances, then inspect image timing and subject sharpness. If subjects appear partial or blurred, reduce distance or select a faster-triggering unit.
Angle Cameras 45° Downtrail
A fast trigger works best when the animal remains within the detection zone long enough to activate it, so angle the camera about 45° downtrail rather than directly across the path. This orientation increases the time a moving animal stays inside the passive infrared sensor’s detection field, reducing missed captures compared with a perpendicular setup. Mount the unit where it has an unobstructed view of the expected travel line, while maintaining an 8 to 15-yard offset from the trail.
This range generally provides usable framing for most camera models without placing the device too close. Then take test shots at representative walking speeds and directions. Review the images to verify that the trail remains centered, unobstructed, and fully covered through the camera’s detection area. Make adjustments.
Choose Flash Type Carefully
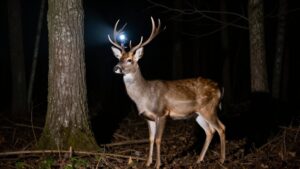
Match the flash type to your camera-to-trail distance to prevent nighttime whiteout or underexposure. You’ll get bright color images with white flash, but it can startle animals, while low-glow and no-glow infrared reduce disturbance but typically have shorter effective range. Because weather and brush further reduce infrared reach, test nighttime images at your intended distance.
Match Flash To Distance
Verify nighttime performance at your planned trail distance before relying on it. Flash range determines how far the camera’s infrared illumination reaches, so place the unit only after confirming usable exposure at that distance. Low-glow infrared emits a dim red glow and generally reaches shorter distances; no-glow illumination remains invisible, usually has shorter reach, and is less likely to spook animals.
White flash can deliver bright nighttime images but may startle subjects. Weather and cover also matter: fog, rain, snow, and thick bushes scatter or block infrared light. Test photos after dark at the intended placement. Confirm that moving subjects appear sufficiently bright and clear for identification under representative conditions before you commit to installation permanently.
Avoid Nighttime Whiteout
Choose the flash type based on the night image you need and the risk of disturbing wildlife. White flash delivers bright, colorized nighttime shots, but it’s more likely to startle animals, risking blurred or empty frames. Infrared options reduce that risk:
| Flash Type | Key Tradeoff |
|---|---|
| White Flash | Brightest image, highest disturbance risk |
| Low-Glow IR | Dim red glow, moderate flash range |
| No-Glow IR | No visible light, shorter flash range |
| Detection Range | Not equal to illumination range |
Don’t assume a camera’s detection range matches its nighttime illumination range: flash reach and usable picture distance differ. Fog, rain, snow, and dense brush scatter infrared light, cutting its effective reach further. Test shots at multiple distances in open terrain to find where subjects turn too dark or blurry.
Consider No-Glow Tradeoffs
No-glow infrared is the least intrusive option because its flash is invisible to wildlife, but it typically provides a shorter usable nighttime illumination range than low-glow models. When you place the camera farther from the trail, nighttime detections may produce unusable images for identification.
Check manufacturer’s flash range, rather than relying on detection range, which indicates how far the sensor can trigger. If no-glow illumination doesn’t cover your distance, move the unit closer or select low-glow infrared. Low-glow emits a red indicator but generally reaches farther. White-flash cameras can deliver color images after dark, yet their visible burst is more likely to startle wildlife.
Choose no-glow when concealment and repeated behavior matter most; choose a longer-reaching flash when your trail-to-camera distance exceeds its illumination coverage.
Adjust for Animal Size
Match camera distance and framing to the animal’s body size, using test shots to verify coverage for small game and large animals. For deer and turkeys, start 8 to 15 yards from the trail and aim across it at roughly 45 degrees to extend time in the detection zone. Keep the animal’s knees near the image bottom, leave several feet above its head, and adjust placement when framing doesn’t fit the target species.
Small Game Placement
For small game, place your trail camera 8 to 15 yards from the trail, then use test shots to refine the distance for clear framing. This range keeps rabbits, squirrels, and other small animals large enough in the frame for identification without overwhelming the shot. Angle the camera at roughly 45 degrees to the trail; this positioning extends the animal’s time within the detection zone, improving trigger reliability.
Clear brush and low vegetation from the camera’s field of view, obstructions obscure small bodies, and wind-blown foliage triggers false captures, wasting battery and storage. Start with mounting height around waist level, then check test images. If subjects appear cropped or too distant, lower the camera or shorten the distance. Match height and angle to the animal’s size and the trail’s specific layout.
Deer And Turkey Spacing
Deer cameras generally perform well 8 to 15 yards from the trail, positioned about 45 degrees to the animal’s expected travel path. That angle extends the time a deer remains inside the detection zone, improving image capture. Set the camera’s framing with test shots: place the animal’s knees near the lower image boundary and leave a few feet above its head.
For turkey, don’t rely on the deer distance alone. Adjust camera distance, height, and aim to match the bird’s smaller body, then verify framing in sample images. No turkey spacing figure applies across cameras and sites. On narrow trails or where travel direction is uncertain, add cameras to monitor adjacent approach and departure routes. This setup reduces missed detections while preserving usable identification detail.
Large Animal Coverage
Large animals require wider framing and distance verification than smaller game. Start your placement around 10 yards from the trail, with 8 to 15 yards serving as a workable range for most setups. Before committing to a spot, take test shots to confirm the animal fits within the frame and renders clearly at that distance.
Frame the shot so the animal’s knees sit near the bottom edge, leaving a few feet of space above its head to accommodate height variation. Angle your camera roughly 45 degrees to the trail’s edge; this positioning keeps a passing animal inside the detection zone longer than a perpendicular setup would.
Scouting a Food-Plot Pinch Point
At a food-plot pinch point, place your trail camera 8 to 15 yards from the narrowed travel route, typically along the plot edge or adjacent tree line. This distance covers the constricted approach without placing the unit so close that passing deer move through the detection zone too quickly. Aim the camera approximately 45 degrees across the route rather than directly down it; the diagonal angle lengthens each animal’s trigger exposure and improves identification opportunities.
Before leaving, take test images at the travel line. Frame the shot so an animal’s knees fall near the image bottom, with several feet of headroom. Remove branches, grass, and brush within the detection field. Wind-driven vegetation can create false triggers, while nearby cover can obstruct nighttime illumination or mask animals.
Avoid Public-Land Theft Hotspots
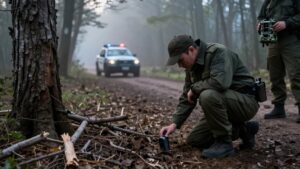
On public land, shift your priority from maximum trail coverage to concealment and low visibility. Avoid mounting a camera directly beside an obvious, heavily traveled trail, where passing hunters, hikers, or other users can detect it quickly. Instead, select a nearby setup that still monitors movement while keeping the unit outside immediate sightlines.
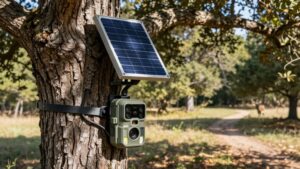
Use leaves, limbs, and existing vegetation to break up the camera’s outline and conceal its mounting strap. Record each camera location in a phone list so you can audit sites and relocate units when conditions change. Run a high-capacity memory card when practical; it lets you extend check intervals, reducing your visits, human disturbance, and exposure to discovery. No universal theft-hotspot map or theft-proof distance exists, so assess visibility at each site.
Ignoring Brush-Triggered False Photos
Wind-blown grass, leaves, and branches can repeatedly trigger a trail camera’s passive infrared sensor, filling the card with false photos and draining battery life. Clear the picture zone before installation; moving vegetation produces heat-and-motion events that mimic animal movement.
- Cut grass and small limbs within the detection and image zones.
- Keep branches outside the lens path to preserve nighttime infrared-flash coverage.
- Take test shots after trimming to verify no obstruction remains.
- Aim north when terrain permits, limiting solar heating and washed-out images.
- At mineral sites or bait, reduce sensitivity and picture frequency to prevent duplicate deer frames.
They also reduce maintenance visits and prevent false-trigger sequences from distorting your assessment of how deer use the trail at the camera’s intended monitoring point overall.
Run a 24-Hour Test
With vegetation cleared, set the camera 8 to 15 yards from the trail and run a 24-hour field test before relying on the placement. This range is a baseline for most trail cameras, but site conditions can alter detection performance. Take test images and verify that the frame places an animal’s knees near the bottom edge and leaves several feet above its head.
After 24 hours, you’ll review images for triggers, sharpness, exposure, and subject position. Confirm that animals crossing the trail activate the sensor and remain clearly identifiable. If photos show missed movement, partial bodies, or weak image quality, change the distance or angle. Remove any branches that enter the field of view or move in wind, then repeat the test until results are consistent.
Conclusion
Start by placing your trail camera 10 to 15 feet from the trail, then refine distance using trigger speed, animal size, and expected travel direction. You’ll capture more centered images by angling the camera about 45° downtrail and selecting flash that matches your objective. At food-plot pinch points, prioritize coverage without exposing equipment to theft. Clear moving brush, test the setup for 24 hours, and adjust based on actual photo placement and false-trigger rates in the field.