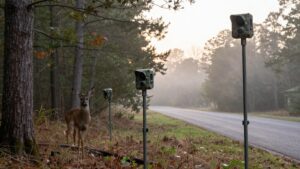
How Long Does It Take a Solar Trail Camera to Charge?
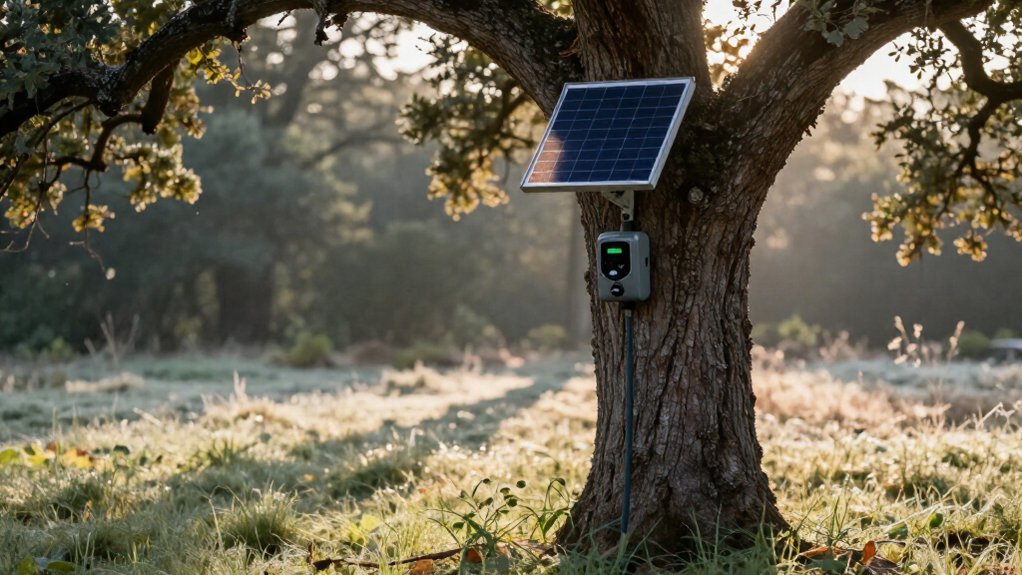
Your solar trail camera typically needs 4 to 8 hours of direct daylight to replace a rechargeable battery’s energy. Actual recovery depends on panel wattage, battery capacity, temperature, shade, and demand from triggers, night vision, and cellular uploads.
In shaded December woods, charging may take several days or fail to offset use. You’ll improve results by aiming an external panel toward unobstructed sun and tracking battery percentage.
The next key factors are panel placement and cold-weather limits.
Typical Charging Takes 4–8 Hours
Most solar trail cameras need about 4 to 8 hours of sufficient daylight to replenish their rechargeable battery, although the exact time depends on panel output, battery capacity, and the camera’s power draw. You’ll reach the lower end when direct, unobstructed sunlight drives strong panel output. Bright conditions can supply usable charging current throughout the day, while clouds, rain, snow, or dense shade reduce it and extend charging.
Treat daylight as an input-quality metric, not a clock. Position the camera where its panel receives maximum exposure, remove dust, pollen, leaves, and water film from the surface. This minimizes conversion losses and helps you approach the window. If daylight output falls below demand, your camera draws from stored energy, so charging progresses slowly or doesn’t complete fully.
Battery Capacity Sets Timing
Battery capacity sets the energy target: a 20 Wh rechargeable pack needs roughly twice the solar energy of a 10 Wh pack to move from the same low state of charge to full. Capacity, measured in watt-hours, tells you how much energy must be replaced; panel output sets the refill rate. Estimate daylight requirements from usable solar watts, then subtract camera consumption. Frequent triggers, video, transmissions, and night vision reduce net input, so recovery can span several daylight periods.
| Pack capacity | Energy required from 20% to full |
|---|---|
| 10 Wh | 8 Wh |
| 20 Wh | 16 Wh |
| 30 Wh | 24 Wh |
Compare required Wh with your panel’s daily delivered Wh, not its label rating. This exposes whether your system gains charge or merely slows overall depletion.
Shaded Woods in December
In shaded woods during December, a solar trail camera may gain little or no net charge because short days, a low sun angle, canopy cover, and cold all reduce usable panel output.
Your battery still powers daytime sensing and overnight operation, but recharge can require many hours or several cloudy days. Dense branches may limit harvest below the combined demand of the PIR sensor and infrared LEDs, leaving capacity near depletion instead of restoring it. Snow or frost further blocks irradiance until you clear the surface.
Improve winter efficiency by selecting the location with the least midday shade and cleaning the panel regularly. Even then, expect substantially longer recovery times than you would in summer, especially after high nighttime trigger activity at that site.
Integrated vs. External Solar Panels
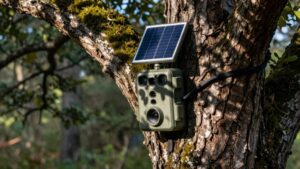
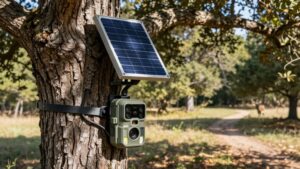
An integrated panel recharges your camera only as efficiently as its fixed angle, daylight exposure, and current battery deficit allow. You can often improve charging speed and consistency with an external panel positioned in direct, unobstructed sun, especially under canopy cover or winter clouds. Choose integrated power for simple installations, but use an external panel when heavy nighttime activity or marginal sunlight creates a charge deficit.
Charging Speed Differences
External solar panels generally recharge a trail camera faster than integrated panels because their larger surface area and higher wattage deliver more energy per hour of usable sunlight. You’ll typically see shorter recovery cycles because the external unit can replace a larger share of battery capacity during each daylight period. Integrated panels are constrained by the camera body, so their lower output often supports maintenance charging rather than rapid replenishment after heavy use.
Actual charge time still varies with irradiance: cloud cover, seasonal daylight, and shade can stretch a full recharge from several days to longer. Compare solar input with consumption. Frequent triggers, extended video clips, intensive infrared night vision, and cellular uploads can draw more energy than either panel produces. In that case, your battery percentage declines despite daily charging.
Placement and Sun Exposure
Placement directly determines solar charging performance: your panel can produce useful current only when it receives adequate, unobstructed daylight. Direct sun is primary charging-rate variable; canopy, clouds, rain, and snow reduce irradiance and can nearly halt charging. Keep the panel clean and orient the unit where daylight remains unobstructed for the longest practical period.
With an integrated design, the camera and panel move as one assembly, so you must mount the entire camera in a high-sun location to sustain battery input. An external panel separates those constraints: you can mount the camera under cover or shade while positioning its panel in stronger sun. That added exposure generally restores battery capacity faster. During extended low-light periods, expect slower charging and greater dependence on stored battery power.
Choosing the Right Setup
Choose an integrated solar trail camera when its mounting location receives reliable direct sun and its built-in panel can replace the energy your settings consume each day. Integrated units recharge only in daylight, so output varies with panel area, angle, sky conditions, and remaining battery capacity. They work best for low-to-moderate trigger loads where daytime harvest exceeds nightly PIR, sensor, and IR demand.
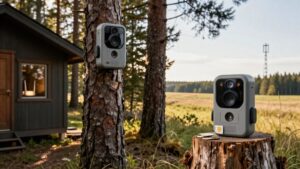
Choose an external panel if trees, seasonal shade, frequent captures, long videos, or cellular uploads create an energy deficit. A larger, separately aimed panel can increase daily watt-hours and reduce recharge time. Calculate expected sunlight at site, then compare it with consumption from trigger frequency, video length, night vision, and transmission. You need enough daytime energy for the next night’s events.
Solar Panel Angle and Orientation
Aim your panel toward maximum daily sun, typically south in the Northern Hemisphere or north in the Southern Hemisphere, to increase usable charging output. Set a tilt that lets sunlight strike the cells more directly, especially during peak midday production. Keep the panel clean and clear of branches, leaves, and shade, since even partial obstruction can sharply reduce photovoltaic generation.
Aim for Maximum Sun
For the fastest charging, mount the solar panel where it faces the sun’s daily path with no branch cover, buildings, or other shade. Direct, unobstructed light raises photovoltaic output because each cell receives more usable irradiance across the day. A panel under dense canopy may still produce power, but lower light intensity lengthens recharge time and can’t reliably replace energy used by nighttime imaging.
Check the mounting location through morning, midday, and afternoon before installation. Keep the panel face clear of leaves, dust, mud, and pollen; even light surface contamination blocks incoming light and reduces generation. In overcast or rainy weather, expect lower output and slower recovery, especially when the battery begins with limited remaining capacity. Reposition it if seasonal foliage creates new shade.
Set the Optimal Tilt
Set the panel’s tilt near your latitude as a practical starting point, then point it toward the strongest daily sun, typically true south in the Northern Hemisphere. This geometry increases the solar irradiance striking the cells during the monitoring season, improving the battery’s daily energy replenishment rate. Don’t mount the panel flat: a raised, steeper tilt generally captures sunlight more effectively as the sun’s elevation changes and limits performance losses from low-angle light.
If your camera operates mainly in winter, increase tilt slightly; for summer use, reduce it modestly. At the installation site, observe the sun’s path and prioritize direct midday exposure across the full panel surface over weak early- or late-day illumination. After mounting, recheck the compass bearing and angle. Small shifts affect charging.
Avoid Shade and Obstructions
Place the solar panel where it receives the longest uninterrupted span of direct daylight, because tree canopy, branches, camera housings, and other partial obstructions can sharply reduce charging output. Even narrow bands of moving shade can cut energy harvest repeatedly, slowing battery replenishment after nighttime motion events.
Aim the panel toward the sun at your selected tilt, rather than mounting it flat against a tree or wall. Check exposure during both morning and afternoon, when limbs, leaves, rocks, or the camera itself may cast shadows. Clean dust, pollen, and debris from the surface regularly to maintain available irradiance.
If site conditions change seasonally, reposition or elevate the panel to preserve a clear solar window and improve the odds of a full daily recharge cycle.
Checking a Remote Deer Stand
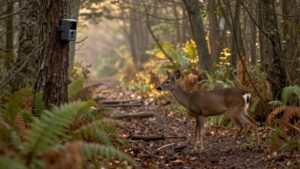
At a remote deer stand, check the camera’s battery indicator after several hours of direct sun instead of waiting for a single long charging period. Use the status screen, app, or LED to compare the percentage before and after daylight exposure. This measurement shows whether panel output is keeping pace with overnight motion events, rather than suggesting that the battery needs a continuous full-charge session.
Record sun hours, battery percentage, trigger volume, and cellular upload frequency during each visit. If the percentage declines, move the panel toward an open, morning-sun location, remove branch blockage, and clean its surface. Recheck after a full day. Heavy clouds, rain, snow, or dense shade reduce output sharply. Frequent cellular uploads increase demand and can outpace available solar input.
Cold-Slowed Battery Charging
Cold weather slows solar trail camera charging because rechargeable cells accept less current as their internal chemical reactions weaken. Near freezing, your battery-management system also loses efficiency, while the panel can deliver less usable current. A cold pack may accept only a fraction of its mild-weather rate, extending recovery from hours into multiple days after nighttime activity.
| Condition | Charging implication |
|---|---|
| Near freezing | Lower accepted current |
| Cold plus shade | Larger energy deficit |
| Mild temperatures | Faster recovery |
You can’t assume daytime sun will rapidly replace overnight power use. Track your stored-energy margin, keep the panel unobstructed, and plan winter deployments for slower recharge cycles.
As temperatures return toward mild levels, charge acceptance improves; brief cold periods don’t necessarily signal permanent capacity loss. Avoid extended extreme cold.
Expecting a Full Daily Charge
A solar trail camera reaches a full daily charge only when daylight replaces all energy used since the previous recharge cycle. Your system doesn’t charge to 100% merely because the sun is up; it must harvest more watt-hours than the camera consumed through captures, infrared night operation, and cellular uploads. Clear, direct sun can close that energy gap quickly; cloud, rain, or canopy shade can leave the battery below full despite normal operation. Track performance over several days, not one afternoon.
- Measure daily trigger count and night activity.
- Limit video length where possible.
- Reduce cellular upload frequency.
- Compare clear and overcast-day battery trends.
- Calculate energy recovery across a week.
Clean Dust From Solar Panels
Even strong daylight won’t restore your trail camera’s battery efficiently if dust, pollen, leaf debris, or grime blocks the solar cells. Inspect the panel periodically, especially after rain, dusty weather, or heavy leaf fall. Surface buildup reduces irradiance at the photovoltaic cells, lowering panel output and extending recharge time. It can also make your camera draw more heavily from stored battery power during daylight periods that should support replenishment.
Wipe the surface with a soft, non-abrasive microfiber cloth. Use water when necessary to lift stubborn residue, but don’t use harsh cleaners; they can damage the protective coating. Remove nearby shade and obstructions, then give the camera several hours of adequate direct sunlight. The panel only charges under sufficient light; clean it before each recharge.
Conclusion
Most solar trail cameras need 4 to 8 hours of strong sunlight to recharge, but your actual results depend on battery capacity, panel wattage, temperature, and exposure. You’ll charge faster with a correctly angled, clean external panel than with a shaded integrated unit.
In winter woods, don’t expect a full daily recharge; verify battery voltage during remote stand checks. Position panels southward, avoid obstructions, and remove dust regularly to maximize charging efficiency and runtime for year-round reliable performance.